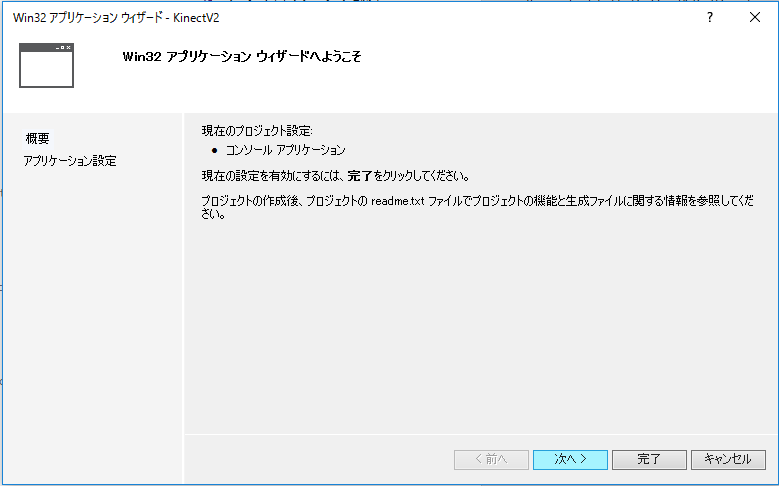
- The programming language is "Visual C++", and select "Win32 console application".Here the project name is "KinectV2".
- In the Win32 application wizard, select "Next".
- Check "Empty Project" and select "Complete"


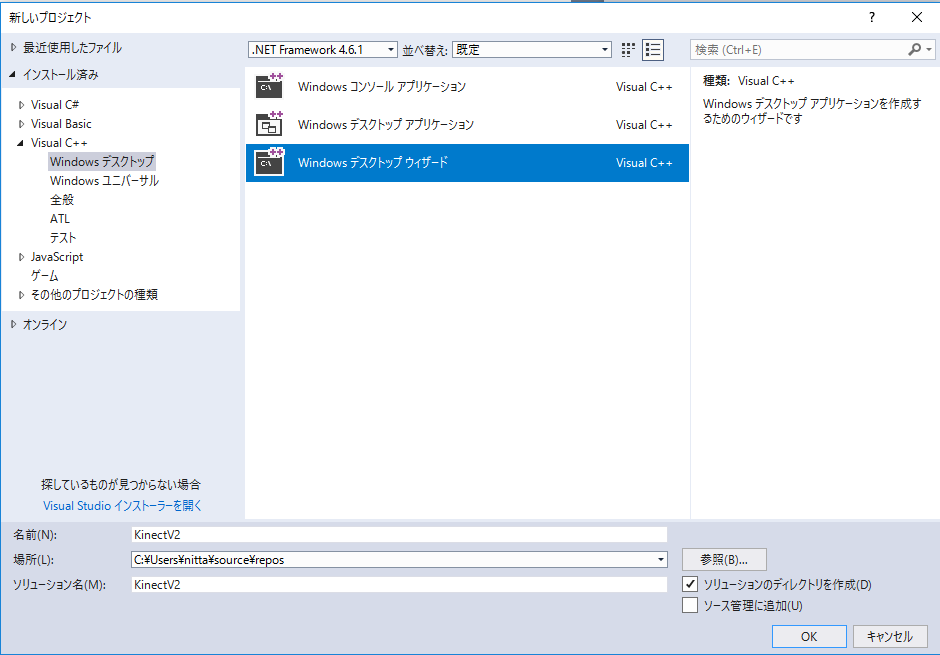
- Select "File" -> "New" -> "Project"-> "Visual C++" -> "Windows desktop" -> "Windows desktop wizards"
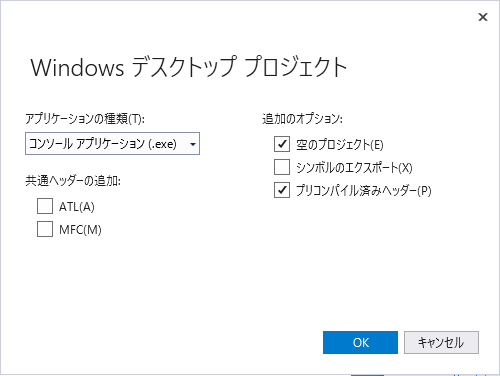
- In "Windows desktop project" window, select "Console Application (.exe)" in "Application Type", check out the "Empty project" option for additional options.
The name here is "KinectV2". The solution name will automatically be "KinectV2". Click OK button.
Near the center of the menu bar at the top of the Visual Studio window, there is a panel for specifying compile options. Change this to "x64". Also, change "Debug" to "Release" so that execution becomes faster.

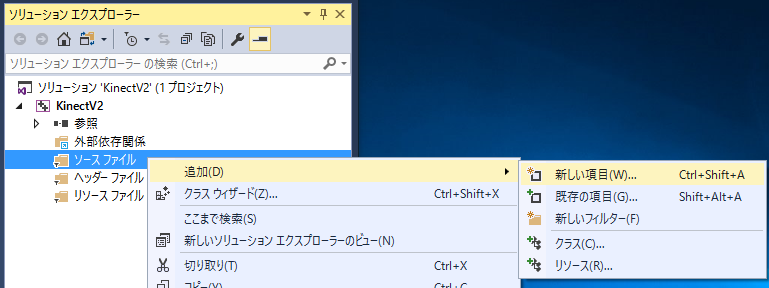
If at least one C++ source file does not exist in the project, "C/C++" item can not be selected in project properties. Therefore, first add "main.cpp" here.
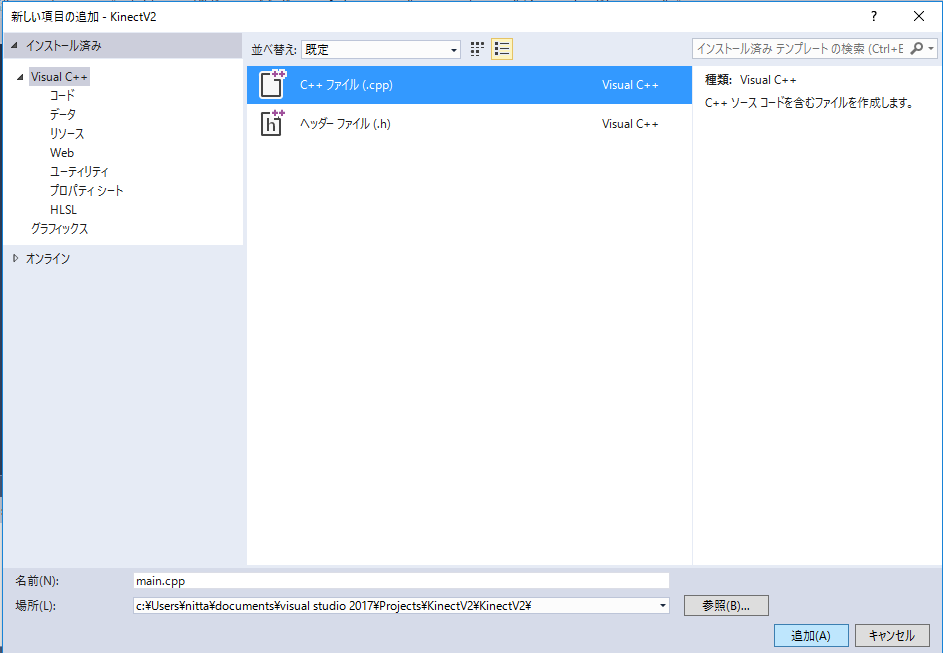
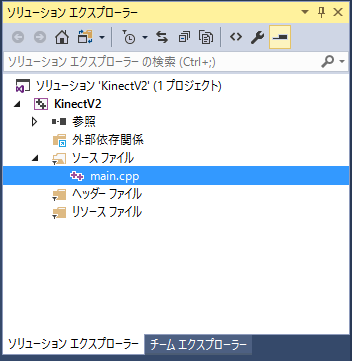
- Right-click the project name "KinectV2" in "Solution explorer" panel and select "Properties".
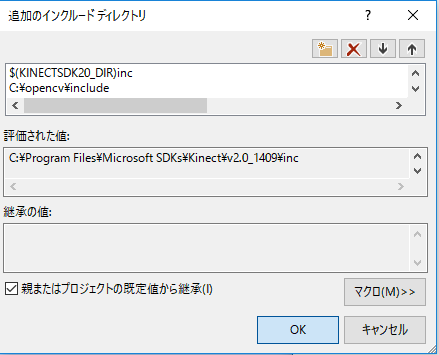
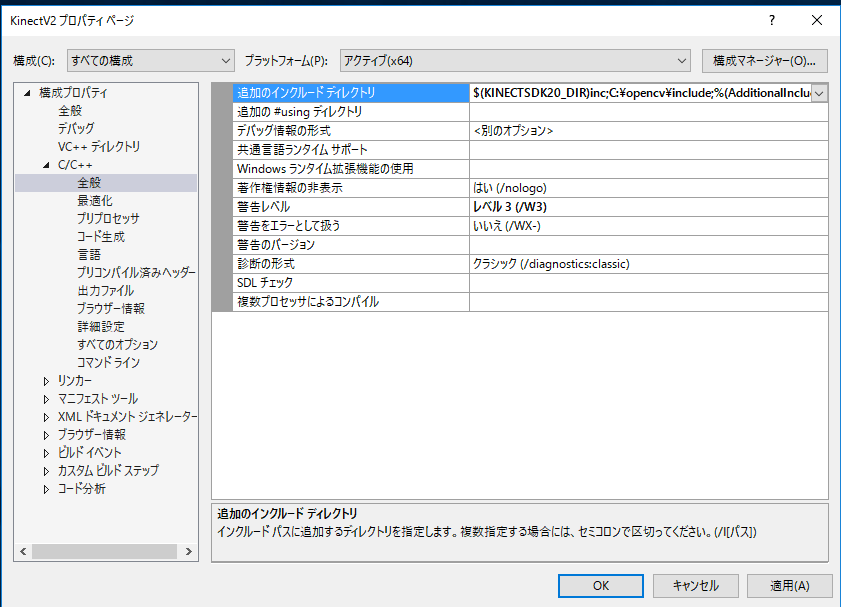
- Add include paths of Kinect and OpenCV to "C/C++" "General" "Additional include directory" in "Configuration Properties".
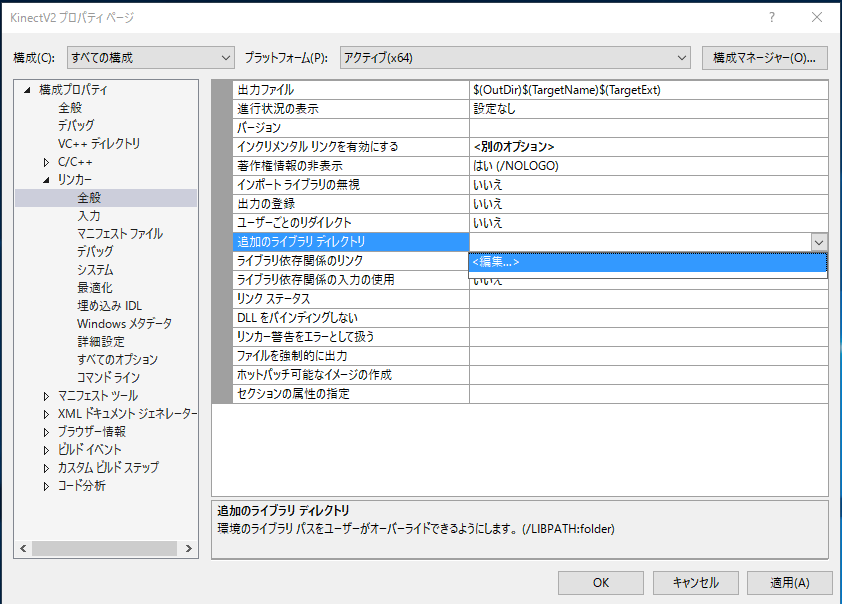
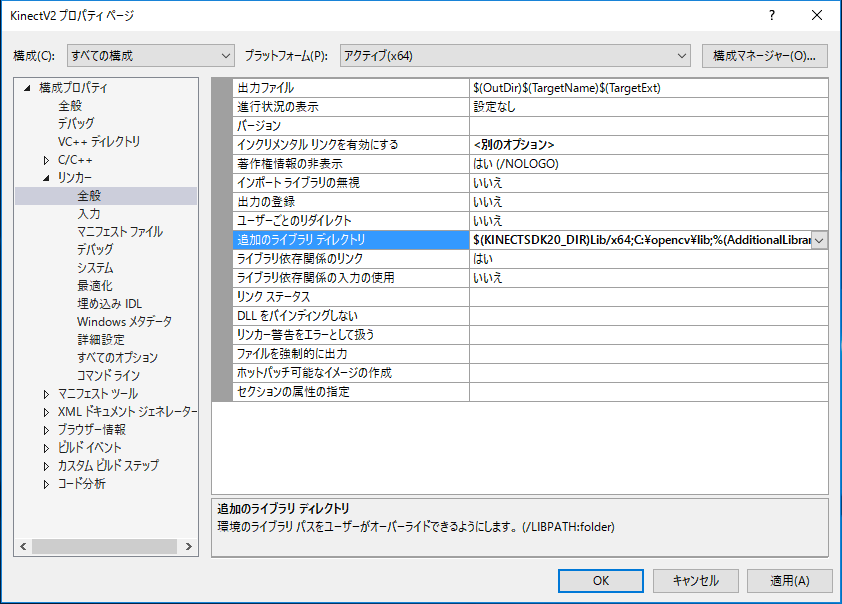
- Add library paths of Kinect and OpenCV to "Linker" "General" "Additional library directory" in "Configuration Properties".
- Add libraries of Kinect and OpenCV to "Linker" "Input" "Additinal dependent files" in "Configuration Properties".
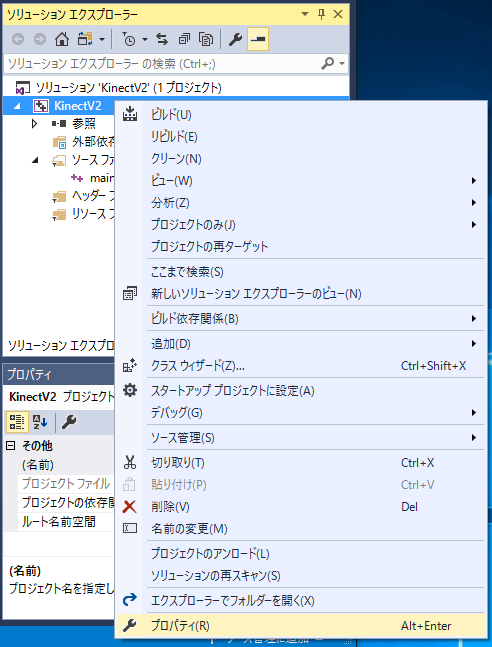
  $(KINECTSDK20_DIR)inc
  C:\opencv\include
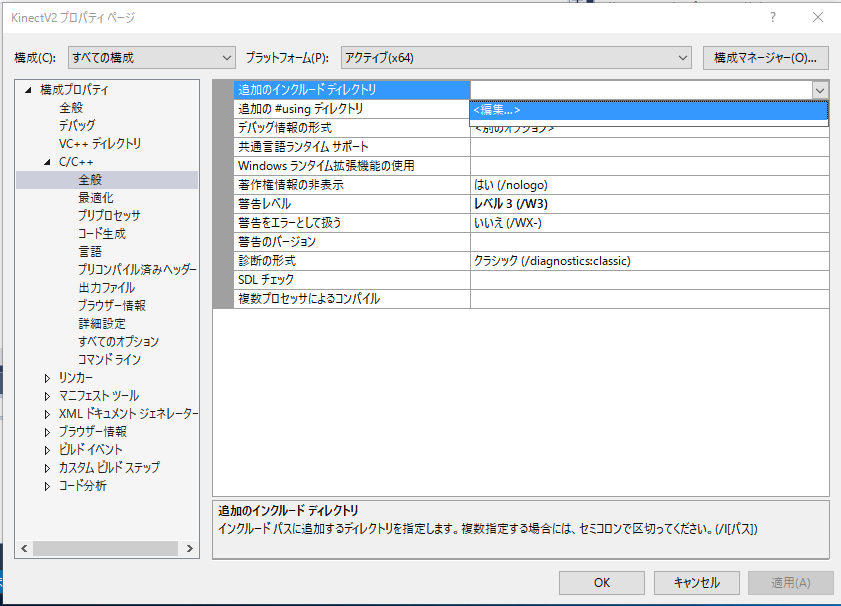
  $(KINECTSDK20_DIR)Lib/x64
  C:\opencv\lib

  Kinect20.lib
  opencv_world330.lib
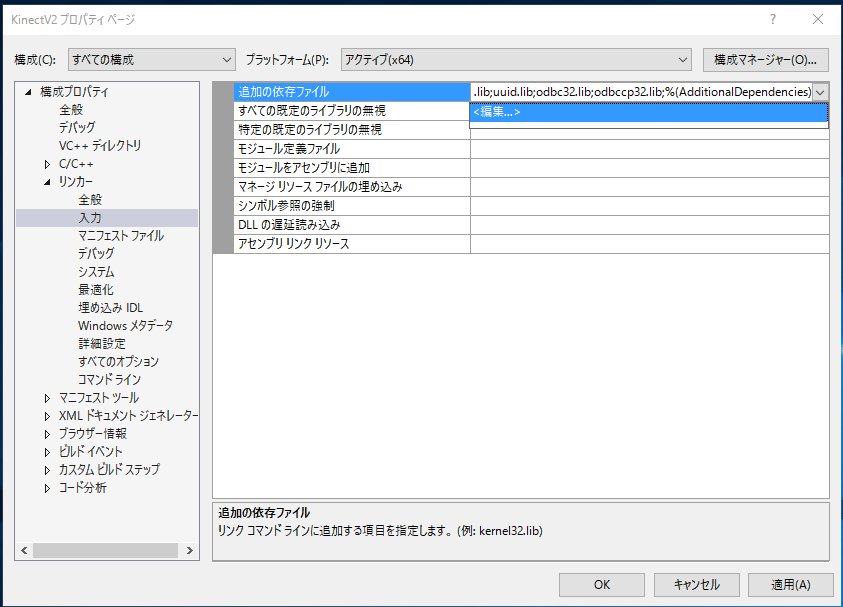

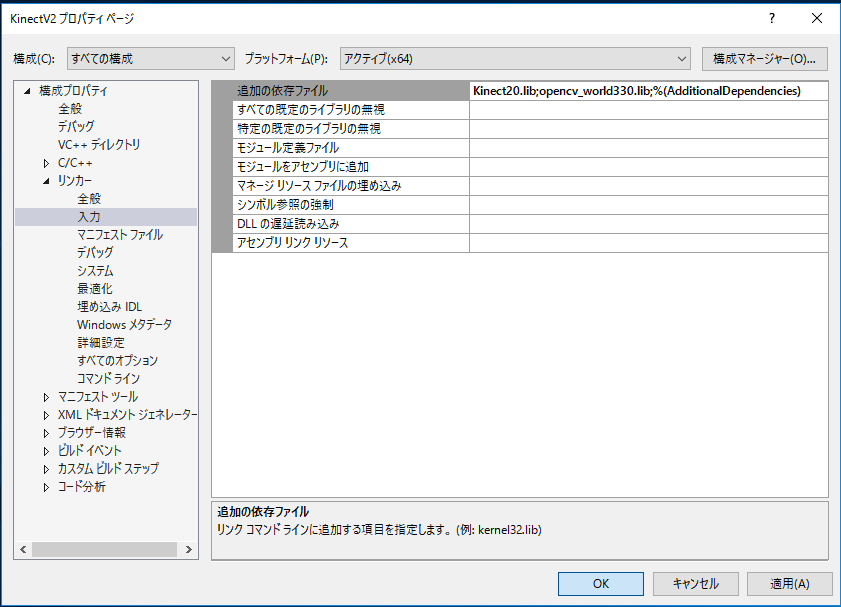
[CAUTION] If you run the program in Debug mode, you must specify opencv_world330d.lib as a library file of OpenCV in Debug mode of the properties.
Please download "NtKinect.h" from the above link. The location of the file is the folder where the source file such as "main.cpp" is placed. In this example, it is "KinectV2/KinectV2/NtKinect.h".
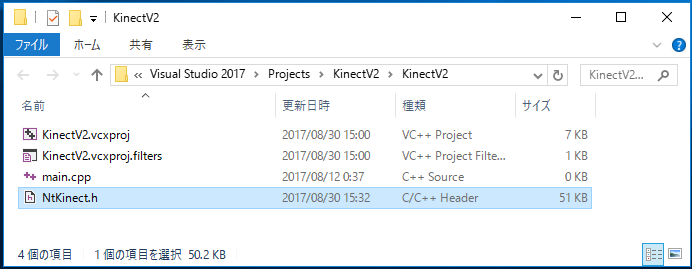
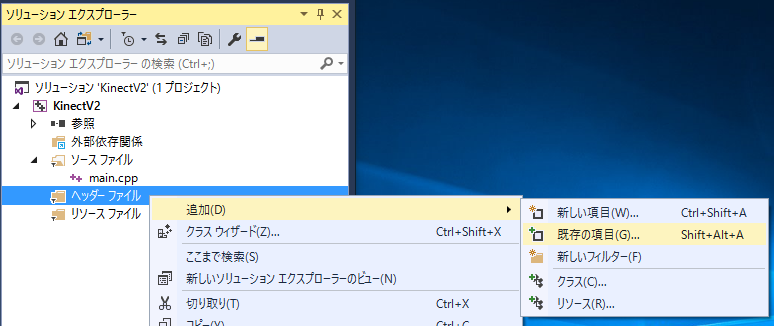

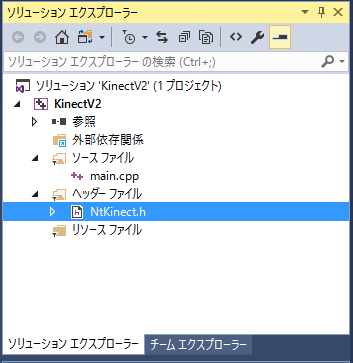
If you get an error "Cannot include NtKinect.h" at compile time, delete the "NtKinect.h" once. Then, right click "Header file" of "Solution Explorer", and select "Add" "New item" "VisualC++ header file (.h)" from th menu and specify "NtKinect.h" for "Name". Please copy the contents of the downloaded file to the newly created one.
You can easily use various functions of Kinect V2 by rewriting the red letter part.
| main.cpp |
#include <iostream> #include <sstream> #include "NtKinect.h" using namespace std; void doJob() { NtKinect kinect; while (1) { kinect.setRGB(); cv::imshow("rgb", kinect.rgbImage); auto key = cv::waitKey(1); if (key == 'q') break; } cv::destroyAllWindows(); } int main(int argc, char** argv) { try { doJob(); } catch (exception &ex) { cout << ex.what() << endl; string s; cin >> s; } return 0; } |
The function whose name is preceded by "cv::" belongs to OpenCV.
| type of return value | OpenCV function name | descriptions | manual |
| void | imshow(cost string& winname, const Mat& image ) | display image in the window named winname. | link |
| int | waitKey(int delay =0) | Wait key input for delay milliseconds. 0 means to wait infinitely. | link |

Since the above zip file may not include the latest "NtKinect.h", Download the latest version from here and replace old one with it.