import UIKit
class ViewController: UIViewController {
@IBOutlet weak var myImageView: UIImageView!
func makeUIImage() -> UIImage {
UIGraphicsBeginImageContext(CGSizeMake(300,300))
let context: CGContextRef = UIGraphicsGetCurrentContext()!
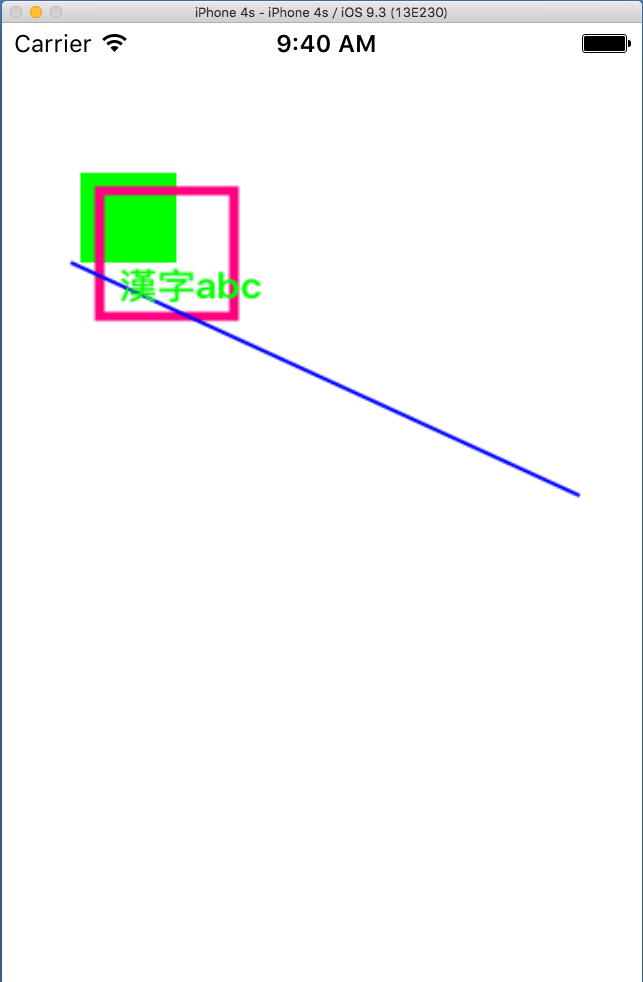
CGContextSetRGBFillColor(context, 0.0, 1.0, 0.0, 1.0)
CGContextAddRect(context, CGRectMake(20,20,50,50))
CGContextFillPath(context)
CGContextSetLineWidth(context, 5.0)
CGContextSetRGBStrokeColor(context, 1.0, 0.0, 0.5, 1.0)
CGContextAddRect(context, CGRectMake(30,30,70,70))
CGContextStrokePath(context)
CGContextSetLineWidth(context, 2)
CGContextSetRGBStrokeColor(context, 0.0, 0.0, 1.0, 1.0)
CGContextMoveToPoint(context, 15, 70)
CGContextAddLineToPoint(context, 280, 200)
CGContextStrokePath(context)
let attrString = NSAttributedString(
string: "漢字abc",
attributes:[NSForegroundColorAttributeName: UIColor.greenColor(),
NSFontAttributeName: UIFont.boldSystemFontOfSize(20.0)])
attrString.drawAtPoint(CGPointMake(40, 70))
let img = UIGraphicsGetImageFromCurrentImageContext()
UIGraphicsEndImageContext()
return img
}
override func viewDidLoad() {
super.viewDidLoad()
myImageView.image = makeUIImage()
}
override func didReceiveMemoryWarning() {
super.didReceiveMemoryWarning()
}
}
|