
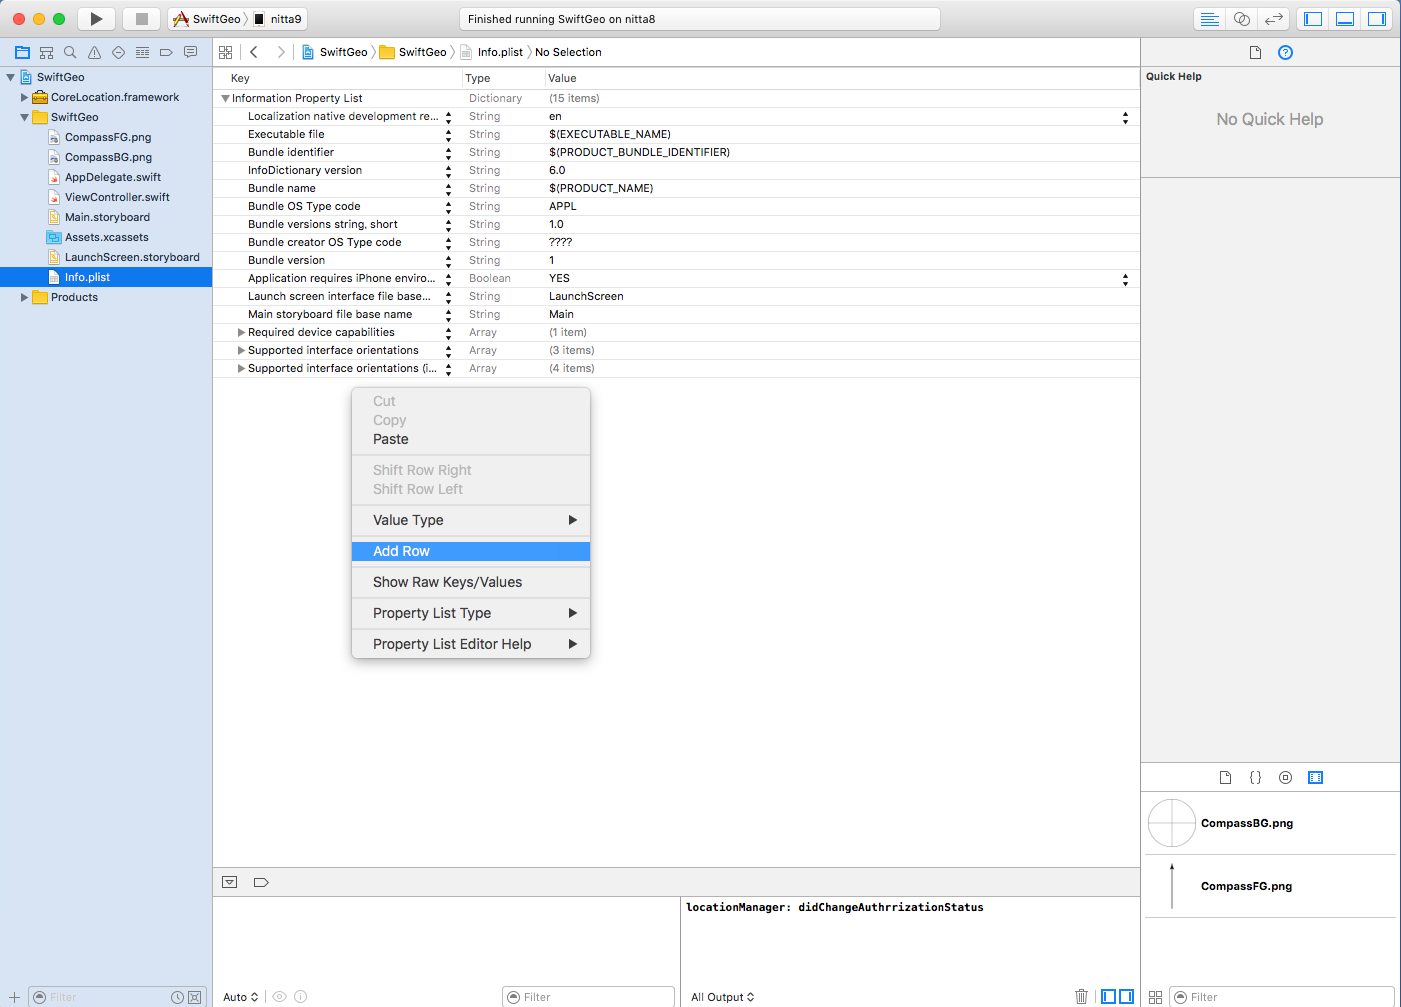
info.plist を表示した状態で、右クリックし"Add row" を選択し、
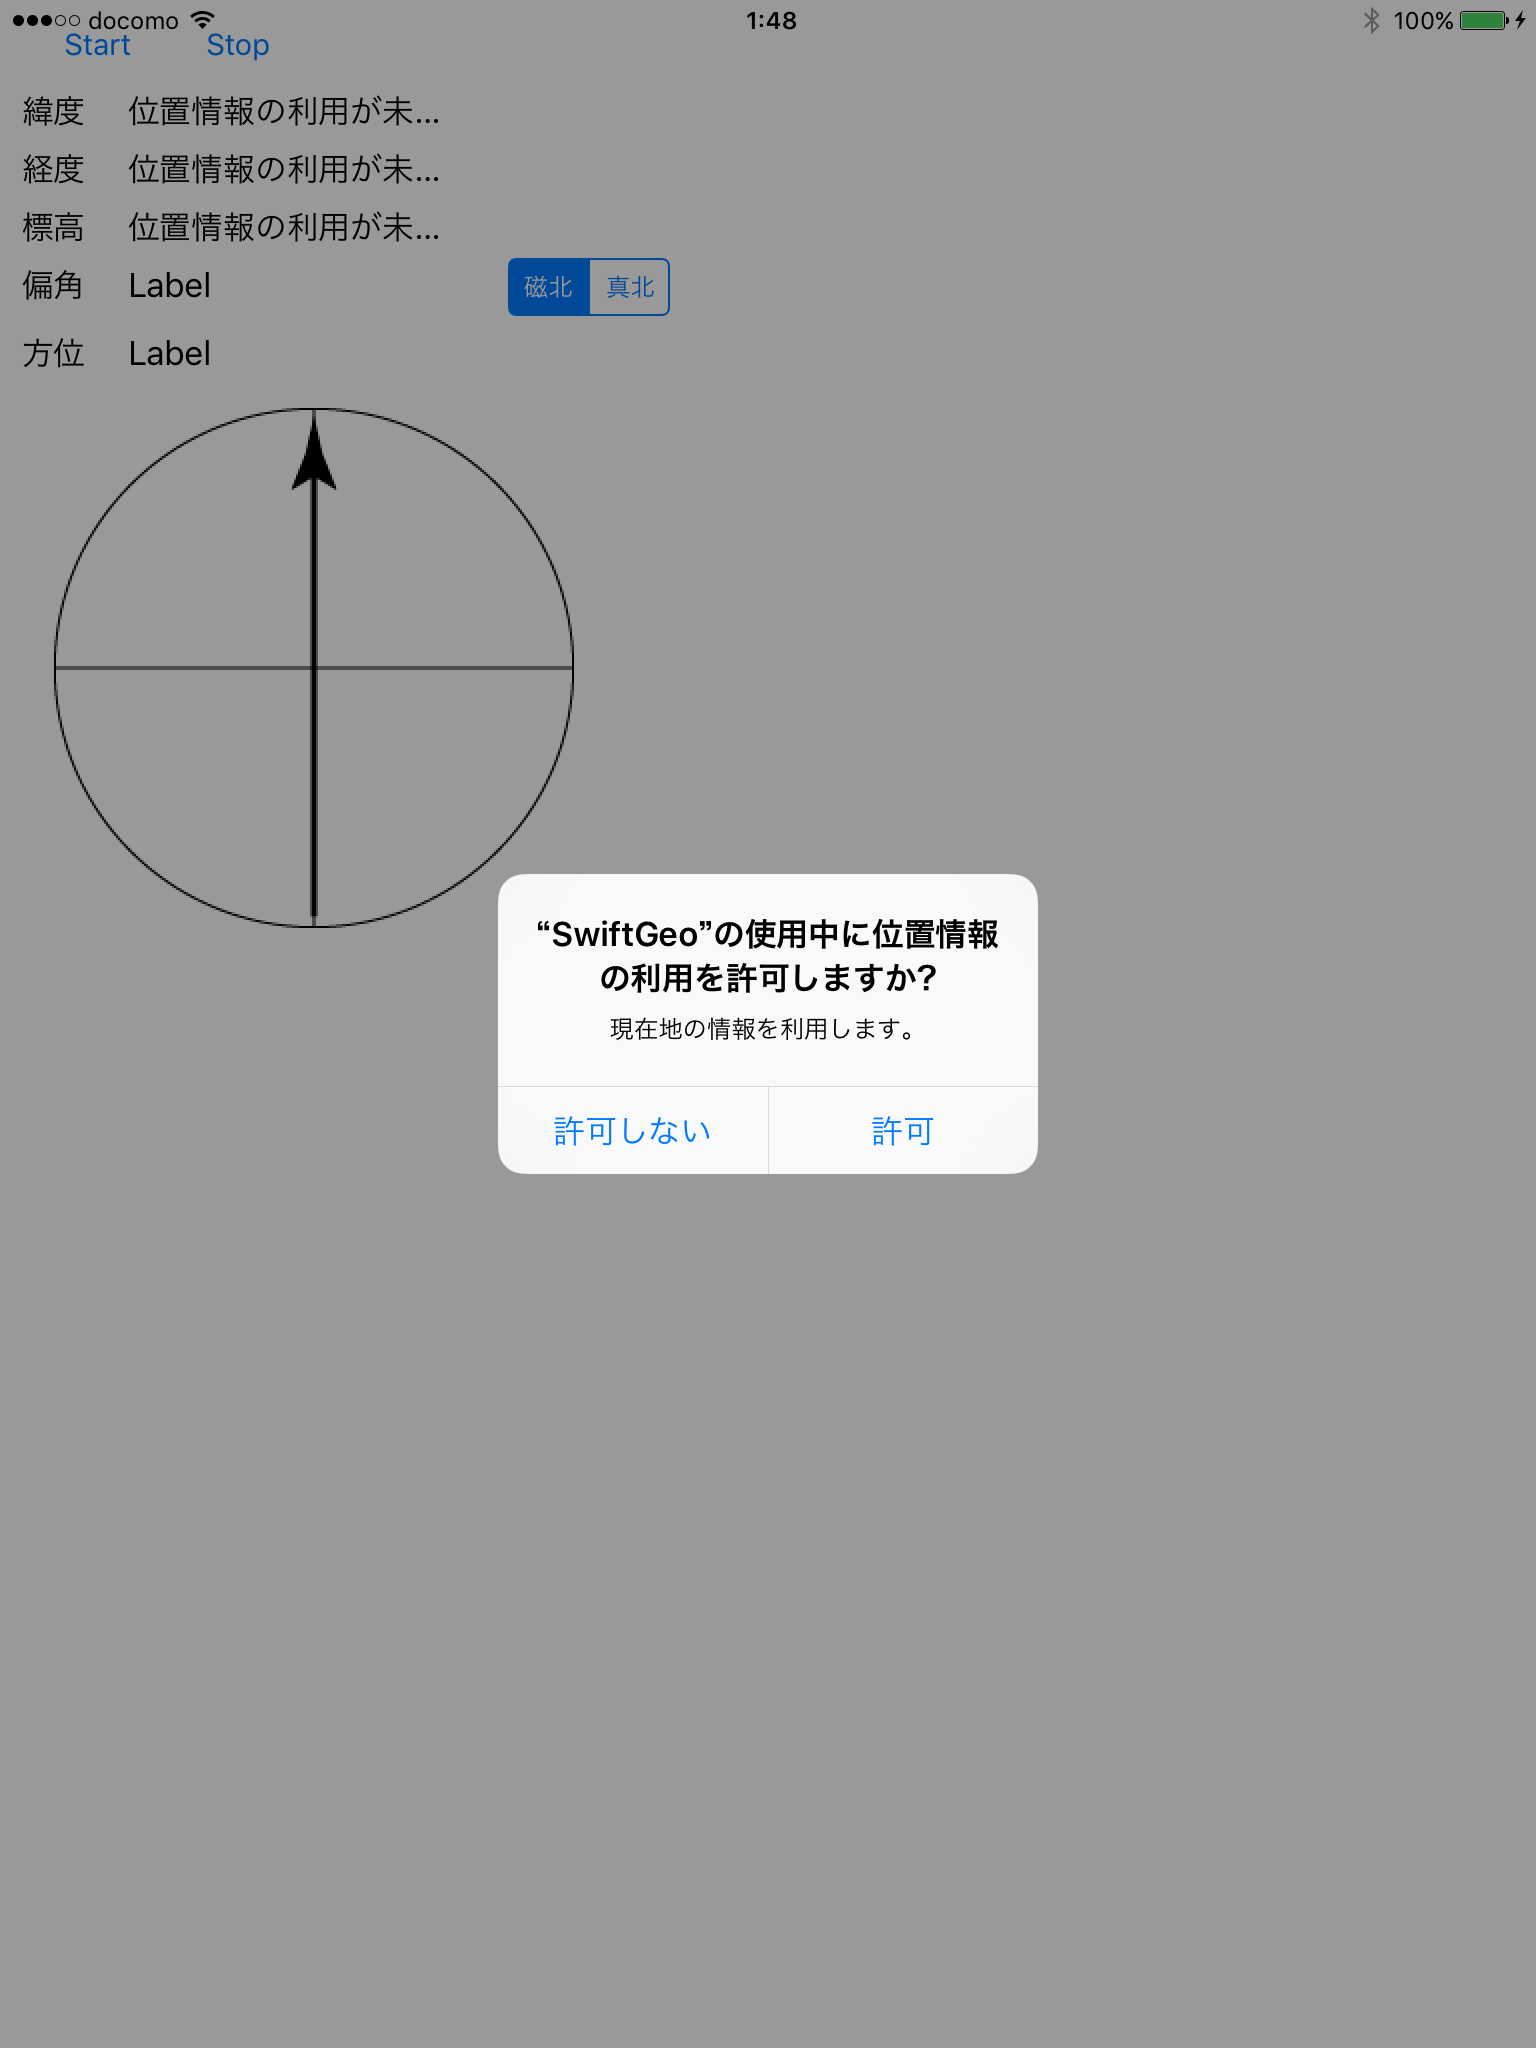
  Key:    NSLocationWhenInUseUsageDescription
  Type:   String
  Value:  現在地の情報を利用します。
を追加します。 ここに追加した説明は、「許可を求める確認ダイアログ」や 「設定 -> プライバシー -> 位置情報サービスのアプリ設定」 で表示されます。


|

|
| CompassBG.png | CompassFG.png |
これにより、ウィンドウ右下の Meida Library に追加した画像が表示されるようになります。
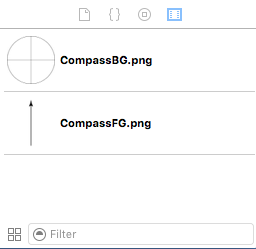
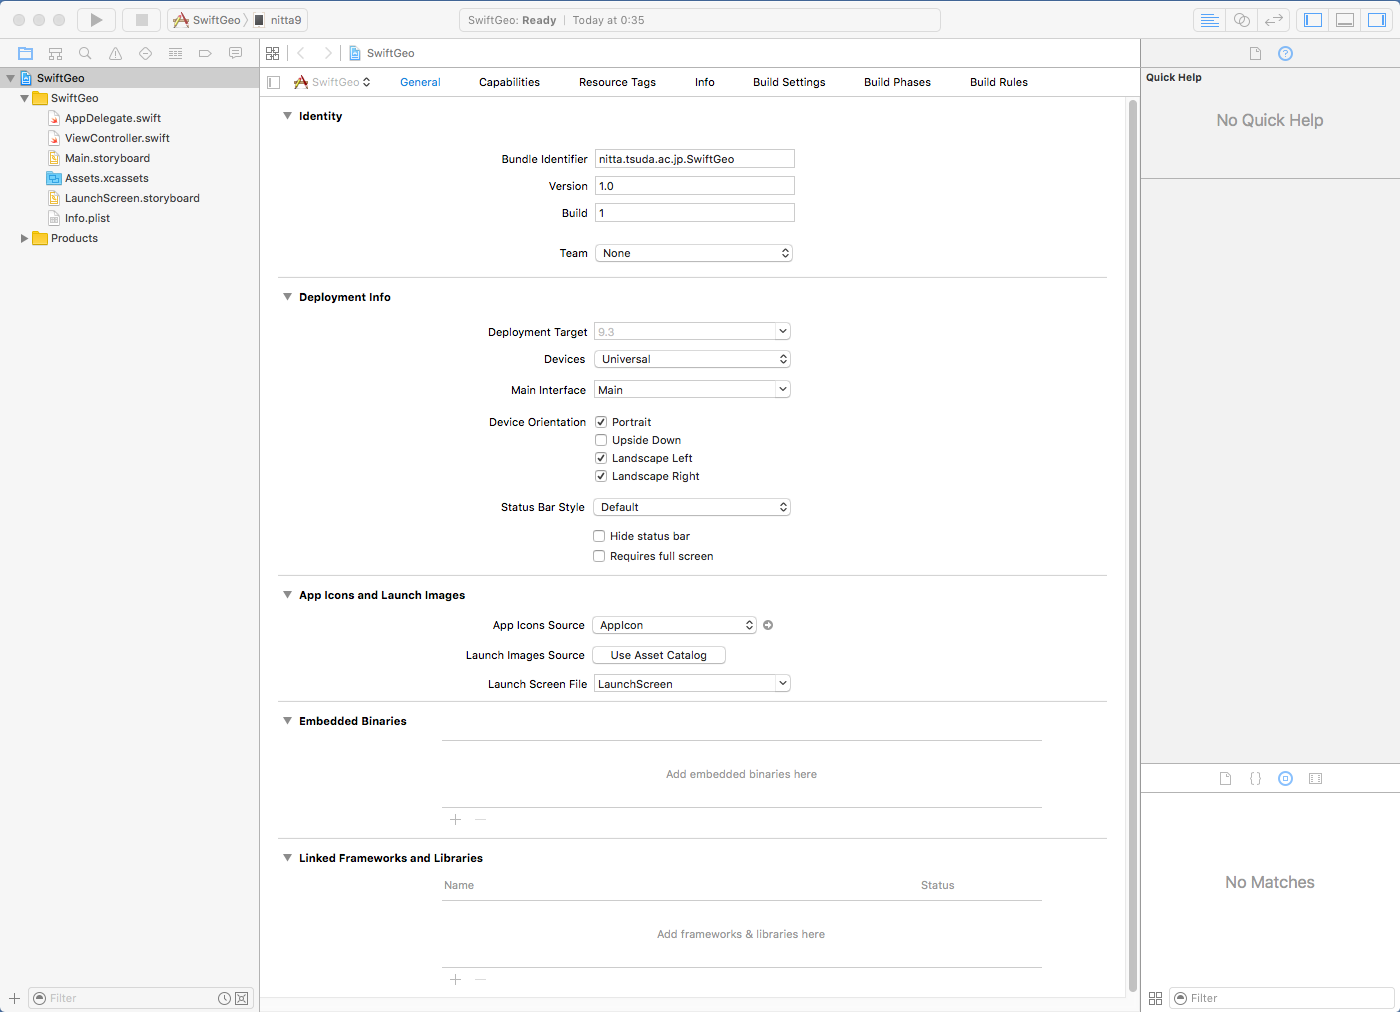
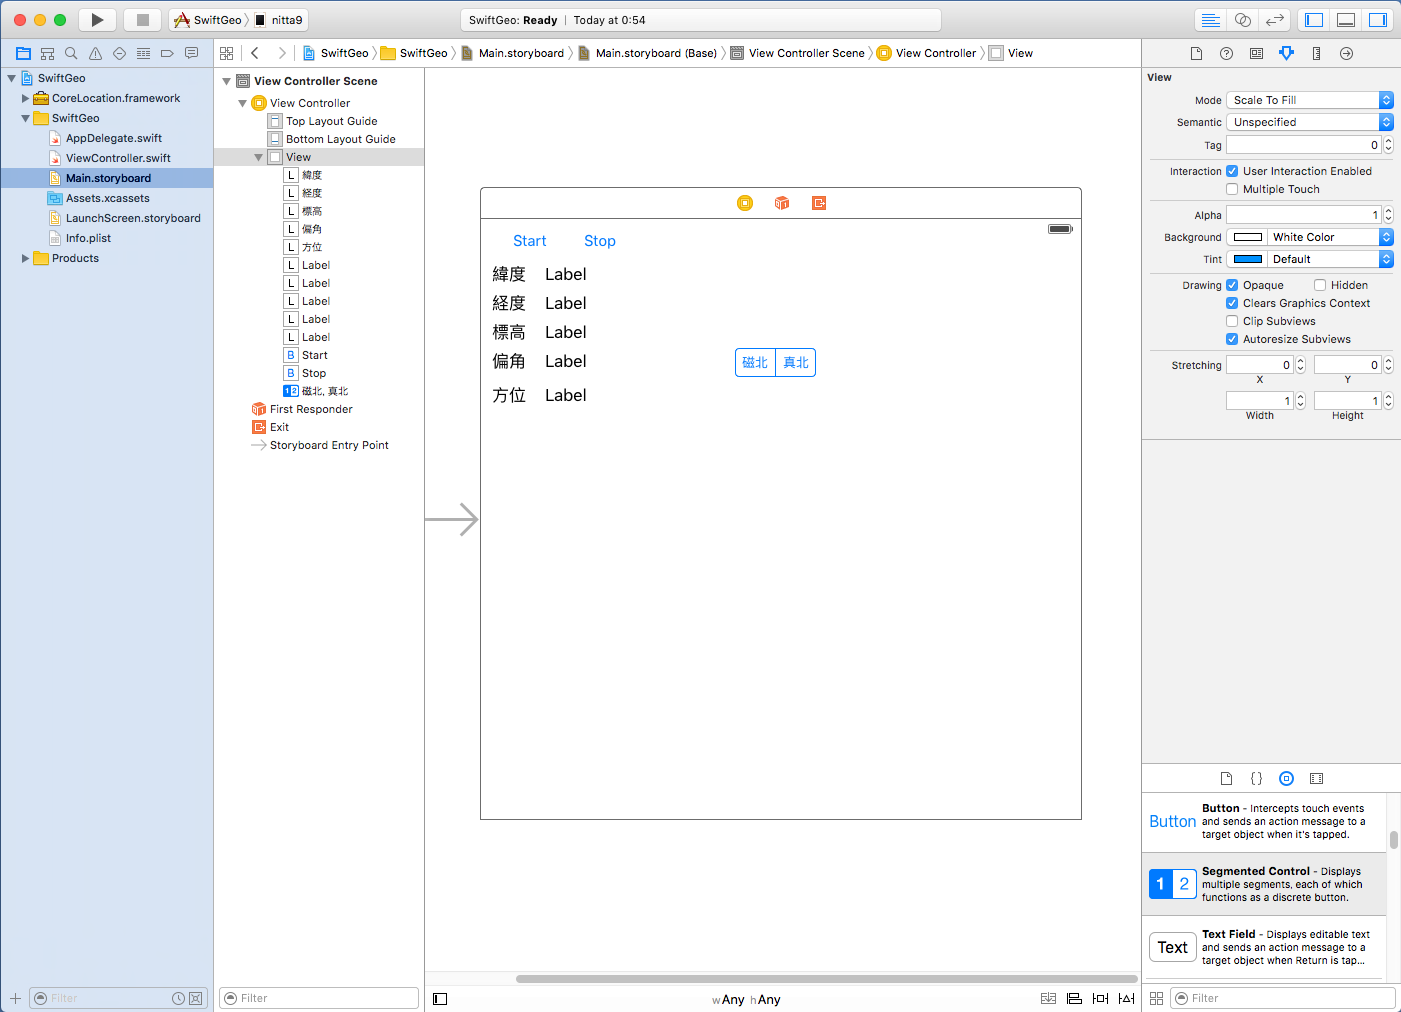
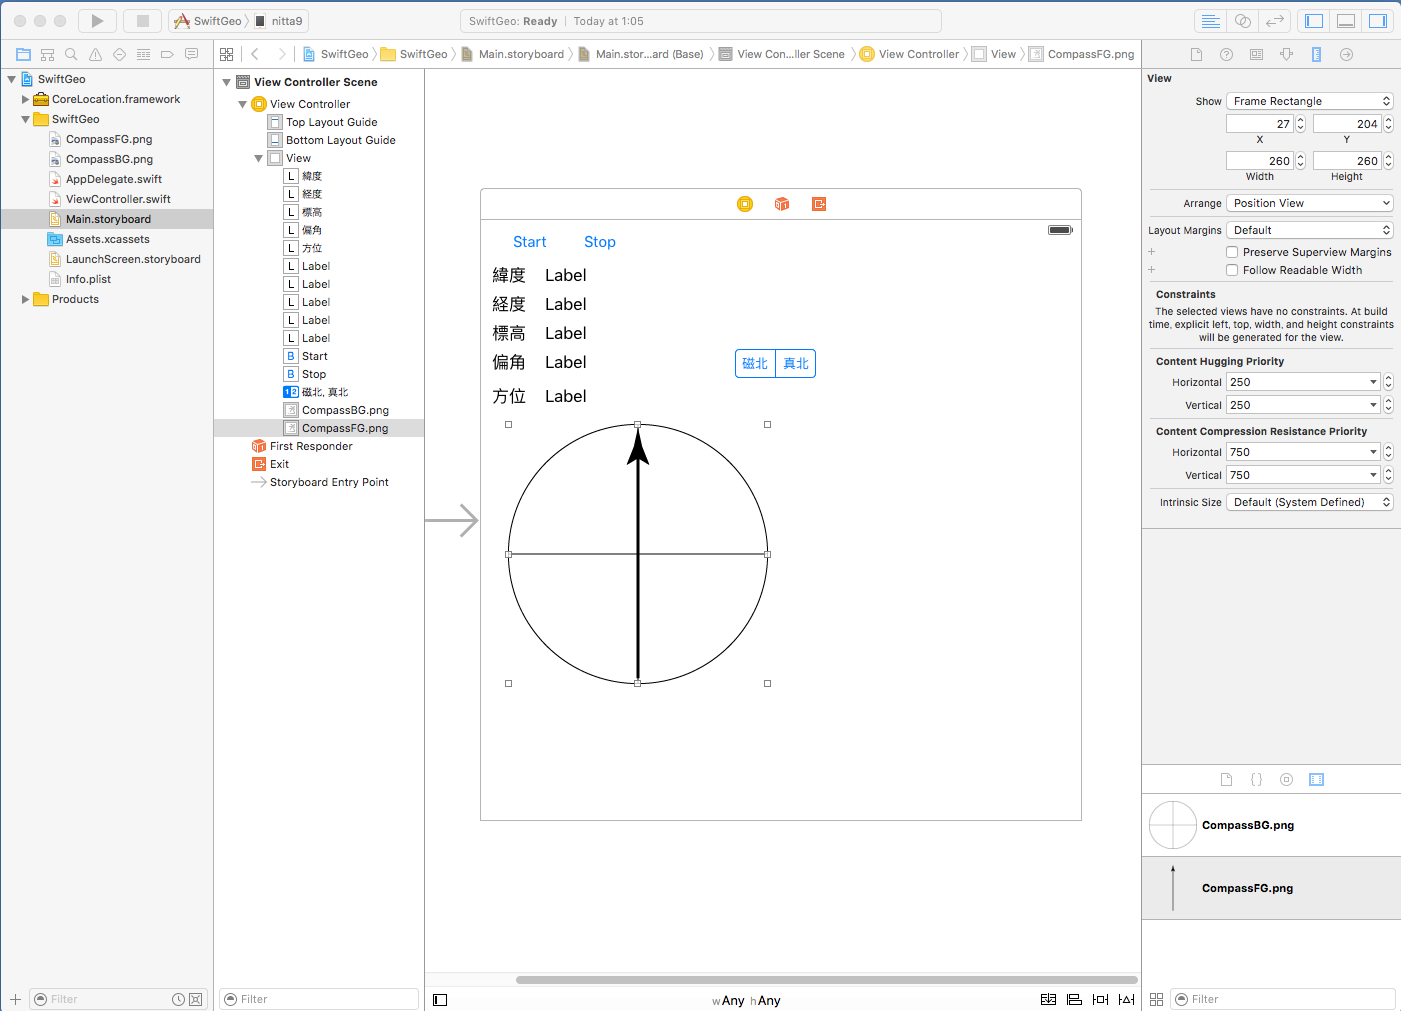
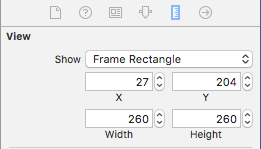
Main.storyboard上の画面に CompassBG.png, CompassFG.png の順でドラッグして重なるように配置します。 配置する位置は、後からウィンドウ右上の Size Inspector の View の X, Y で位置を調整できます。
 をクリックして、右側のウィンドウに ViewController.swift が表示されている
状態にします。
をクリックして、右側のウィンドウに ViewController.swift が表示されている
状態にします。
class ViewController: UIViewController {
の下の行まで持っていきます。Main.storyboard上の部品を ViewController.swift にConnectします。
| Viewのインスタンス | Connectionの種類 | 名前 |
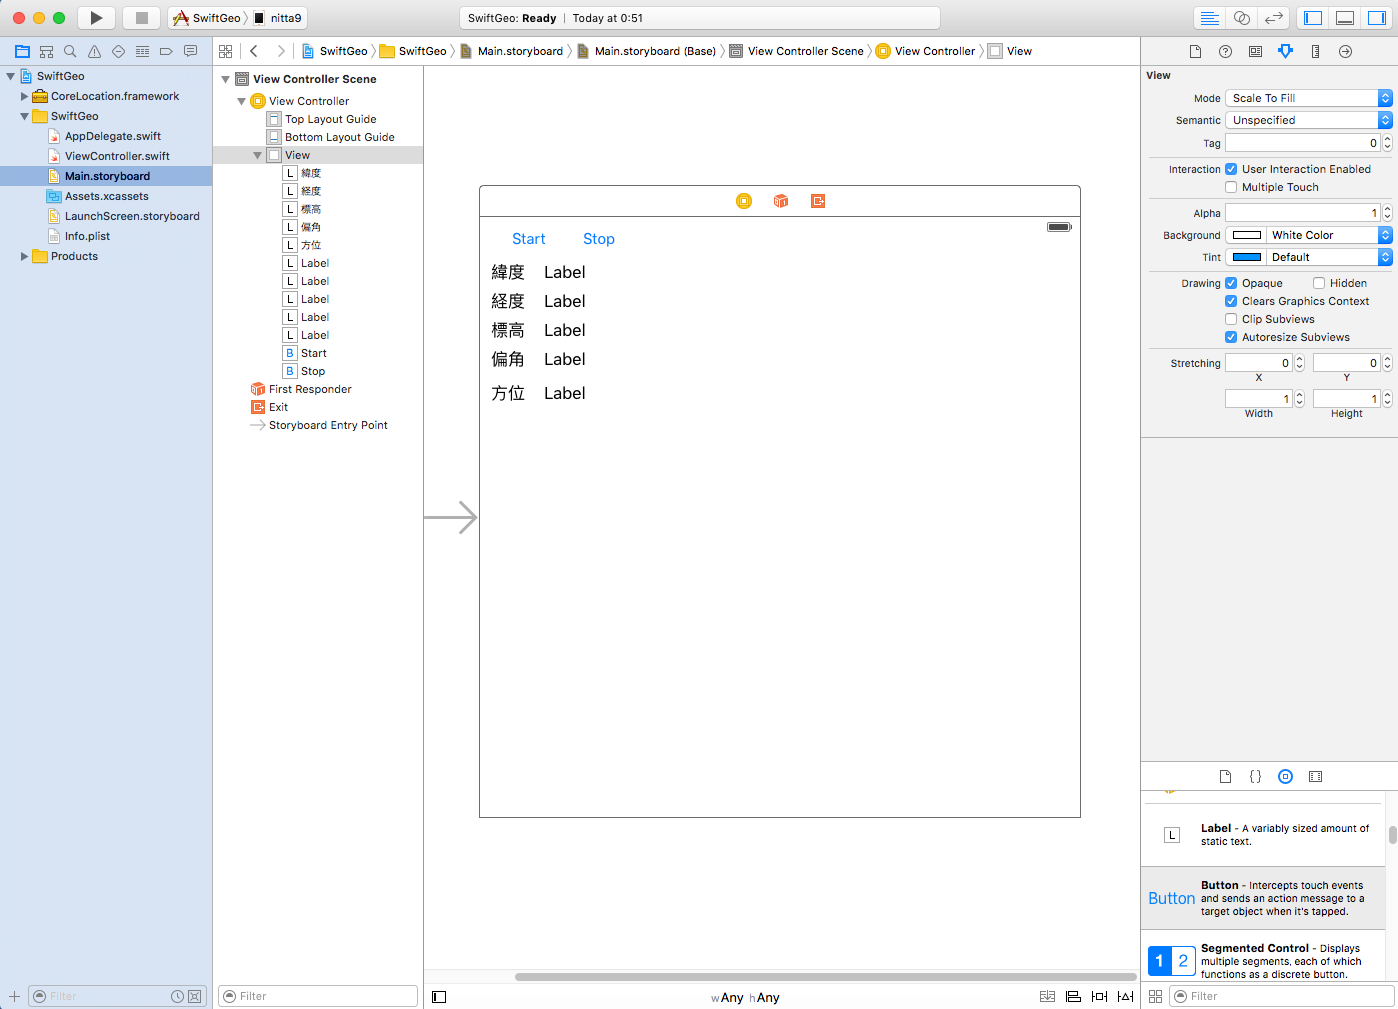
| Button(Start) | Action (TouchUpInside) | tapStart |
| Button(Stop) | Action (TouchUpInside) | tapStop |
| Label(緯度の右) | Outlet | latLabel |
| Label(経度の右) | Outlet | lngLabel |
| Label(標高の右) | Outlet | altLabel |
| Label(偏角の右) | Outlet | argLabel |
| Label(方位の右) | Outlet | dirLabel |
| Segment Control | Outlet | northSwitch |
| CompassFG.png | Outlet | compassFG |

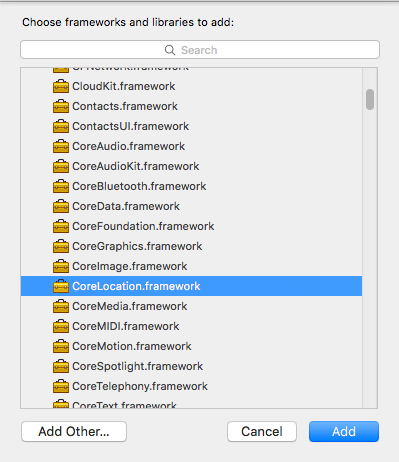
- CoreLocation を import する。
- CLLocationManagerを生成し、定数に代入しておく。
- tapStart() 関数で、GPSや方位コンパスの情報を取得し始めるように記述する。
- tapStop()関数で処理を停止するように記述する。
| ViewController.swiftに追加するコード(赤字部分) |
import UIKit
import CoreLocation

class ViewController: UIViewController, CLLocationManagerDelegate {
    @IBOutlet weak var latLabel: UILabel!
    @IBOutlet weak var lngLabel: UILabel!
    @IBOutlet weak var altLabel: UILabel!
    @IBOutlet weak var argLabel: UILabel!
    @IBOutlet weak var dirLabel: UILabel!
    @IBOutlet weak var northSwitch: UISegmentedControl!
    @IBOutlet weak var compassFG: UIImageView!

    let lm = CLLocationManager()

    @IBAction func tapStart(sender: AnyObject) {
        disabledLocationLabel()
        lm.requestWhenInUseAuthorization()
        lm.delegate = self
        startLocationService()
        startHeadingService()
    }

    @IBAction func tapStop(sender: AnyObject) {
        lm.stopUpdatingLocation()
        lm.stopUpdatingHeading()
    }

    func locationManager(manager: CLLocationManager, didUpdateLocations locations:[CLLocation]) {
        let locationData = locations.last
        if let lng = locationData?.coordinate.longitude {
            lngLabel.text = String(format:"%.6f",lng)
        }
        if let lat = locationData?.coordinate.latitude {
            latLabel.text = String(format:"%.6f",lat)
        }
        if let alt = locationData?.altitude {
            altLabel.text = String(format:"%.6f",alt)
        }
    }

    func locationManager(manager: CLLocationManager, didChangeAuthorizationStatus status: CLAuthorizationStatus) {
        switch status {
        case .AuthorizedAlways, .AuthorizedWhenInUse :
            lm.startUpdatingLocation()
        case .NotDetermined:
            lm.stopUpdatingLocation()
            disabledLocationLabel()
        default:
            lm.stopUpdatingLocation()
            disabledLocationLabel()
        }
    }

    func locationManager(manager: CLLocationManager, didUpdateHeading newHeading: CLHeading) {
        var arg = newHeading.magneticHeading - newHeading.trueHeading
        if arg < 0 { arg += 360 }
        argLabel.text = String(format:"%.6f",arg)

        let northDir: CLLocationDirection =
            (northSwitch.selectedSegmentIndex == 0) ? newHeading.magneticHeading : newHeading.trueHeading
        compassFG.transform = CGAffineTransformMakeRotation(CGFloat(-northDir * M_PI/180))
        dirLabel.text = String(format:"%.6f",northDir)

    }

    func startHeadingService() {
        northSwitch.selectedSegmentIndex = 0
        lm.headingOrientation = .Portrait
        lm.headingFilter = 1
        lm.startUpdatingHeading()
    }

    func startLocationService() {
        lm.desiredAccuracy = kCLLocationAccuracyBest
        lm.distanceFilter = 1
        lm.startUpdatingLocation()
    }

    func disabledLocationLabel() {
        let msg = "位置情報の利用が未許可"
        lngLabel.text = msg
        latLabel.text = msg
        altLabel.text = msg
    }

    override func viewDidLoad() {
        super.viewDidLoad()
    }

    override func didReceiveMemoryWarning() {
        super.didReceiveMemoryWarning()
    }
}
|

と表示されて、しばらく待つと 左上の実行デバイスに 接続したiOSデバイスの名前が表示される。 これを選択して実行する。