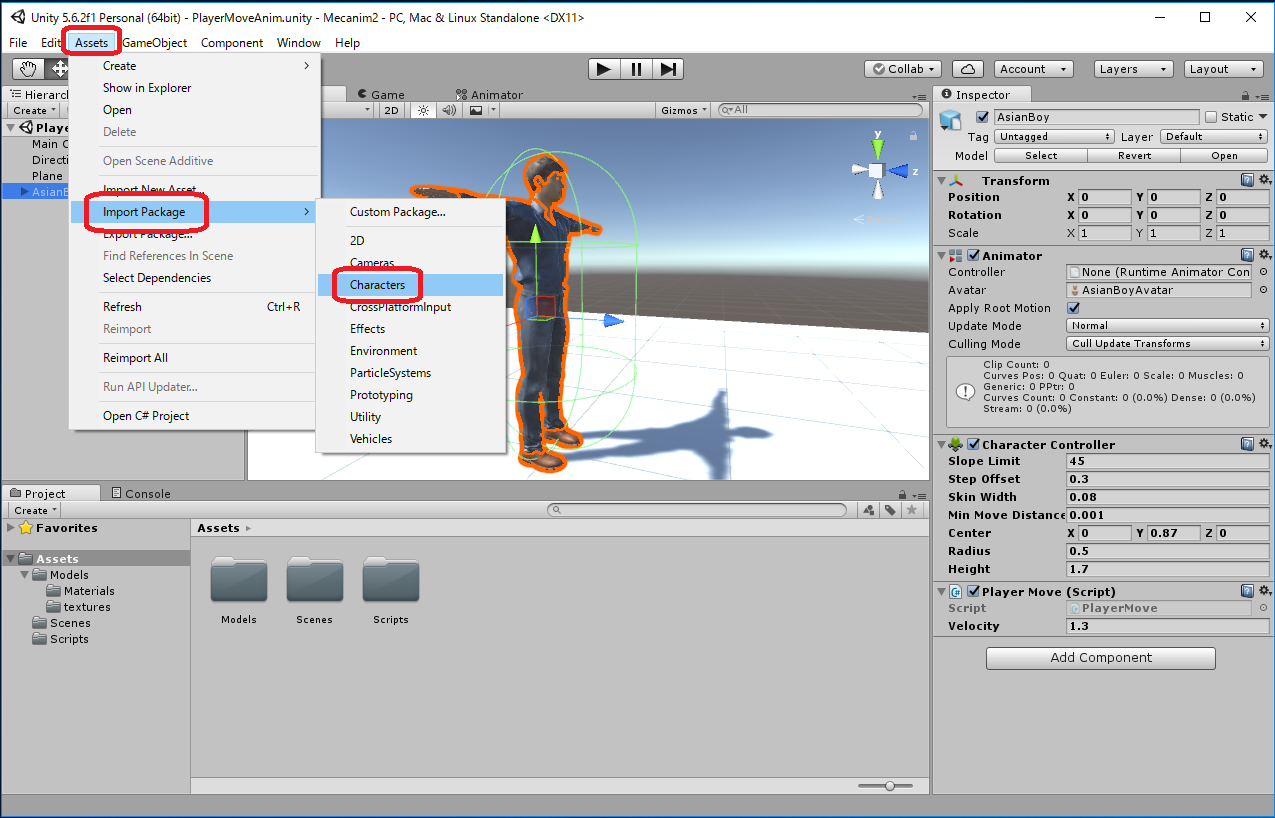
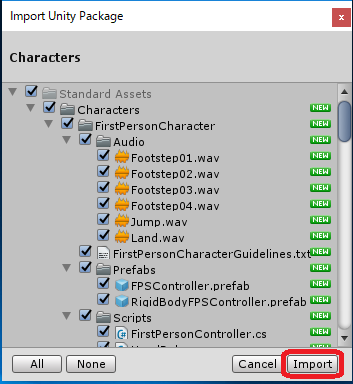
Assets -> Import Package -> Characters -> Allが選択された状態で -> Import
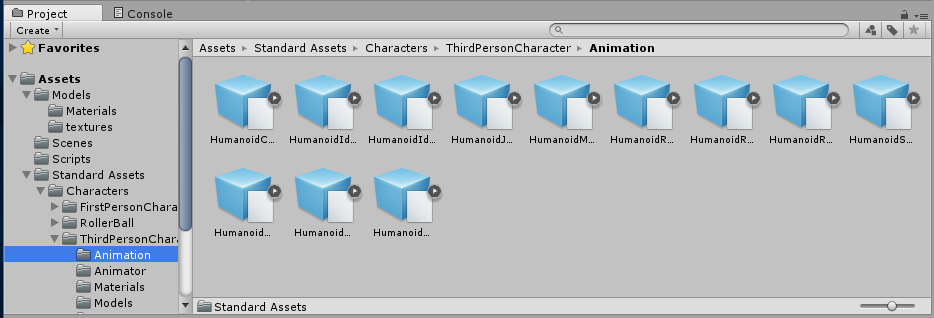
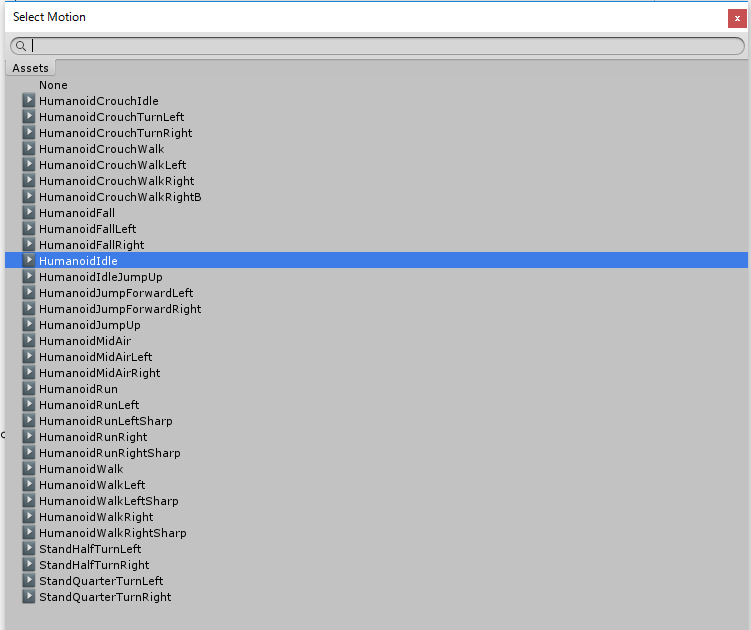
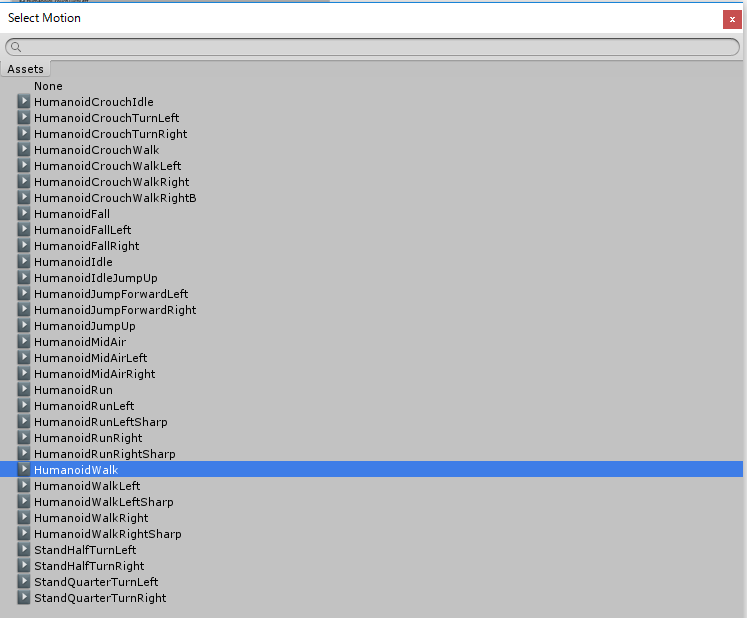
Projectウィンドウの Assets/Standard Assets/Characters/ThirdPersonCharacter/Animation/ の下に人型Characterの動作アニメーションがImportされます。
Assetsで右クリック -> Create -> Foler -> Animators

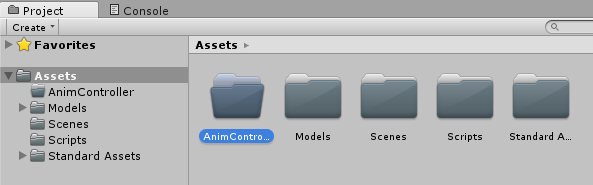
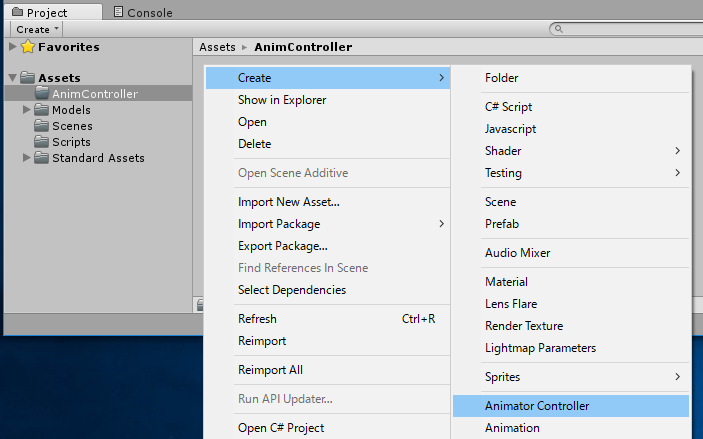
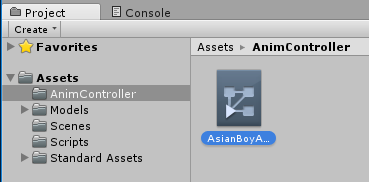
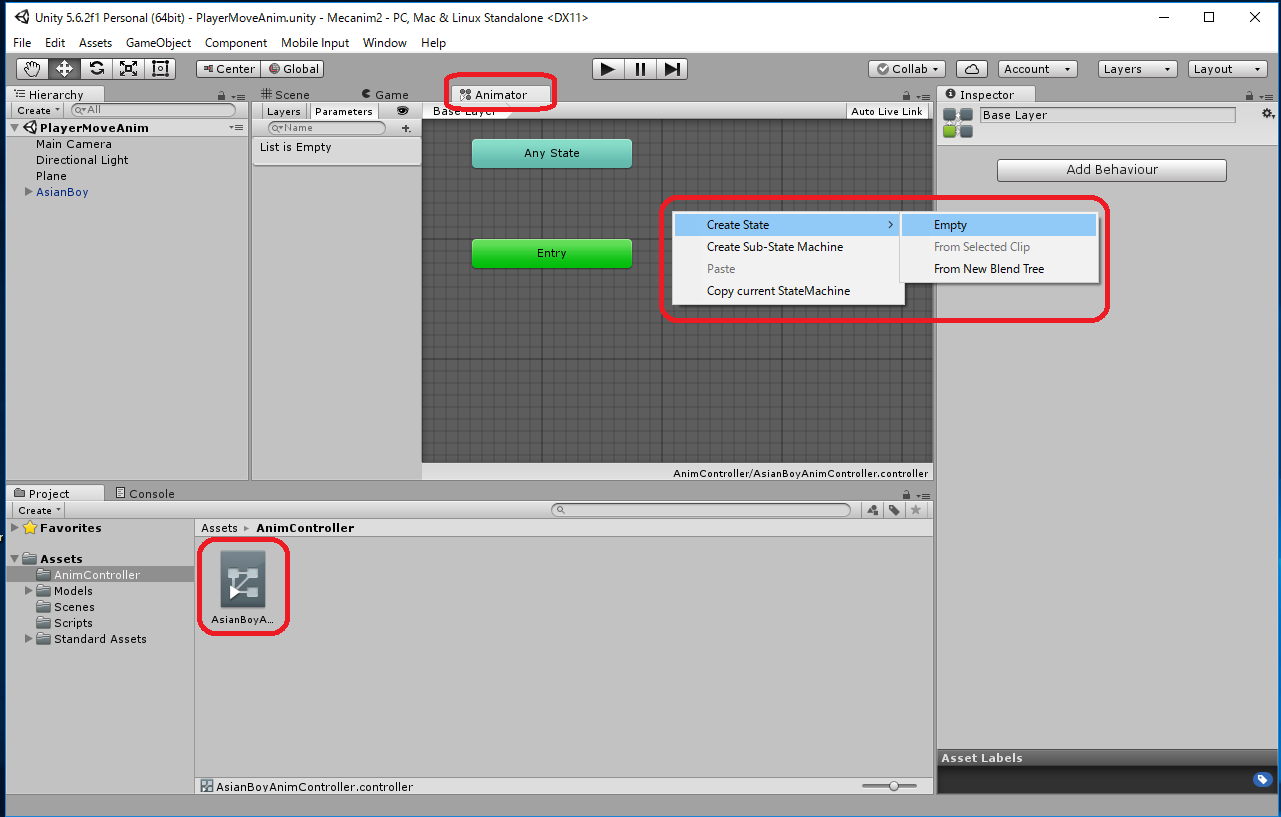
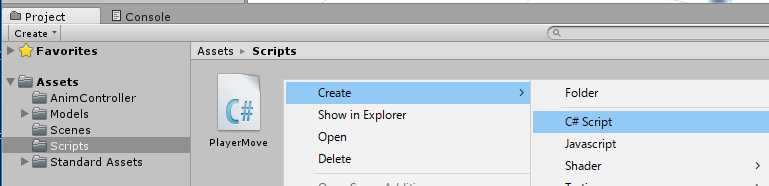
Assetsで右クリック -> Create -> Animator Controller
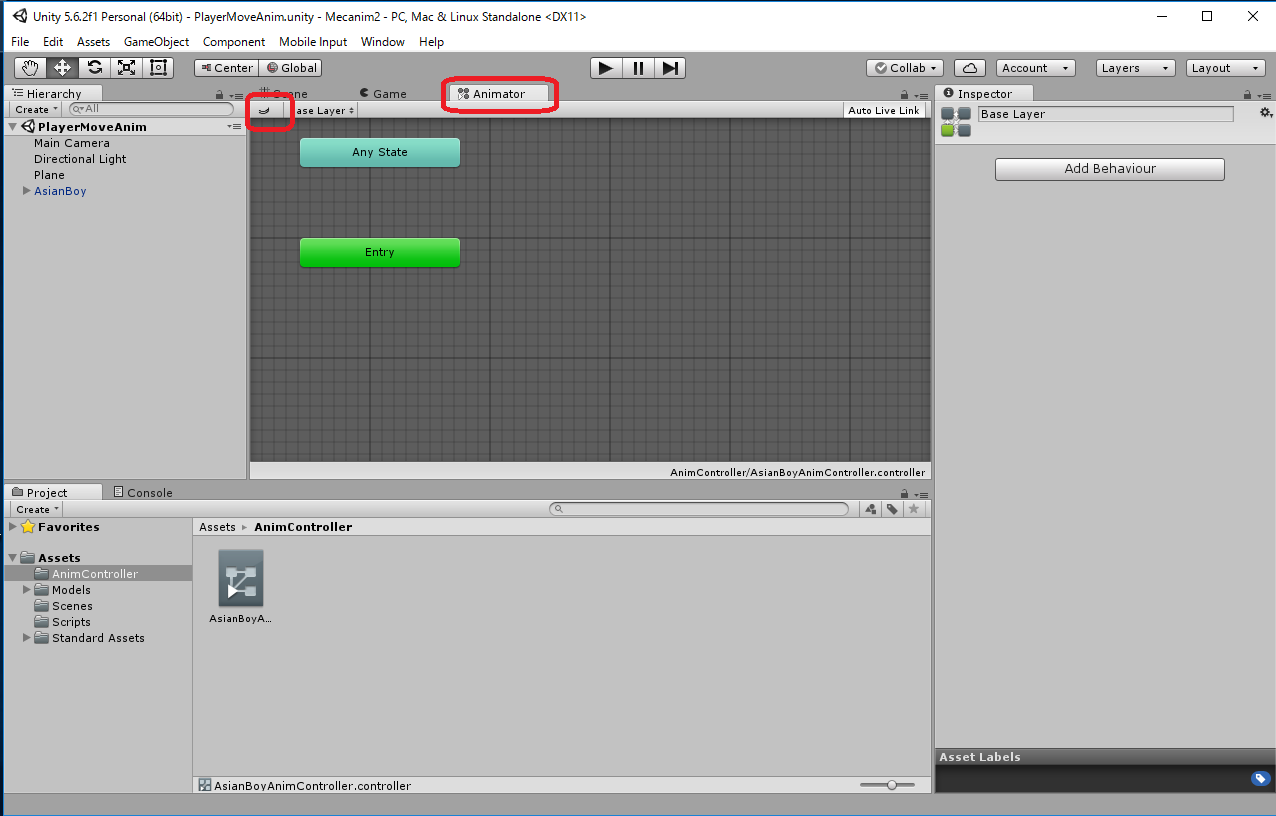
上のメニューバーから -> Windoow -> Animator
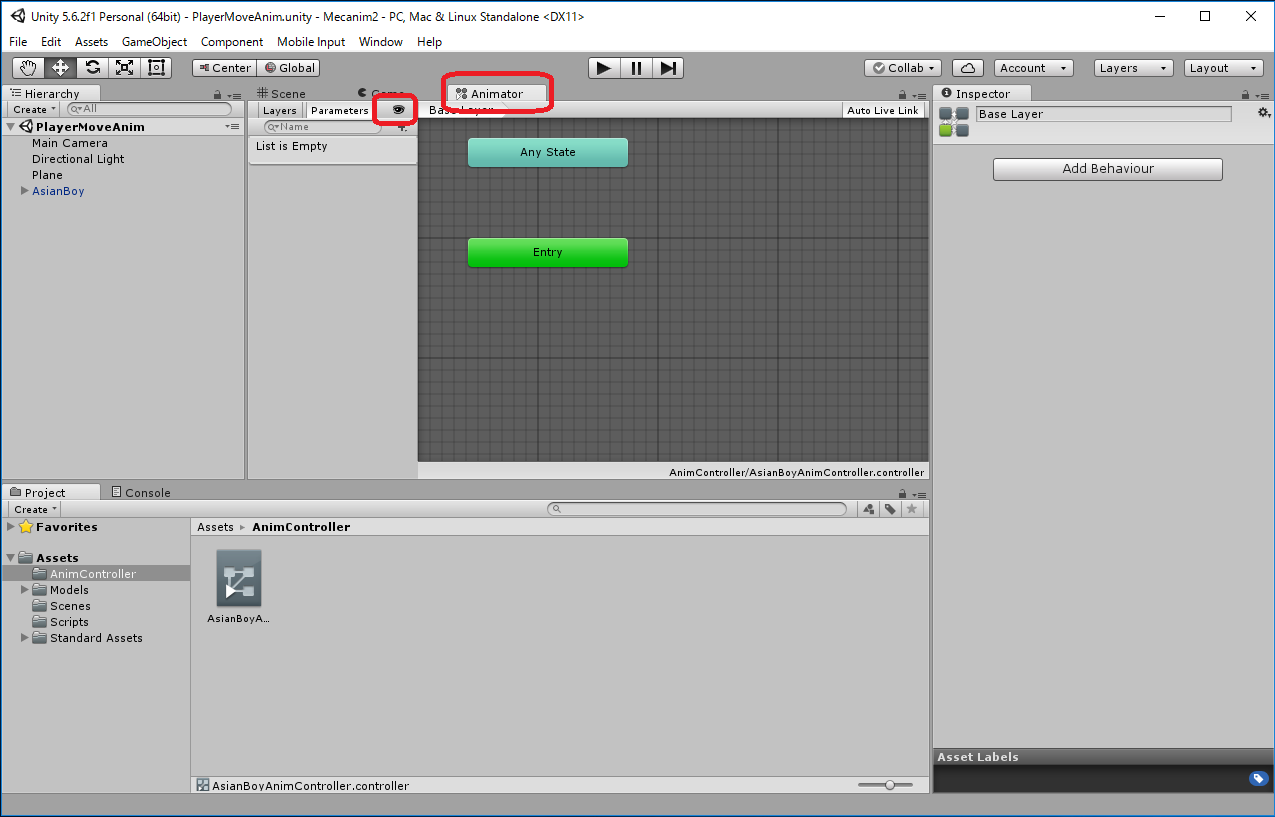
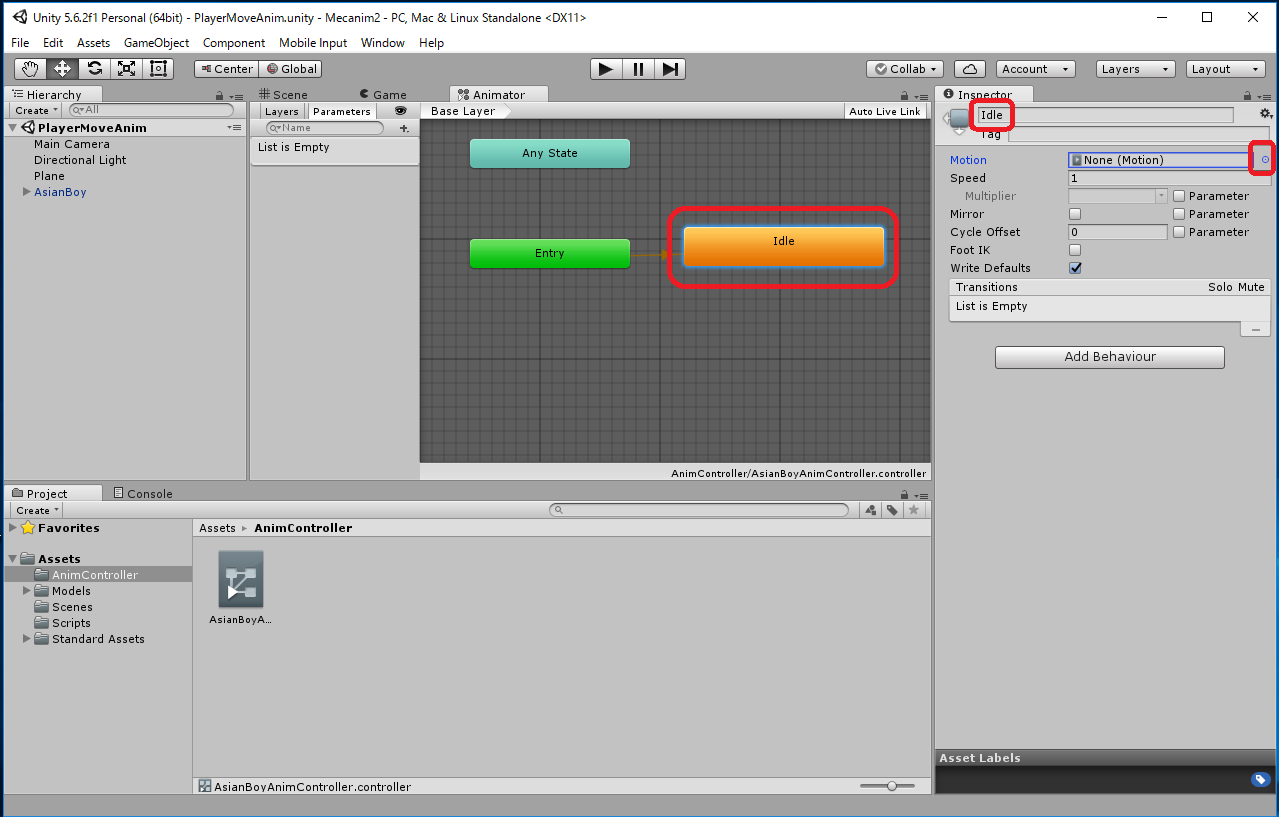
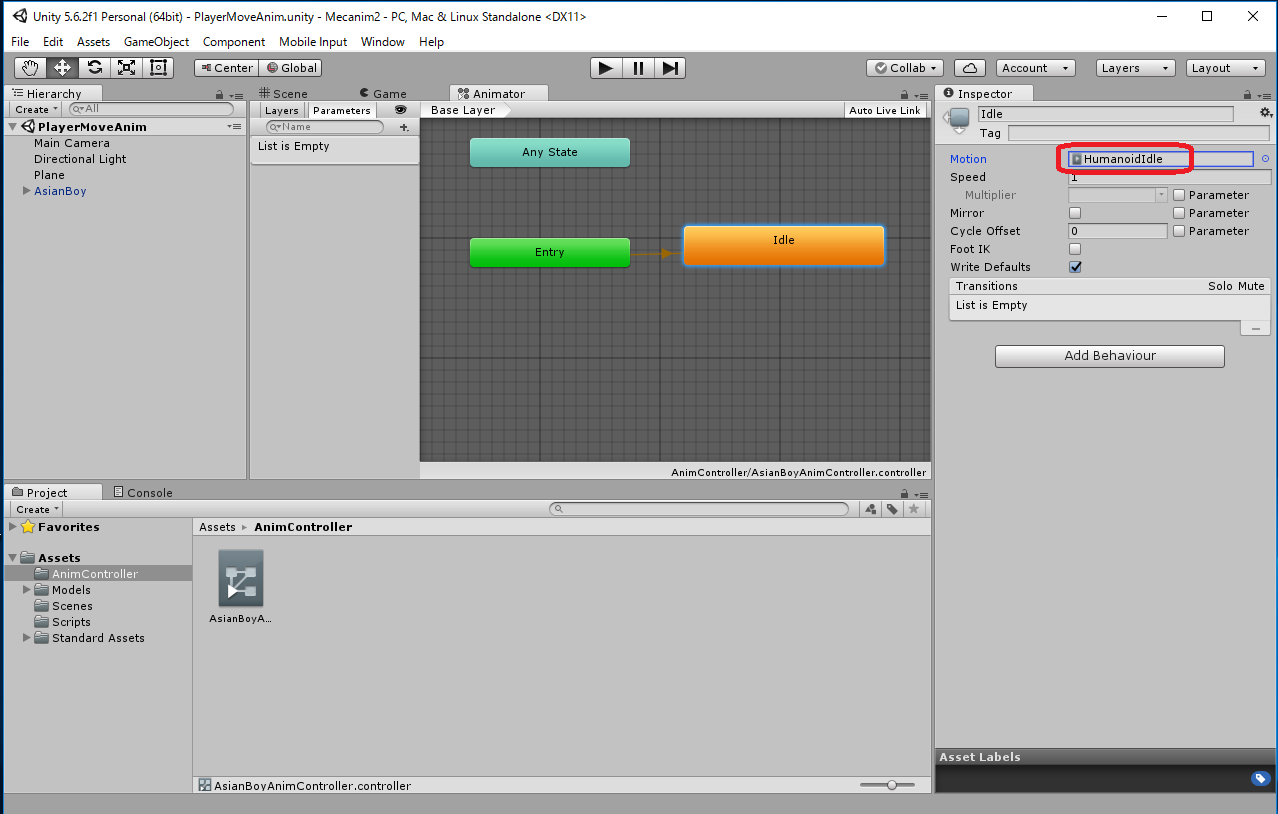
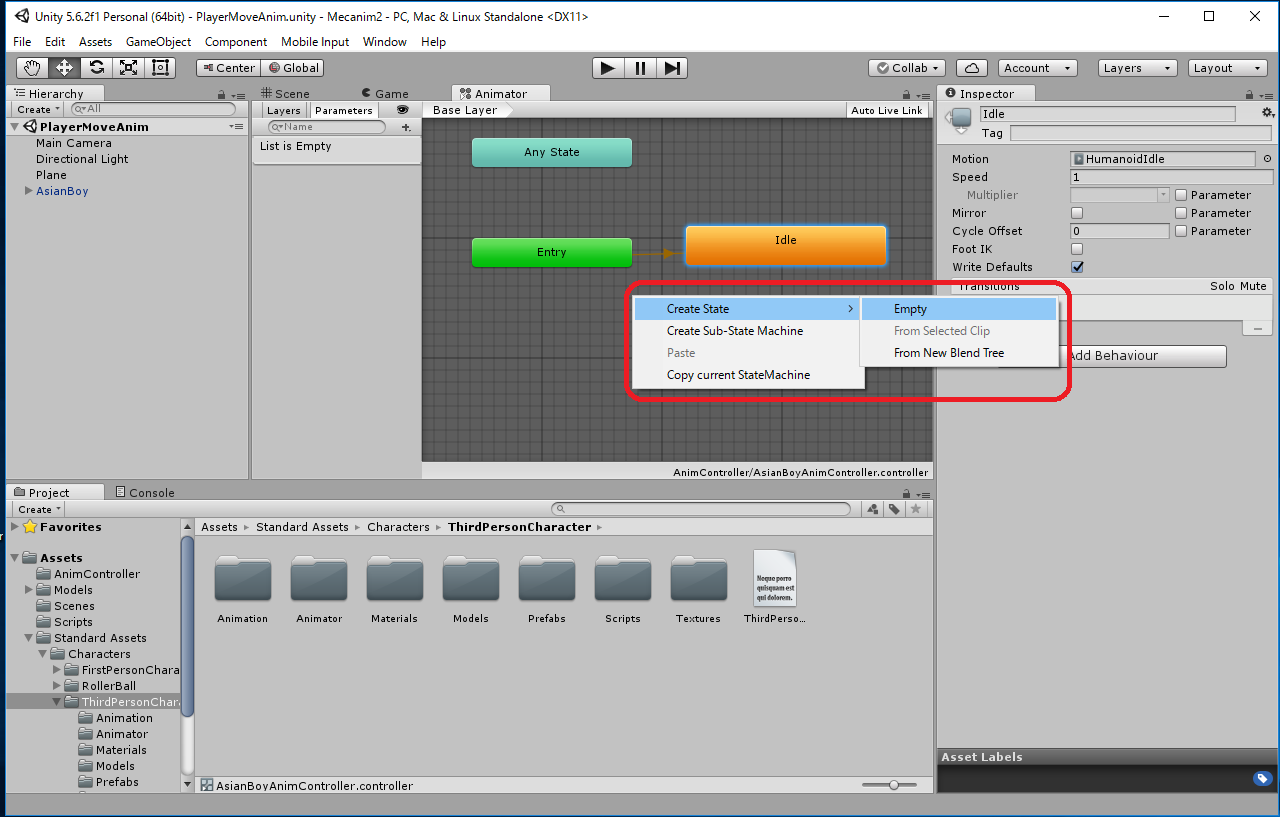
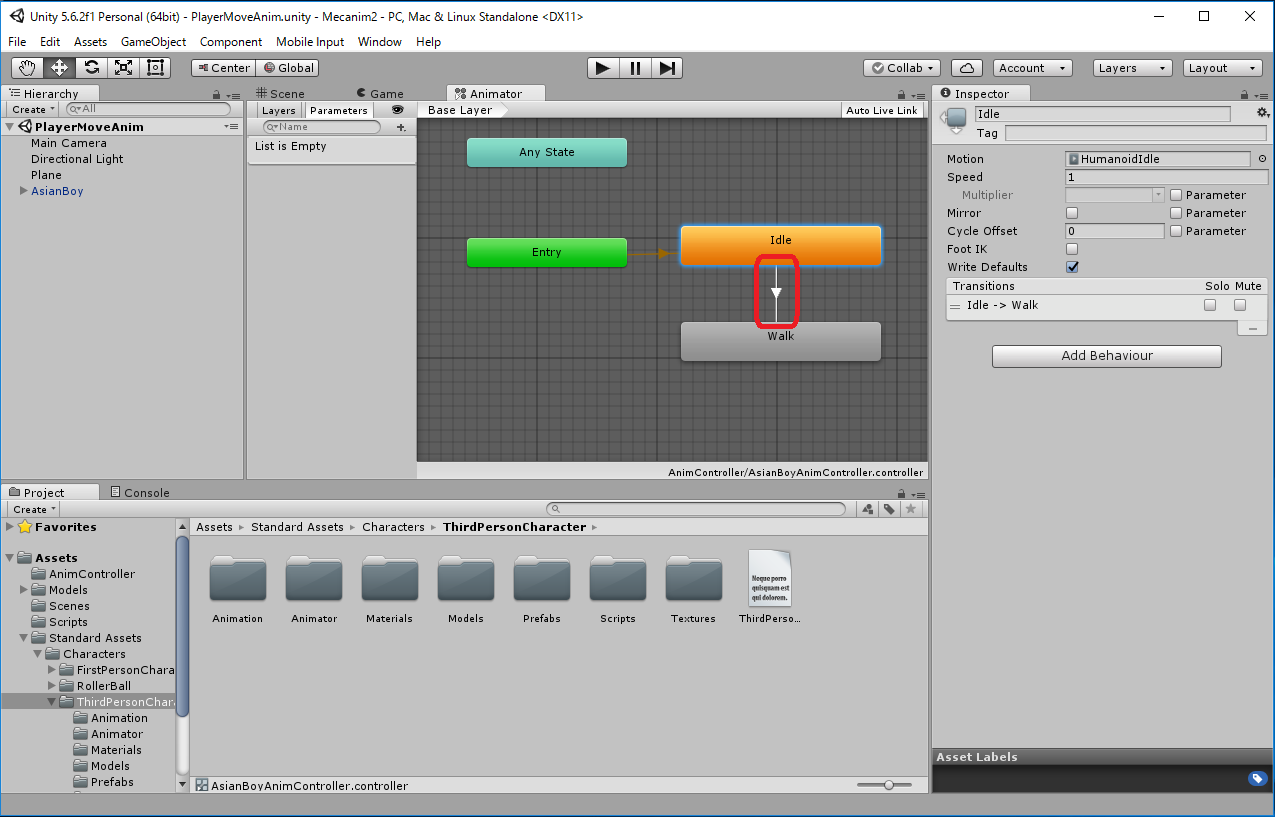
Animatorウィンドウが表示されます。"Layers" や "Parameter" は表示/非表示の切替ができますが、非表示の場合は表示に切り替えておきましょう。

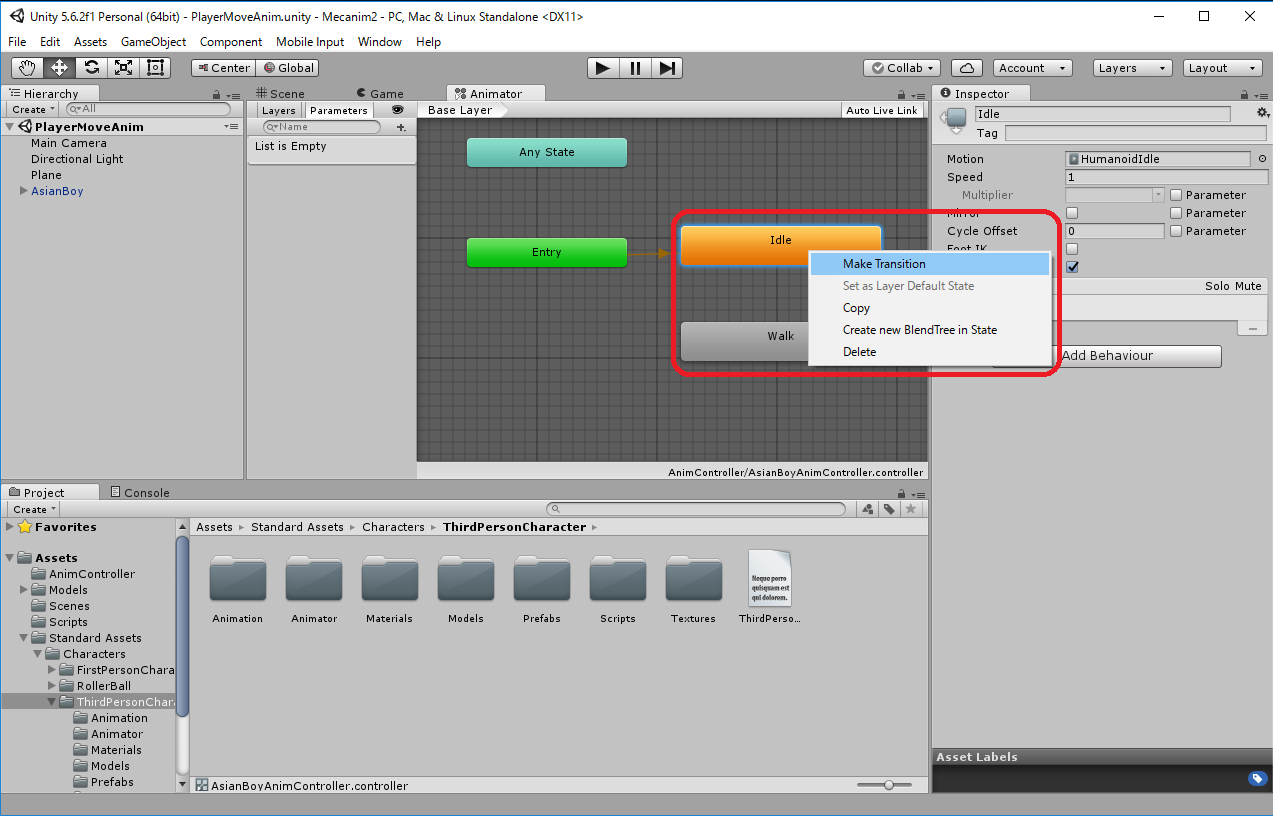
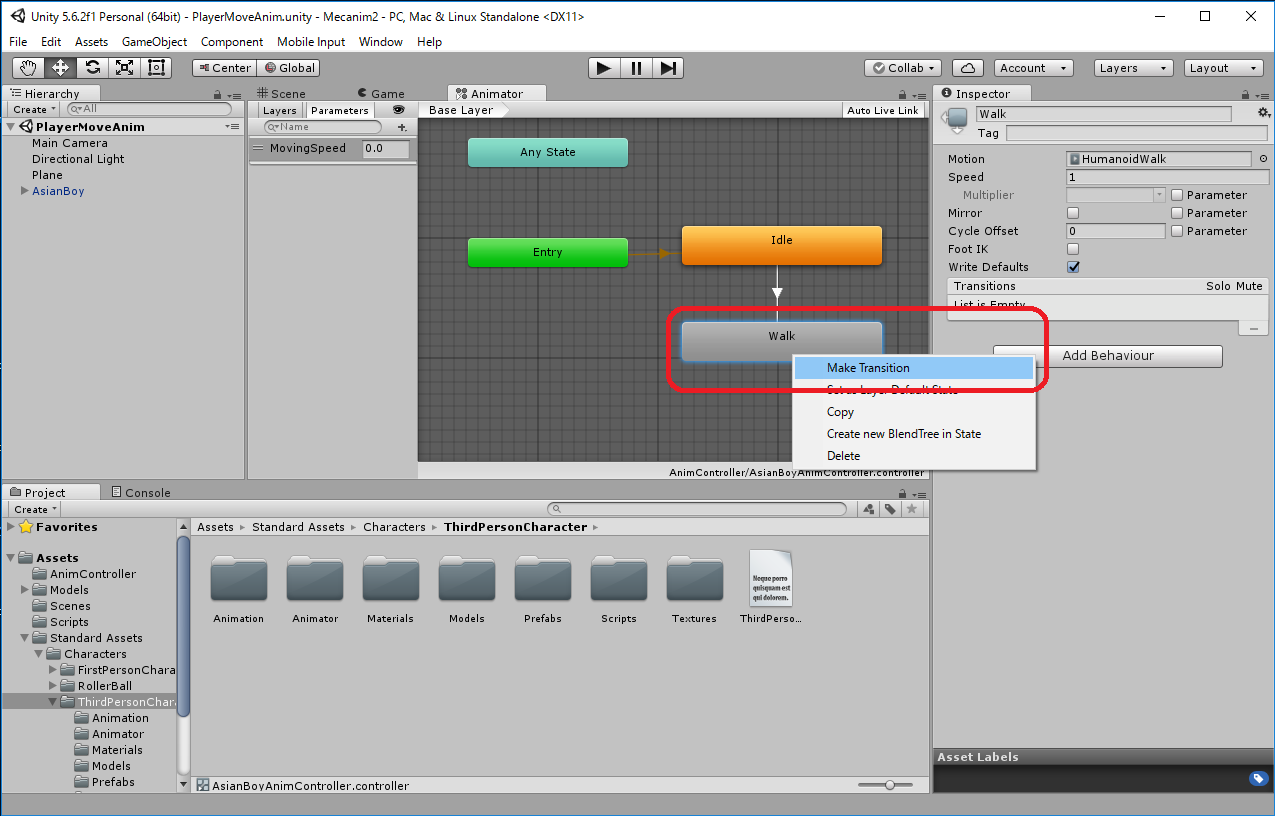
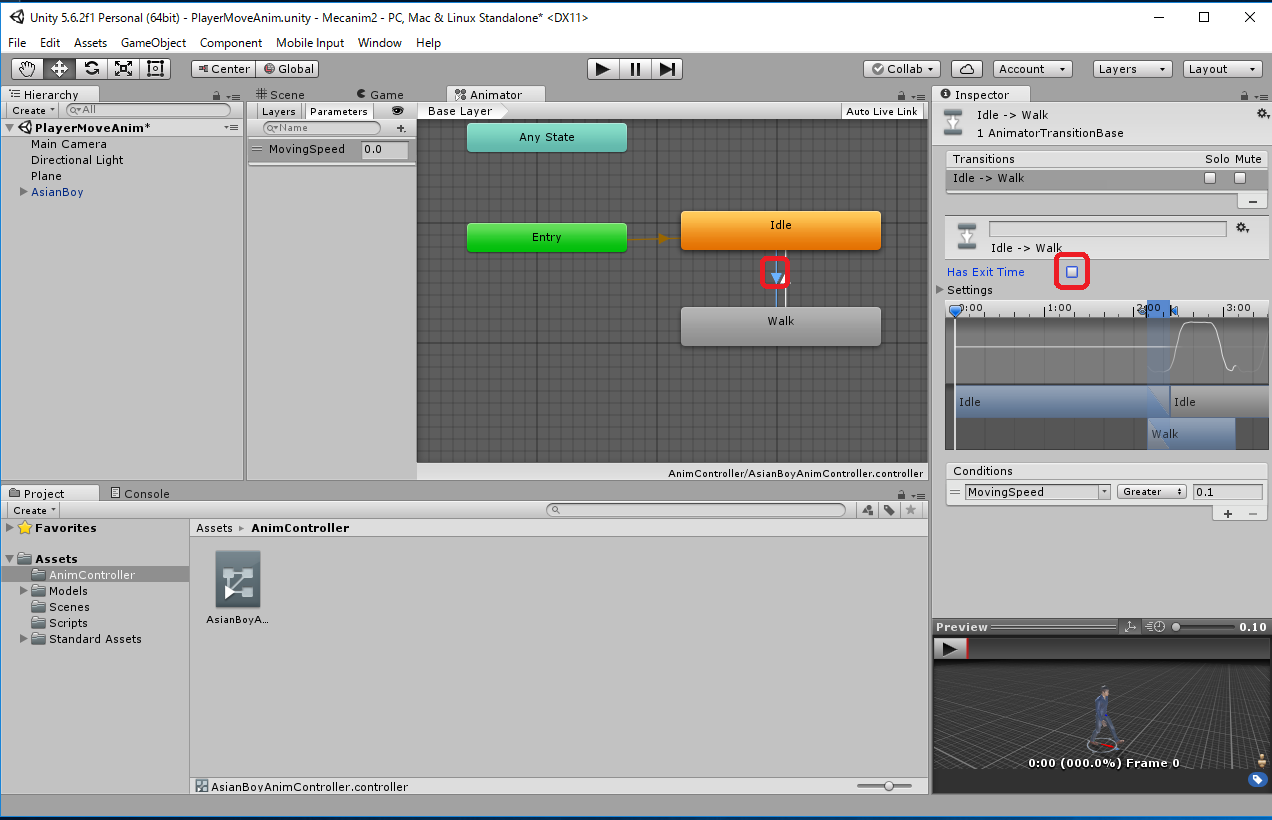
Animatorウィンドウ内の Idle の上で右クリック -> Make Transition -> Walk の上までドラッグする
-> Idel状態からWalk状態への矢印が生成される。
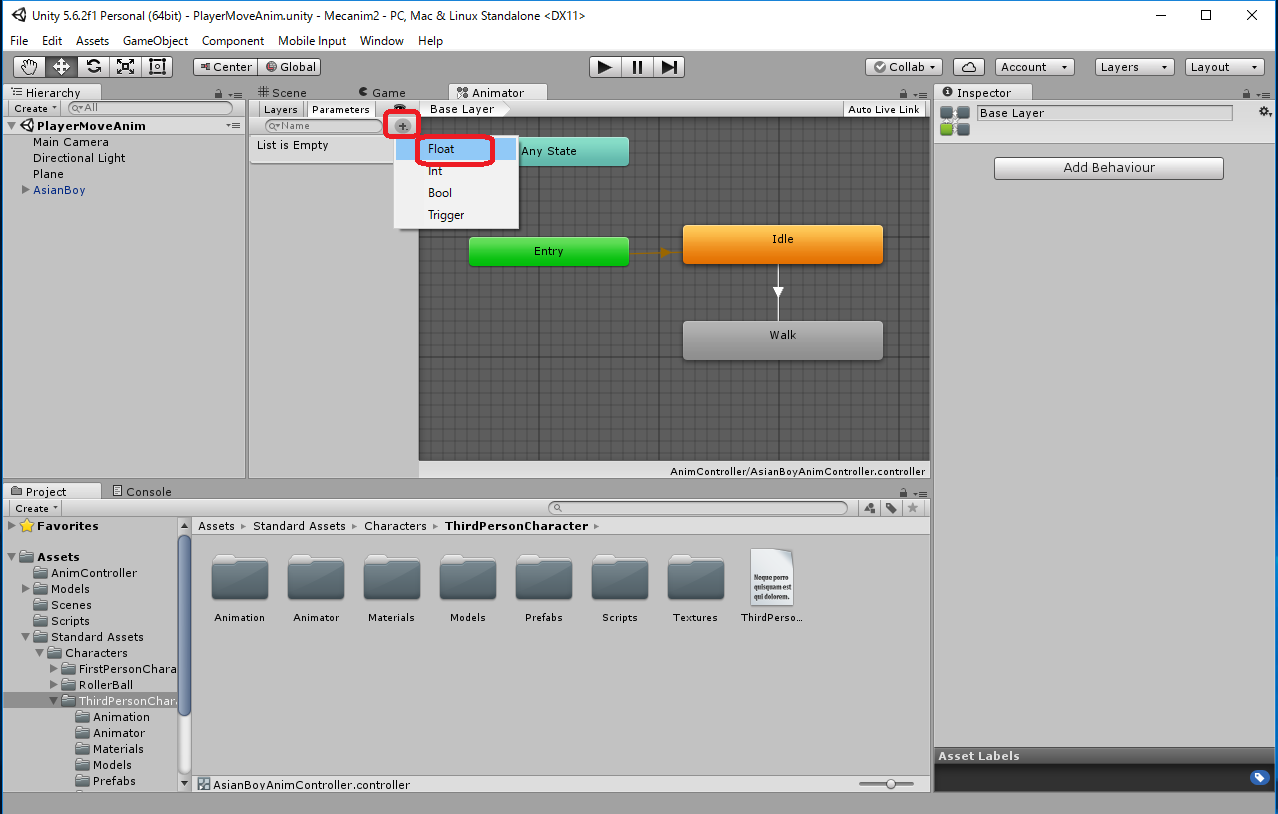
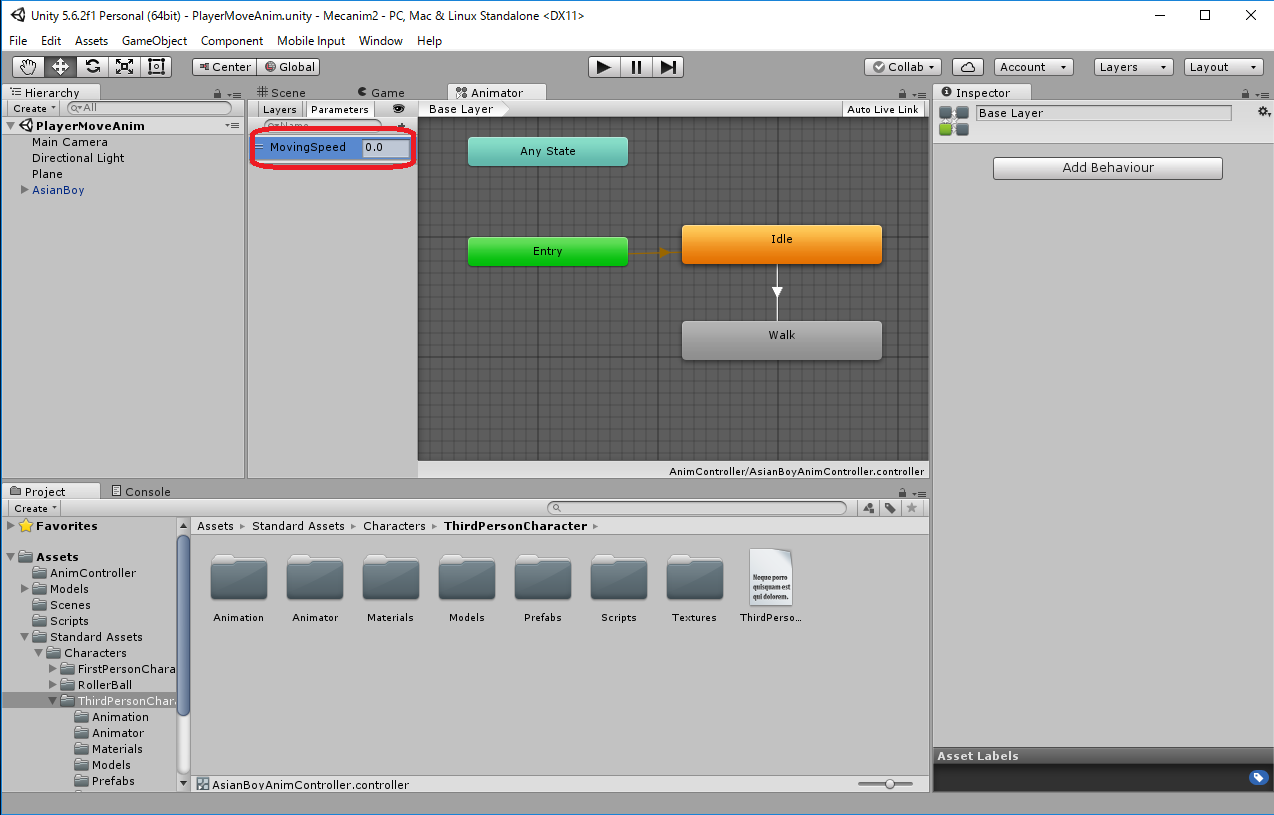
Animatorウィンドウの Parametersから"+"をクリックして -> Float を選択し、-> 名前を MovingSpeed と入力する。-> 初期値は 0.0 のままで大丈夫
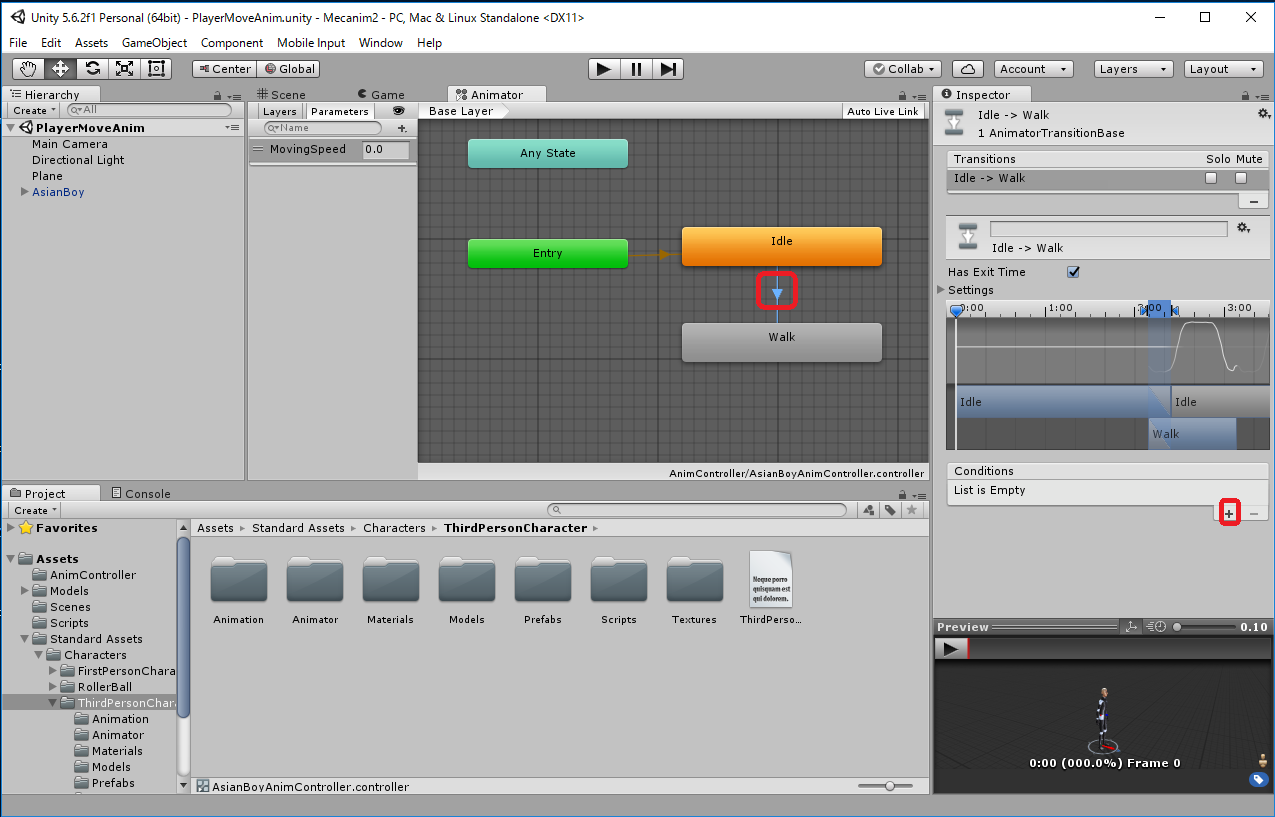
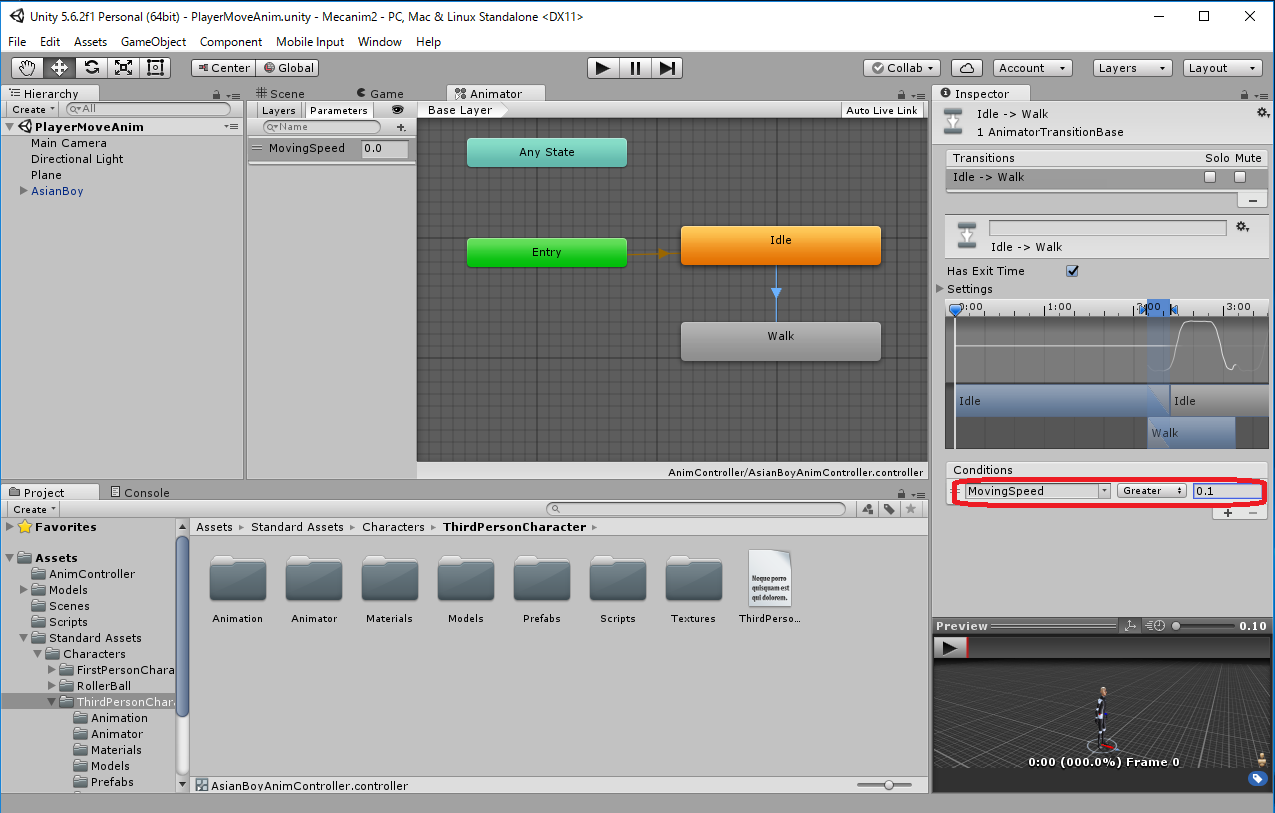
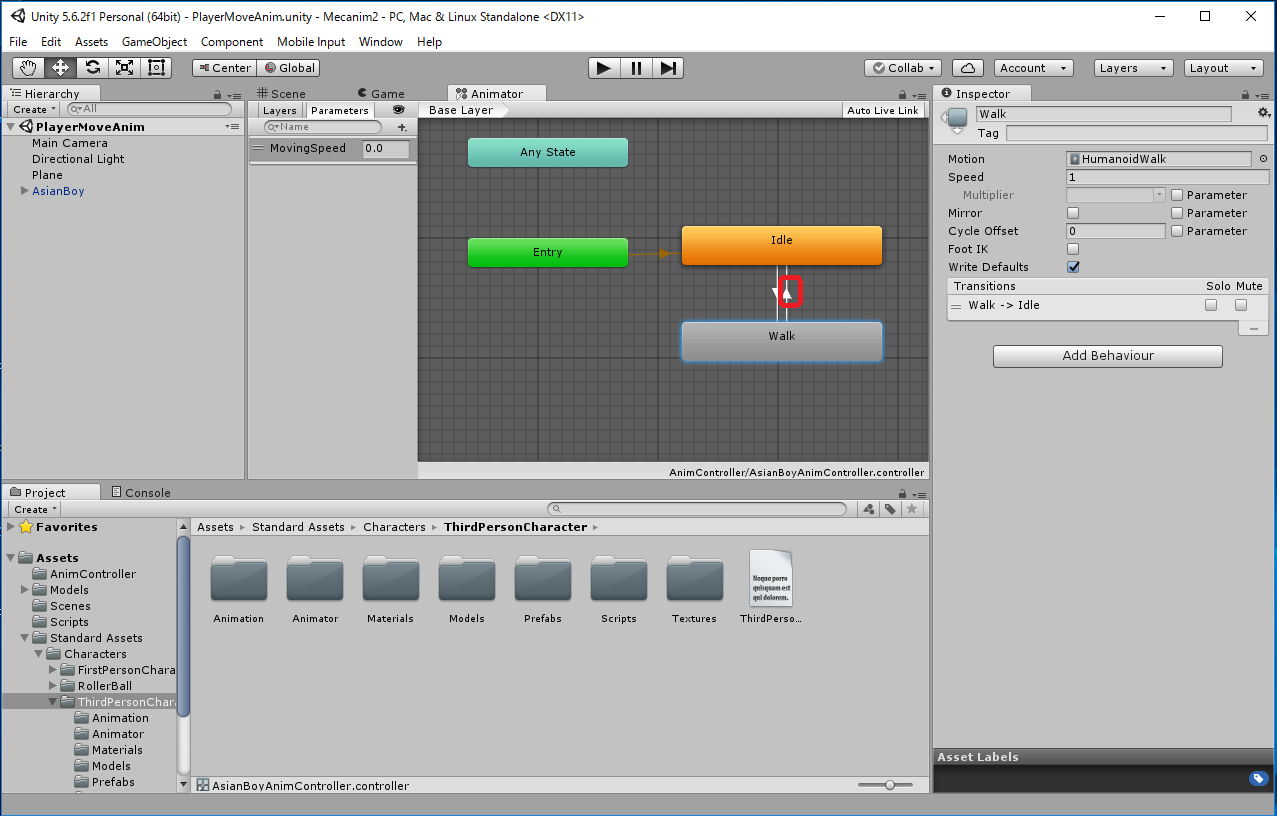
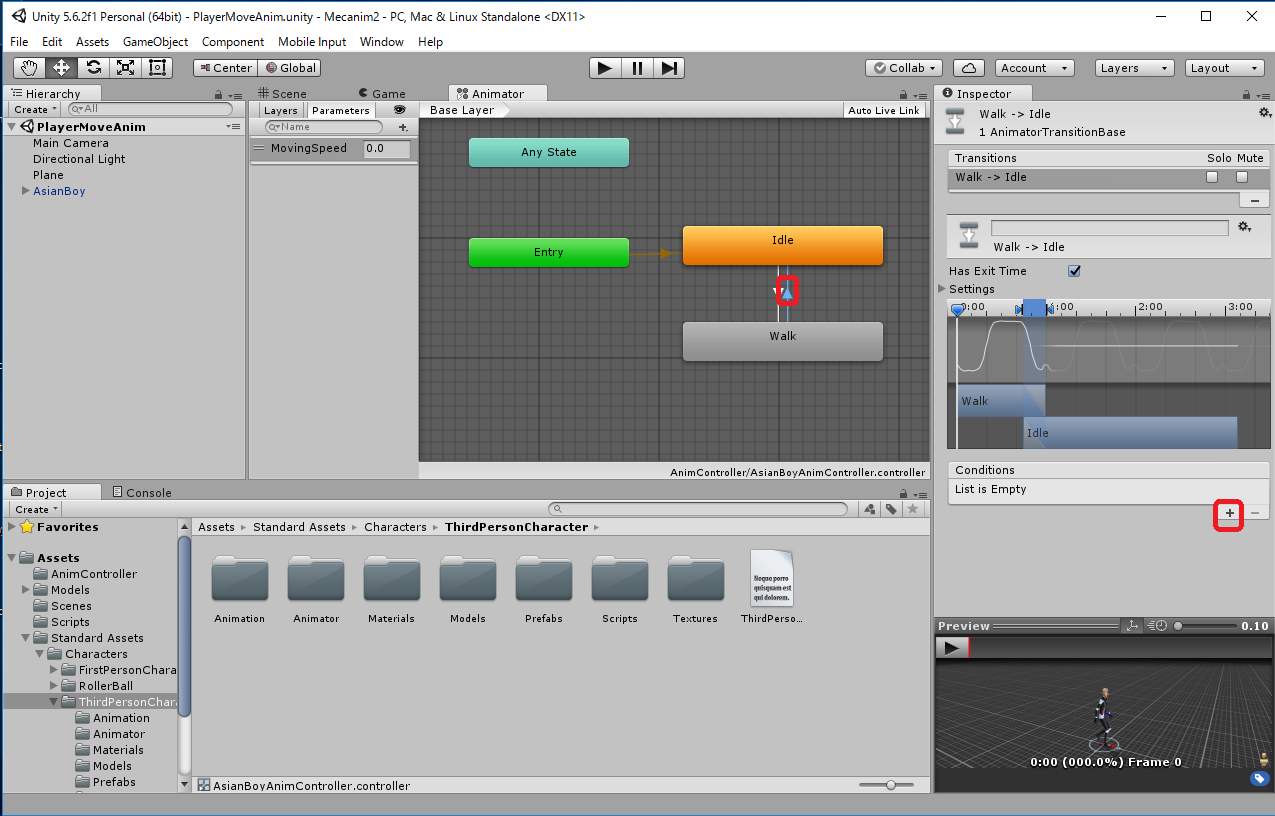
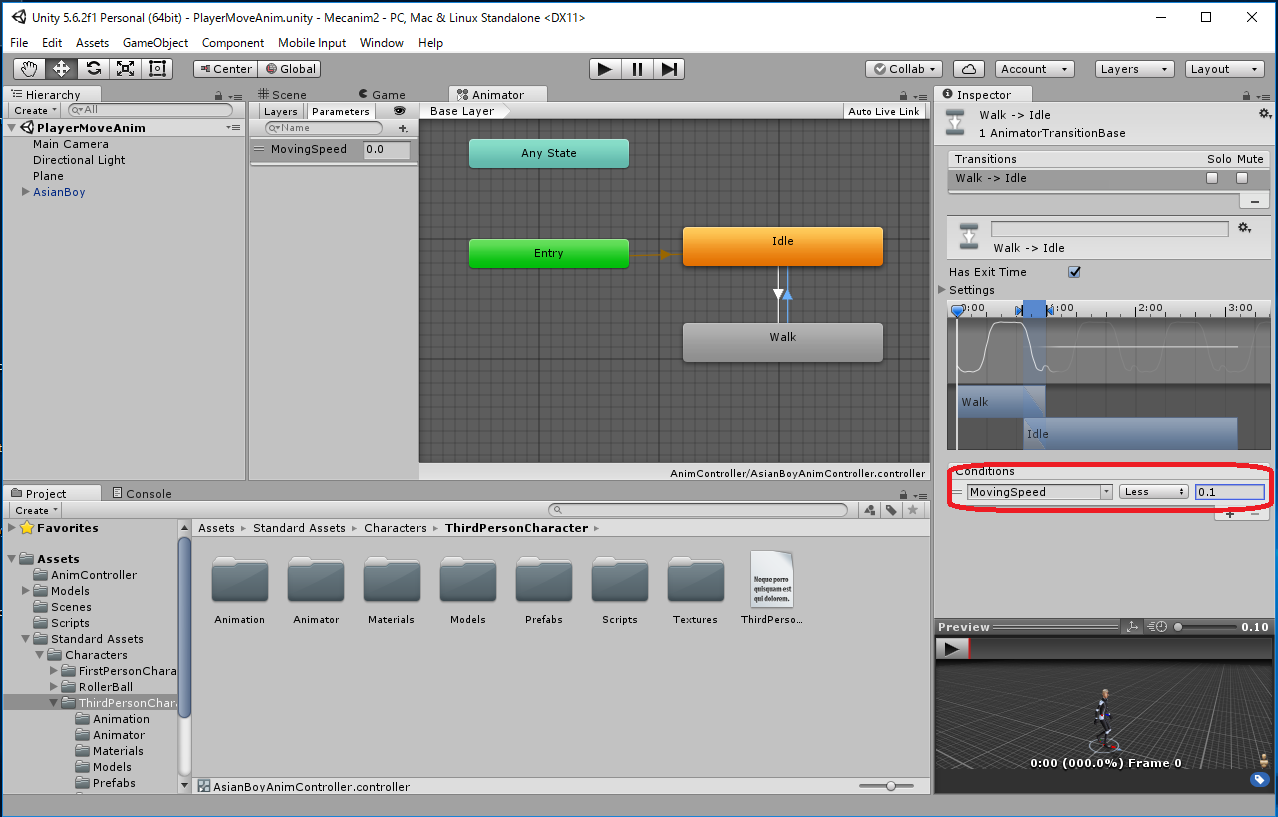
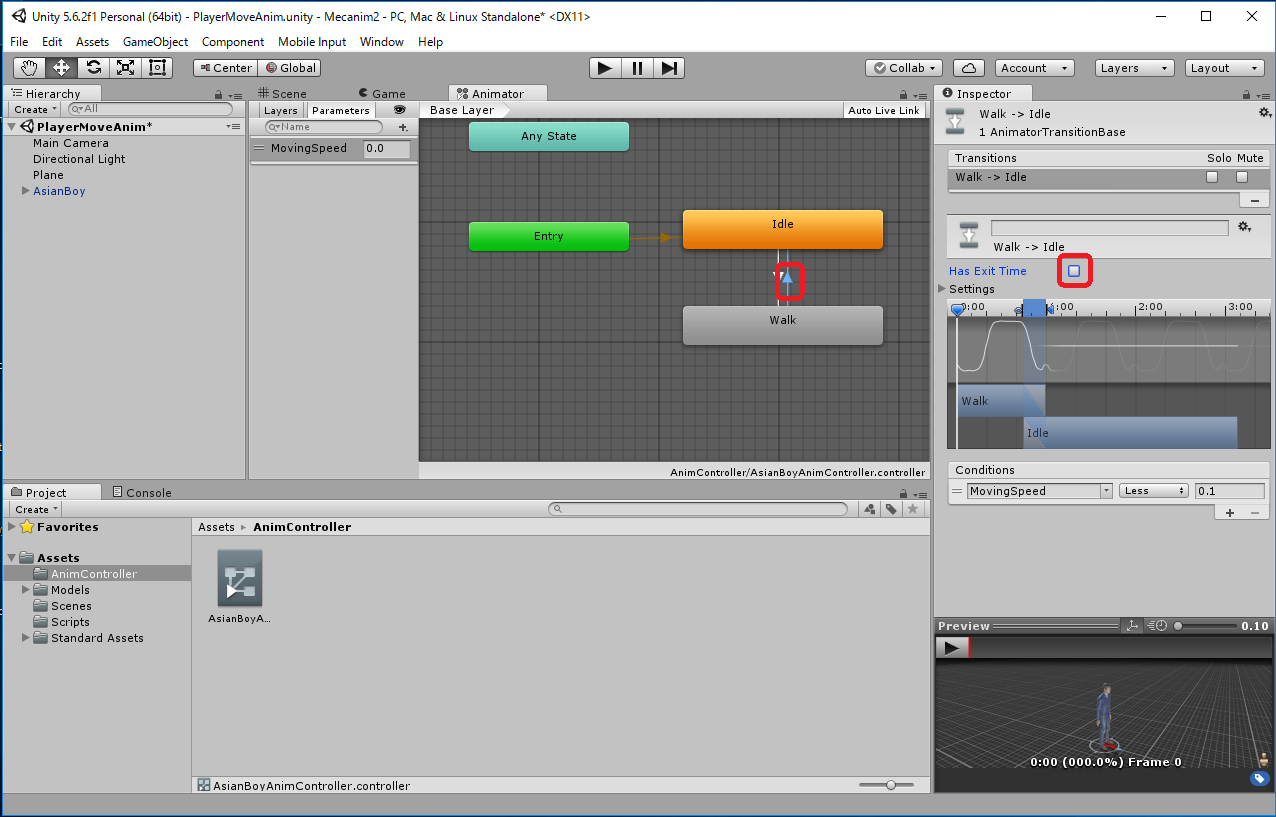
Animatorウィンドウ内のWalk状態の上で右クリックして "Make Transition" を選択し、 Idle状態の上までドラッグします。 Walk状態からIdle状態に矢印が生成されるので、その上でクリックし、InspectorのConditionで"+"をクリックして、 遷移条件を "MovingSpeed", "Less", "0.1" と指定します。
| PlayerMoveAnim.cs |
using System.Collections;
using System.Collections.Generic;
using UnityEngine;

public class PlayerMoveAnim : MonoBehaviour {
    public float velocity = 1.3f;
    private CharacterController charController;
    private Animator animator;
    void Start () {
        charController = gameObject.GetComponent<CharacterController>();
	animator = gameObject.GetComponent<Animator>();
    }
    void Update () {
        float h = Input.GetAxis("Horizontal");
        float v = Input.GetAxis("Vertical");
        Vector3 moveDirection =  new Vector3(0, 0, 0);;
        if (charController.isGrounded) {
            moveDirection = new Vector3(h, 0, v);
        }
	float MovingSpeed = velocity * moveDirection.magnitude;
	if (MovingSpeed > 0.1f) {
	    animator.SetFloat("MovingSpeed", MovingSpeed);
	} else {
	    animator.SetFloat("MovingSpeed", 0.0f);
	}
	transform.LookAt(transform.position + moveDirection);
        moveDirection.y += Physics.gravity.y;
        charController.Move(velocity * Time.deltaTime * moveDirection);
    }
}
|
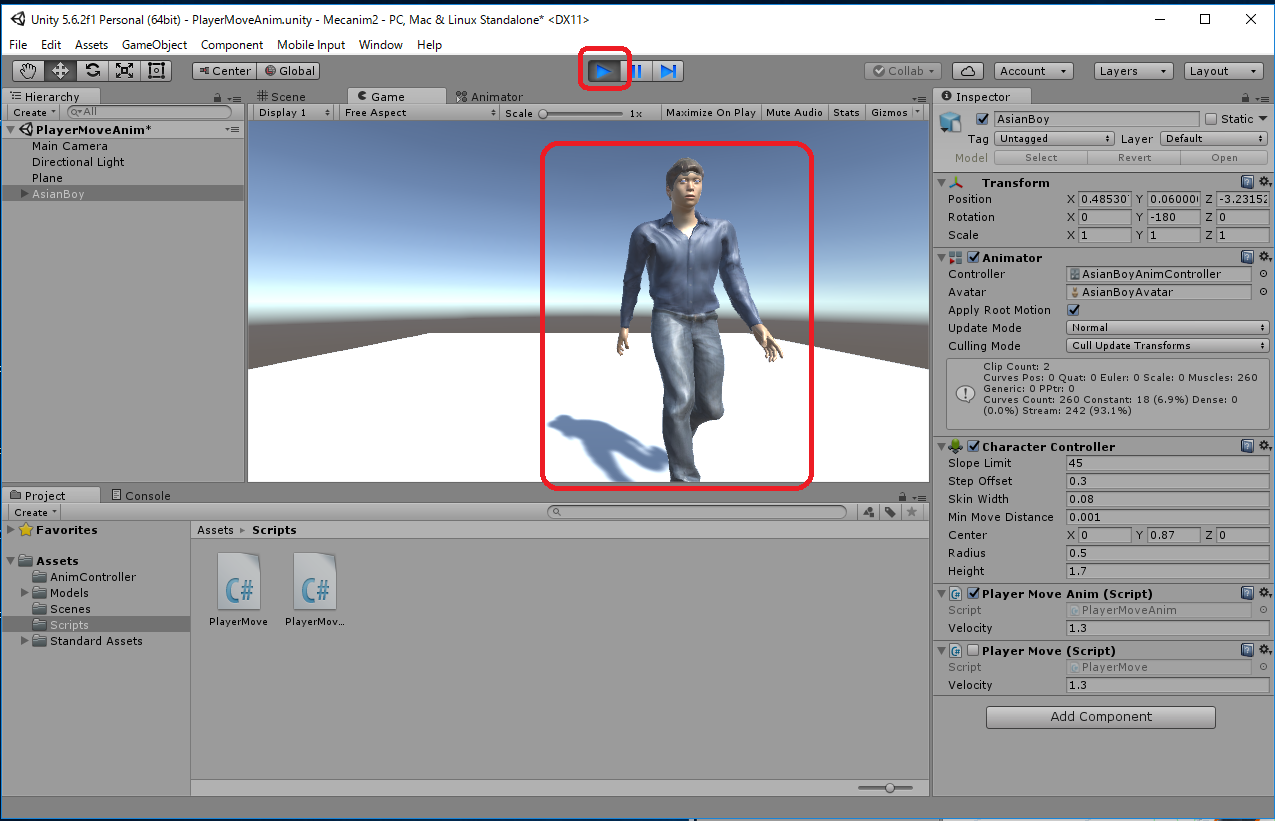
 をクリックして実行してみます。
キーボードの矢印キー(↑, ↓, ←, →)または 'w', 'a', 's', 'd' キーで AsianBoy が移動します。 状態によって人型キャラクタのアニメーションが切り替わるのがわかります。 ですが動作の切り替わりが少々緩慢に見えます。
既に PlayerMoveAnim.unity シーンを作成していましたので、上書きします。
File -> Save Scenes