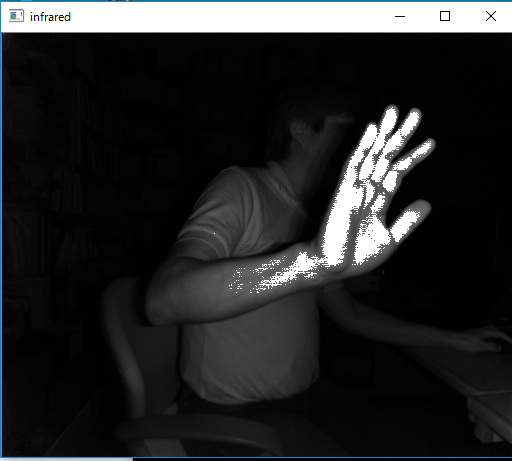
Depth画像と同じく 512x424 の解像度で Infrared (赤外線)画像を取得することができます。
得られたInfrared画像はピクセル毎に UINT16 で表現されます。
| 返り値の型 | メソッド名 | 説明 |
|---|---|---|
| void | setInfrared() | メンバ変数 infraredImage に Infrared 画像をセットする。 |
| 型 | 変数名 | 説明 |
|---|---|---|
| cv::Mat | infraredImage | Infrared 画像。
512x424の大きさで、各ピクセルは UINT16 で表現されます。 画像の座標は DepthSpace 座標系における位置です。
UINT16 infrared = rgbImage.at<UINT16>(y , x );
|
kinect.setInfrared()メソッドを呼び出して kinect.infraredImage に赤外線画像データを設定します。
| main.cpp |
#include <iostream> #include <sstream> #include "NtKinect.h" using namespace std; void doJob() { NtKinect kinect; while (1) { kinect.setInfrared(); cv::imshow("infrared", kinect.infraredImage); auto key = cv::waitKey(1); if (key == 'q') break; } cv::destroyAllWindows(); } int main(int argc, char** argv) { try { doJob(); } catch (exception &ex) { cout << ex.what() << endl; string s; cin >> s; } return 0; } |
上記のzipファイルには必ずしも最新の NtKinect.h が含まれていない場合があるので、 こちらから最新版をダウンロードして 差し替えてお使い下さい。