
可能ならば画像ファイルをImage View のbackgroundに設定したいところですが、
ここでは簡単のため
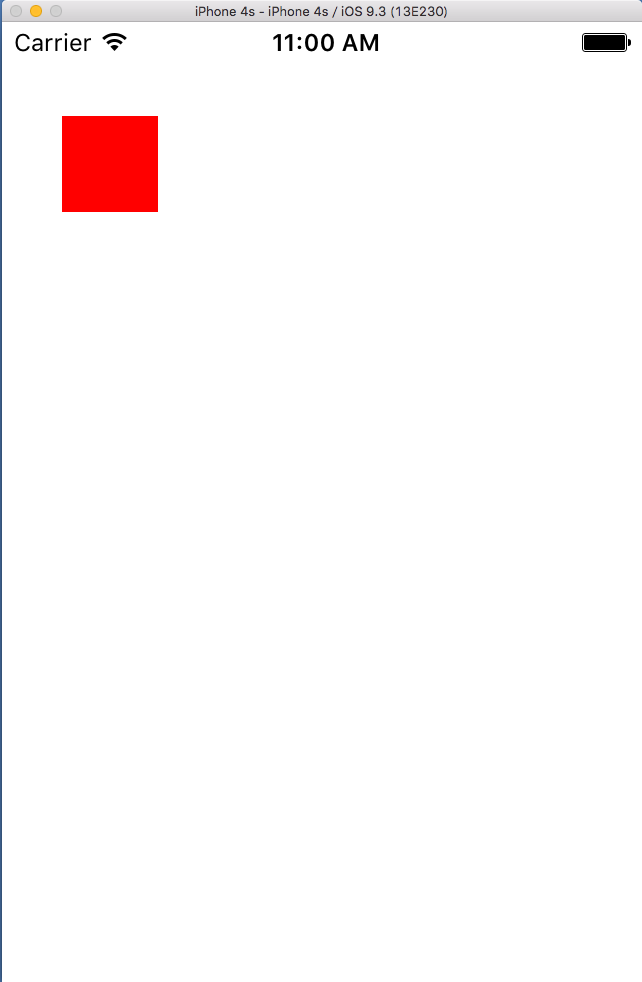
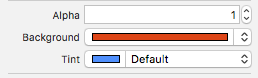
"Attribute Inspector"  でBackgroundの色を 赤 (255,0,0,255) にしておきます。
"Size Inspector"
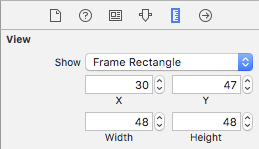
 で大きさを 48x48 にします。
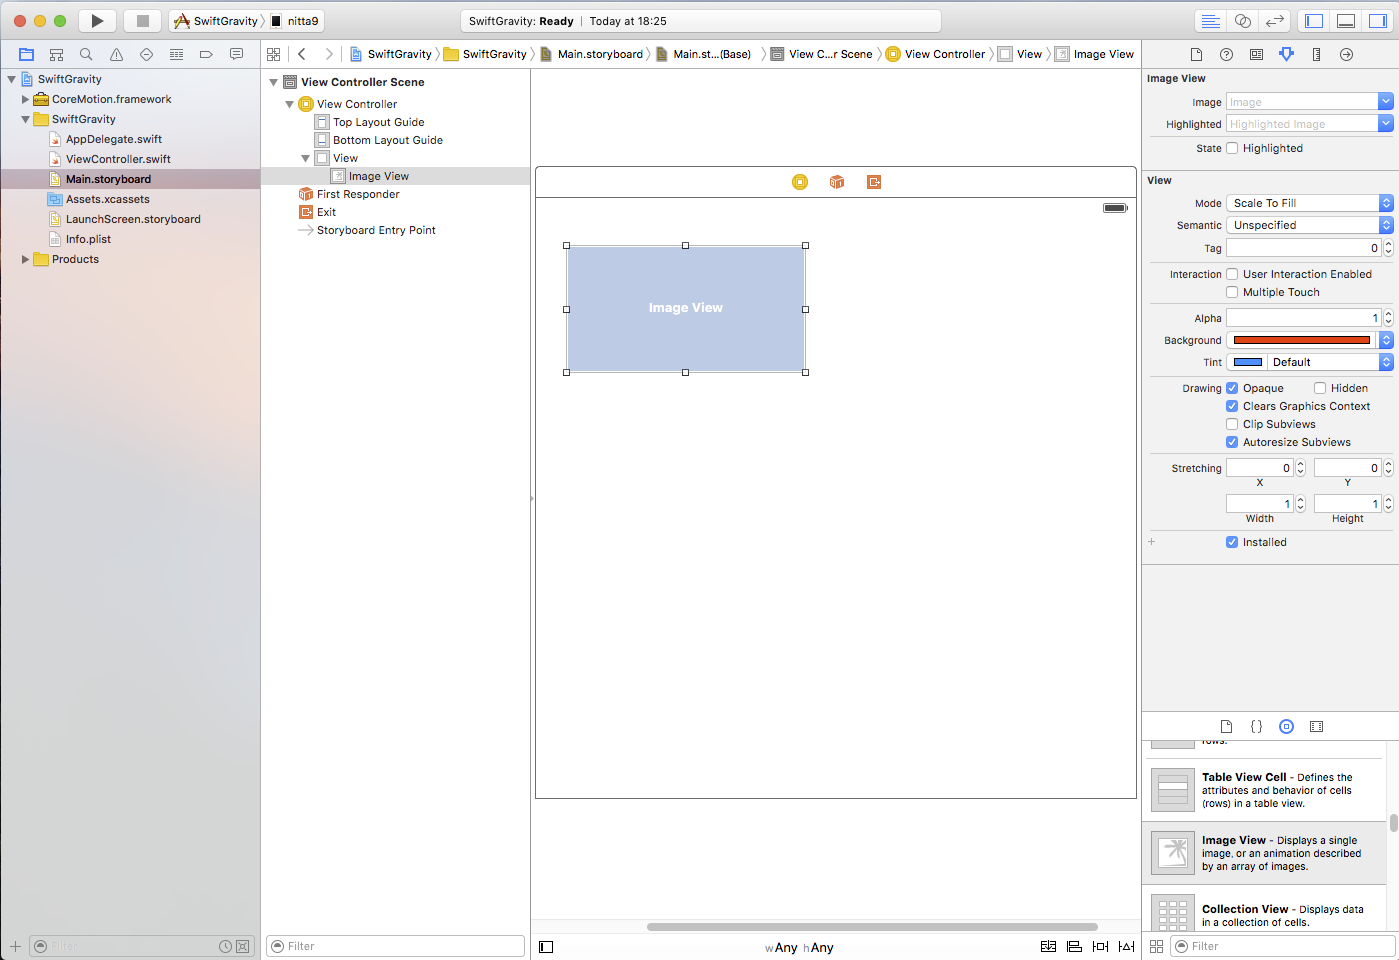
 をクリックして、右側のウィンドウに ViewController.swift が表示されている
状態にします。
をクリックして、右側のウィンドウに ViewController.swift が表示されている
状態にします。

class ViewController: UIViewController {
の下の行まで持っていきます。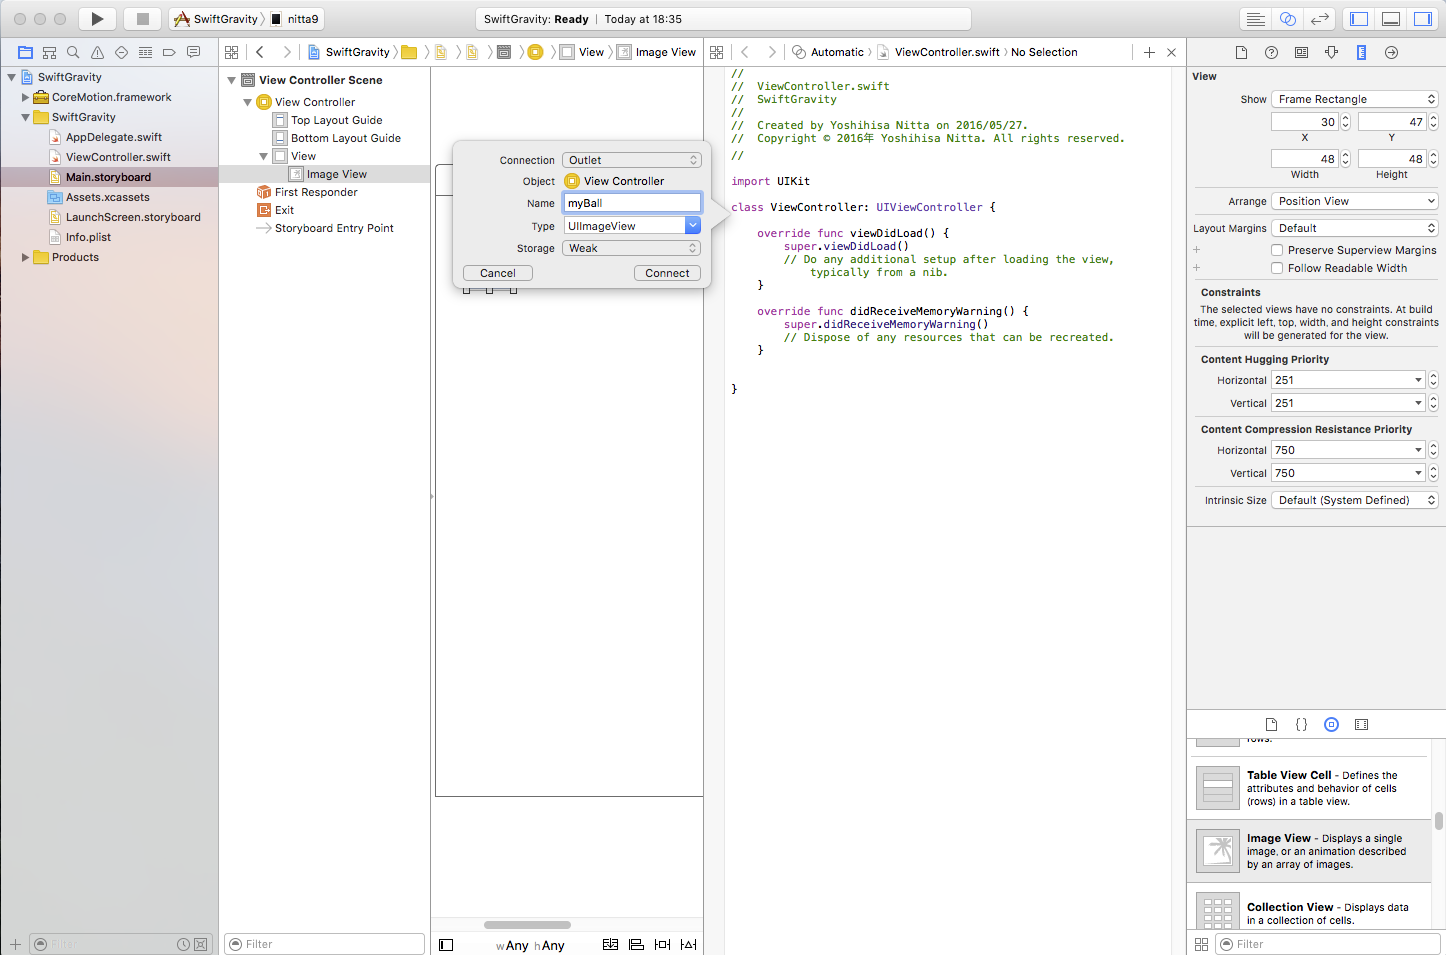
ConnectionはOutletで、 Name を myBall として Connect をクリックしましょう。

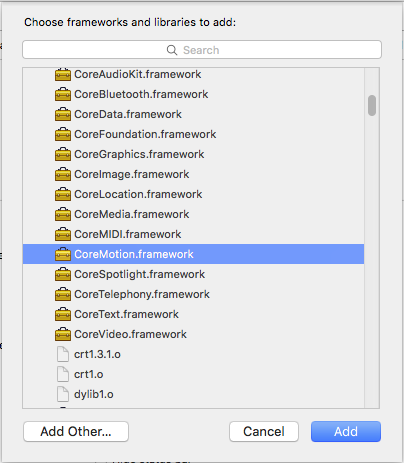
- CoreMotion を import する。
- CMManagerを生成し、定数に代入しておく。
- startGame() 関数にCoreManager を起動するように記述する。 初期設定したあと、一定時間おきクロージャを呼び出す。 クロージャの中ではプロパティやメソッドに self をつけてアクセスする必要があることに注意する。
- viewDidLoad()関数に、startGame() を呼び出す処理を記述する。
| ViewController.swiftに追加するコード(赤字部分) |
import UIKit
import CoreMotion

class ViewController: UIViewController {
    @IBOutlet weak var myBall: UIImageView!
    let cmManager = CMMotionManager()
    let scrSize: CGSize = UIScreen.mainScreen().bounds.size
    let mag: Double = 20.0
    var vx, vy: Double?

    override func viewDidLoad() {
        super.viewDidLoad()
        vx = 0.0
        vy = 0.0
        startGame()
    }

    func startGame() {
        cmManager.deviceMotionUpdateInterval = 0.1
        let handler: CMDeviceMotionHandler = {
            (motionData: CMDeviceMotion?, error: NSError?) -> Void in
            self.stepGame(motionData, error: error)
        }
        cmManager.startDeviceMotionUpdatesToQueue(NSOperationQueue.mainQueue(), withHandler: handler)
    }

    func stepGame(motionData: CMDeviceMotion?, error: NSError?) {
        var xMin, xMax, yMin, yMax: Int
        xMin = Int(myBall.frame.width / 2)
        xMax = Int(scrSize.width) - xMin
        yMin = Int(myBall.frame.height / 2)
        yMax = Int(scrSize.height) - yMin
        if let motion = motionData {
            let gravity = motion.gravity
            vx = vx! + gravity.x * mag
            vy = vy! - gravity.y * mag
            var x: Int = Int(Double(myBall.center.x) + vx!)
            var y: Int = Int(Double(myBall.center.y) + vy!)
            if (x < xMin) {
                x = xMin; vx = 0.0
            } else if (x > xMax) {
                x = xMax; vx = 0.0
            }
            if (y < yMin) {
                y = yMin; vy = 0.0
            } else if (y > yMax) {
                y = yMax; vy = 0.0
            }
            myBall.center = CGPoint(x: x,y: y)
        }
    }

    override func didReceiveMemoryWarning() {
at can be recreated.
    }

}
|

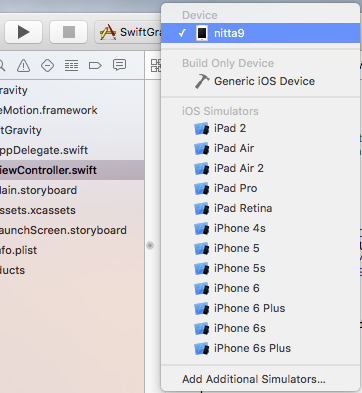
と表示されて、しばらく待つと 左上の実行デバイスに 接続したiOSデバイスの名前が表示される。 これを選択して実行する。