

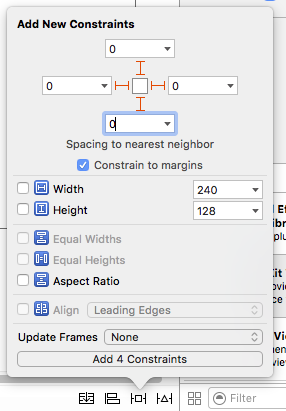
MapViewを1回クリックして選択してから、ウィンドウ下の Constraints の Pin
 をクリックして、上下左右のmerginを0にし、"Add 4 Constraints" ボタンをクリックします。

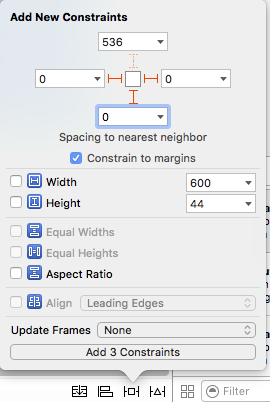
下左右のmerginを0にし、"Add 3 Constraints" ボタンをクリックします。
 をクリックして、右側のウィンドウに ViewController.swift が表示されている
状態にします。
をクリックして、右側のウィンドウに ViewController.swift が表示されている
状態にします。
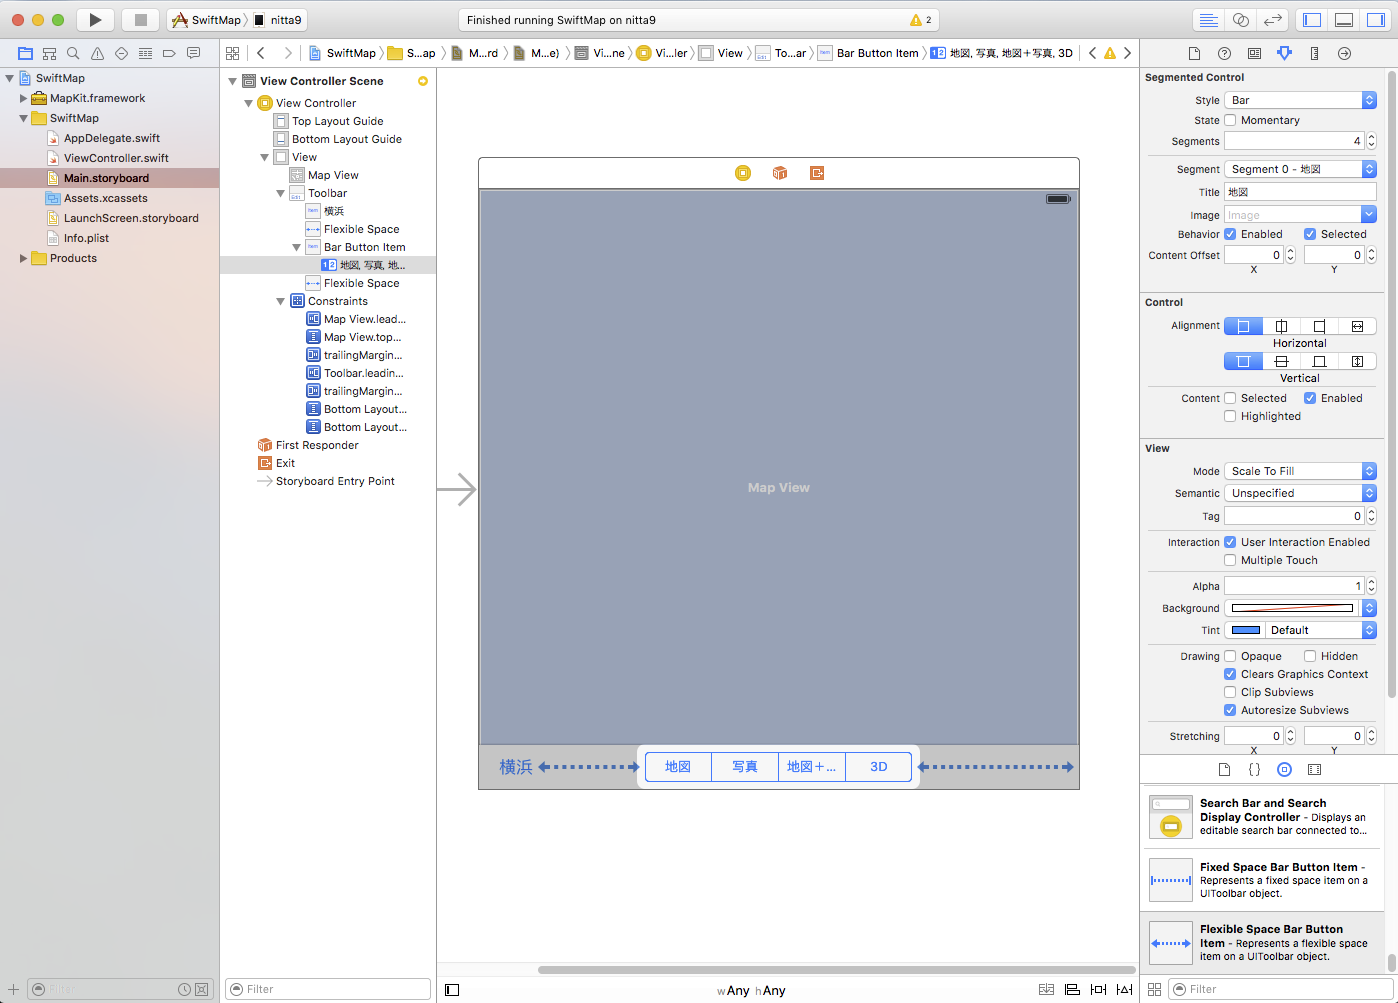
Main.storyboard上の部品を、それぞれまず1回クリックして選択してから、 右マウスボタン(またはControllキー+左マウスボタン)でドラッグして、 右側の画面のViewController.swift の
class ViewController: UIViewController {
の下の行まで持っていきます。
| Viewのインスタンス | Connectionの種類 | 名前 |
| MapKit | Outlet | myMap |
| Toolbar | Outlet | toolBar |
| Toolbar上の"横浜"Item | Action | gotoSpot |
| Segmented Control | Action (Value Changed) | changeMapType |
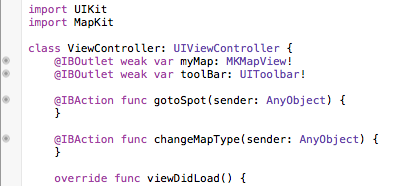
| ViewController.swiftに追加するコード(赤字部分) |
import UIKit
import MapKit
class ViewController: UIViewController {
@IBOutlet weak var myMap: MKMapView!
@IBOutlet weak var toolBar: UIToolbar!
var defaultColor:UIColor!
@IBAction func gotoSpot(sender: AnyObject) {
let lat = 35.454954
let lng = 139.6313859
let center = CLLocationCoordinate2D(latitude: lat, longitude: lng)
let span = MKCoordinateSpan(latitudeDelta: 0.01, longitudeDelta: 0.01) // 1 degree means 111km
let theRegion = MKCoordinateRegion(center:center, span:span)
myMap.setRegion(theRegion,animated: true)
}
@IBAction func changeMapType(sender: AnyObject) {
switch sender.selectedSegmentIndex {
case 0:
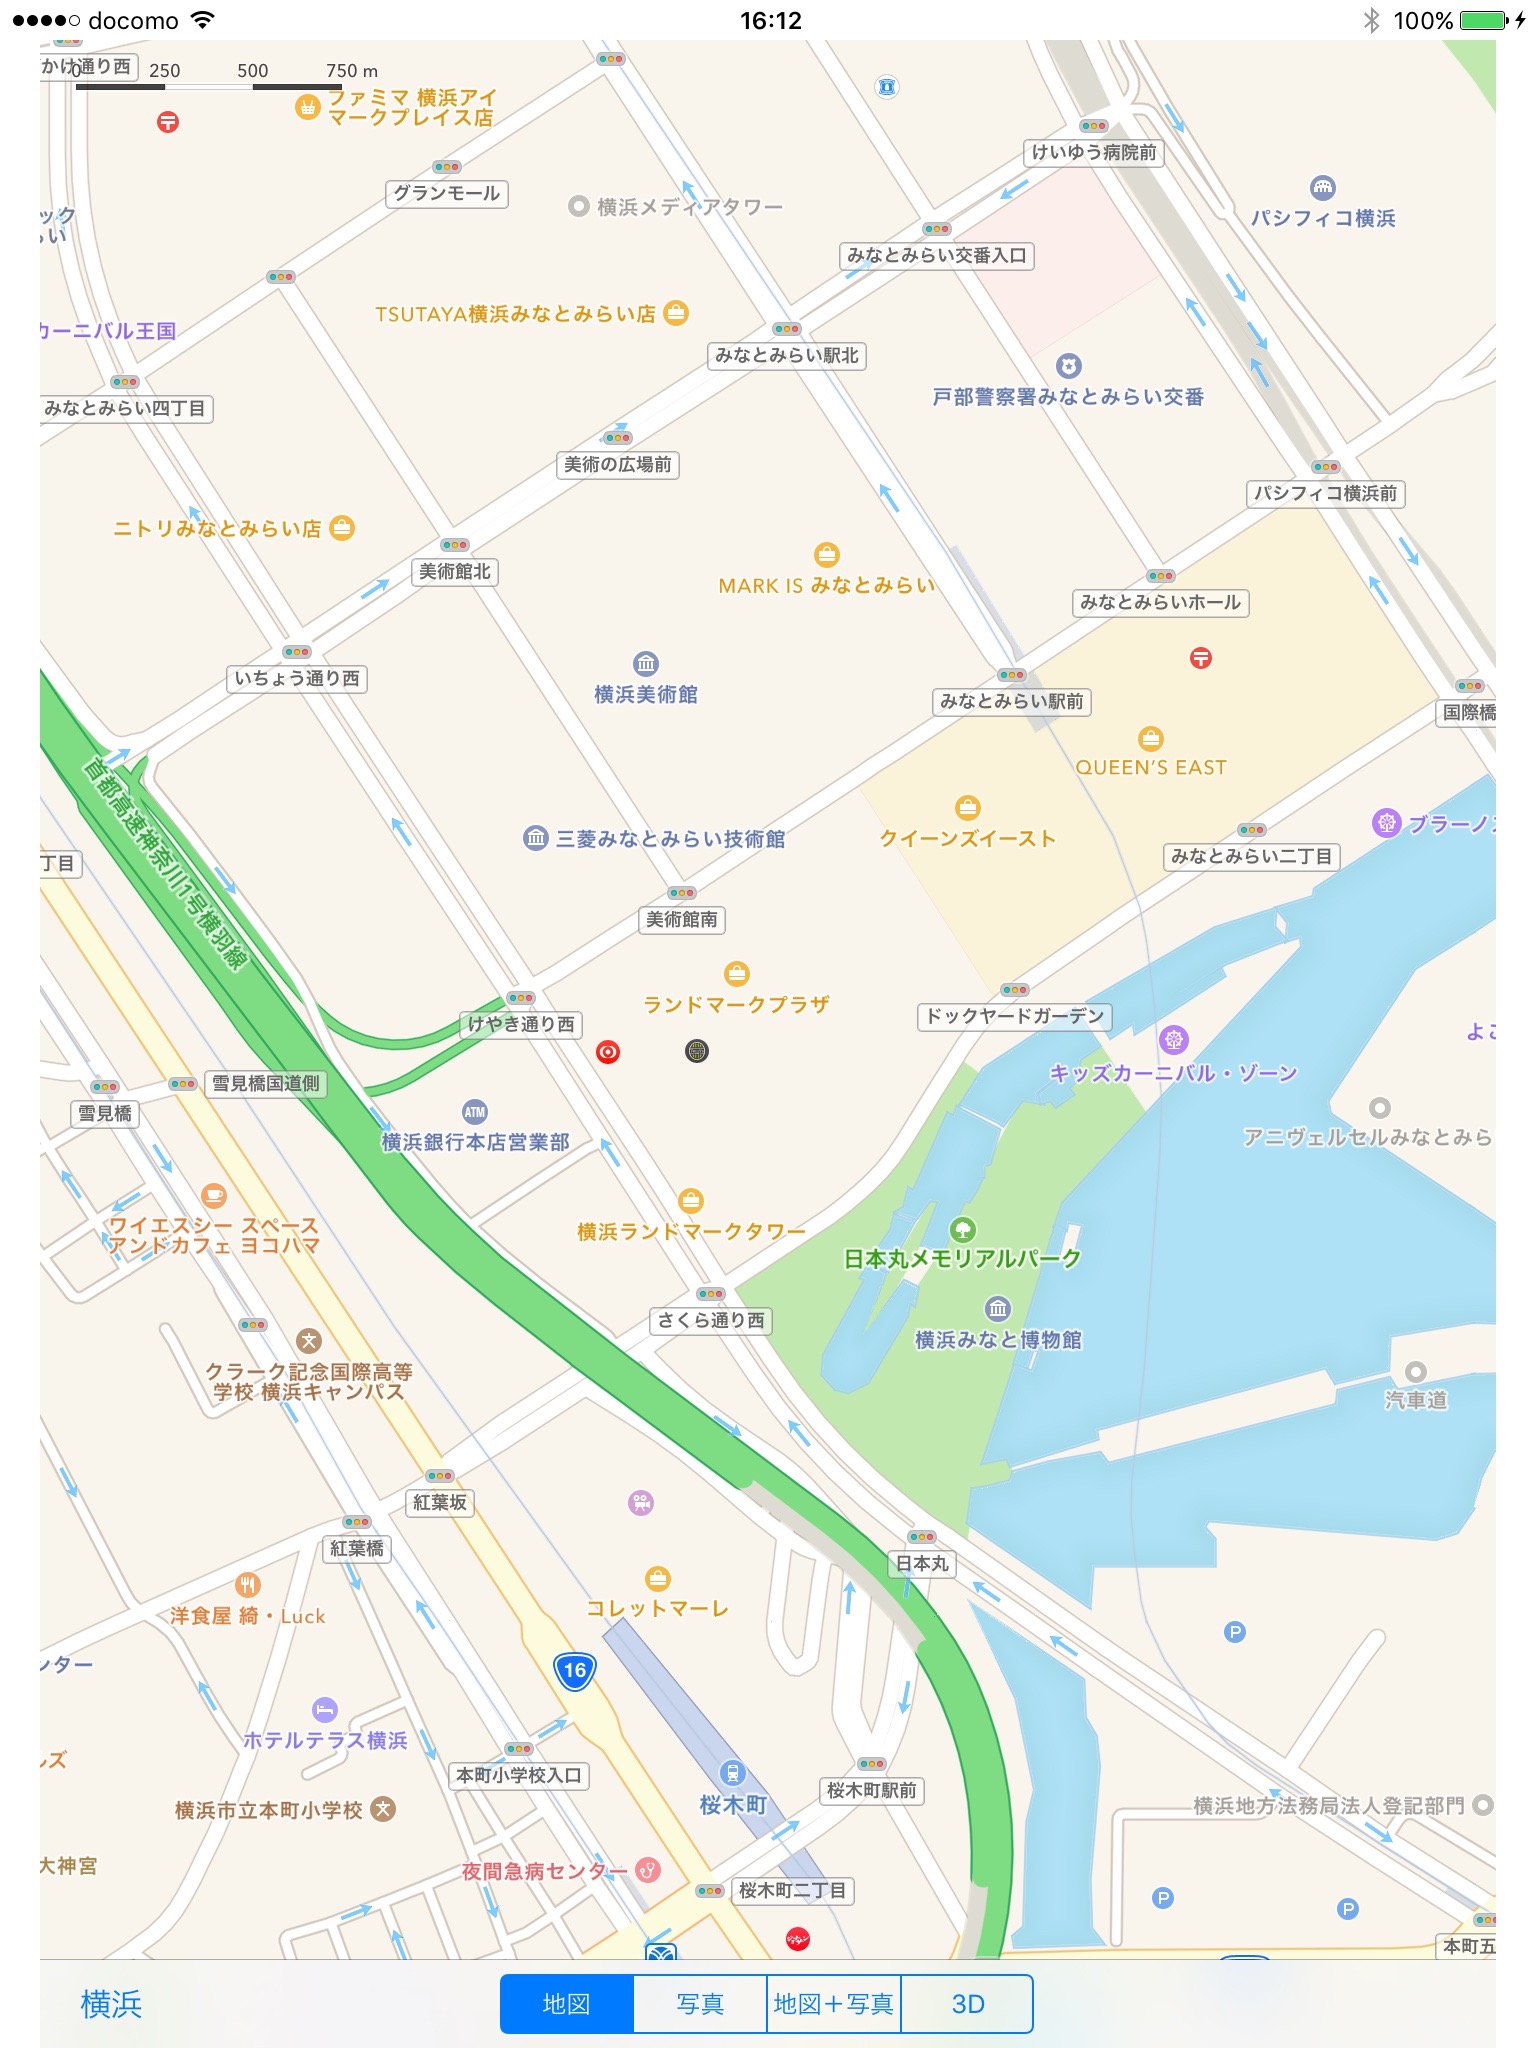
myMap.mapType = .Standard
myMap.camera.pitch = 0.0
toolBar.tintColor = defaultColor
toolBar.alpha = 1.0
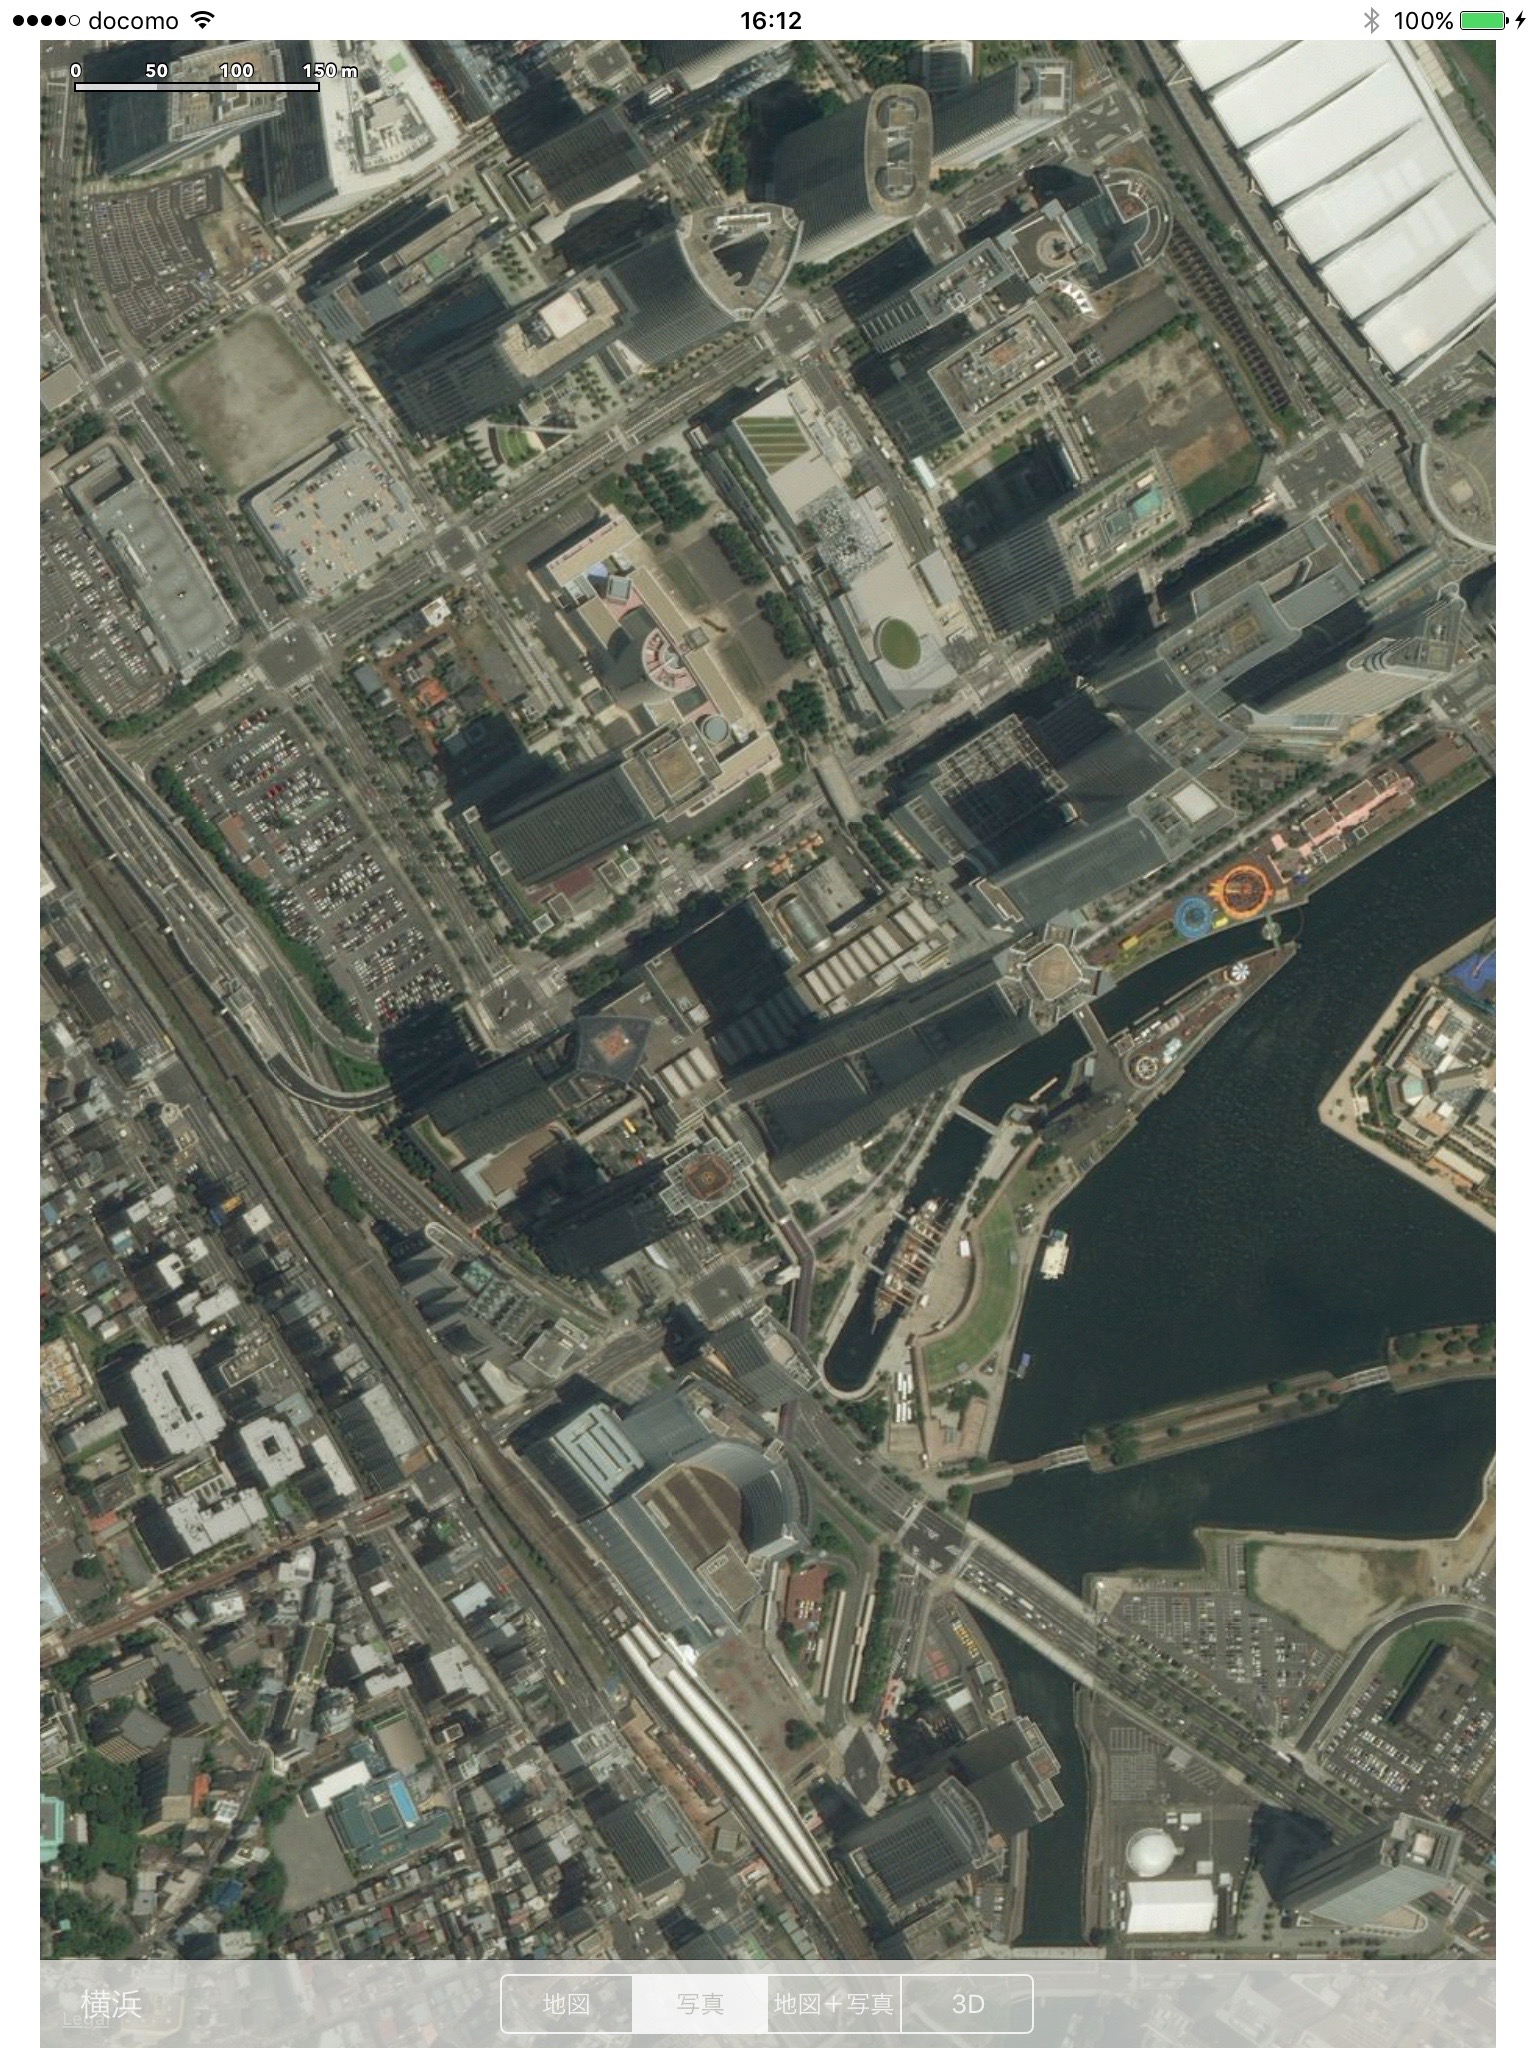
case 1:
myMap.mapType = .Satellite
toolBar.tintColor = UIColor.whiteColor()
toolBar.alpha = 0.8
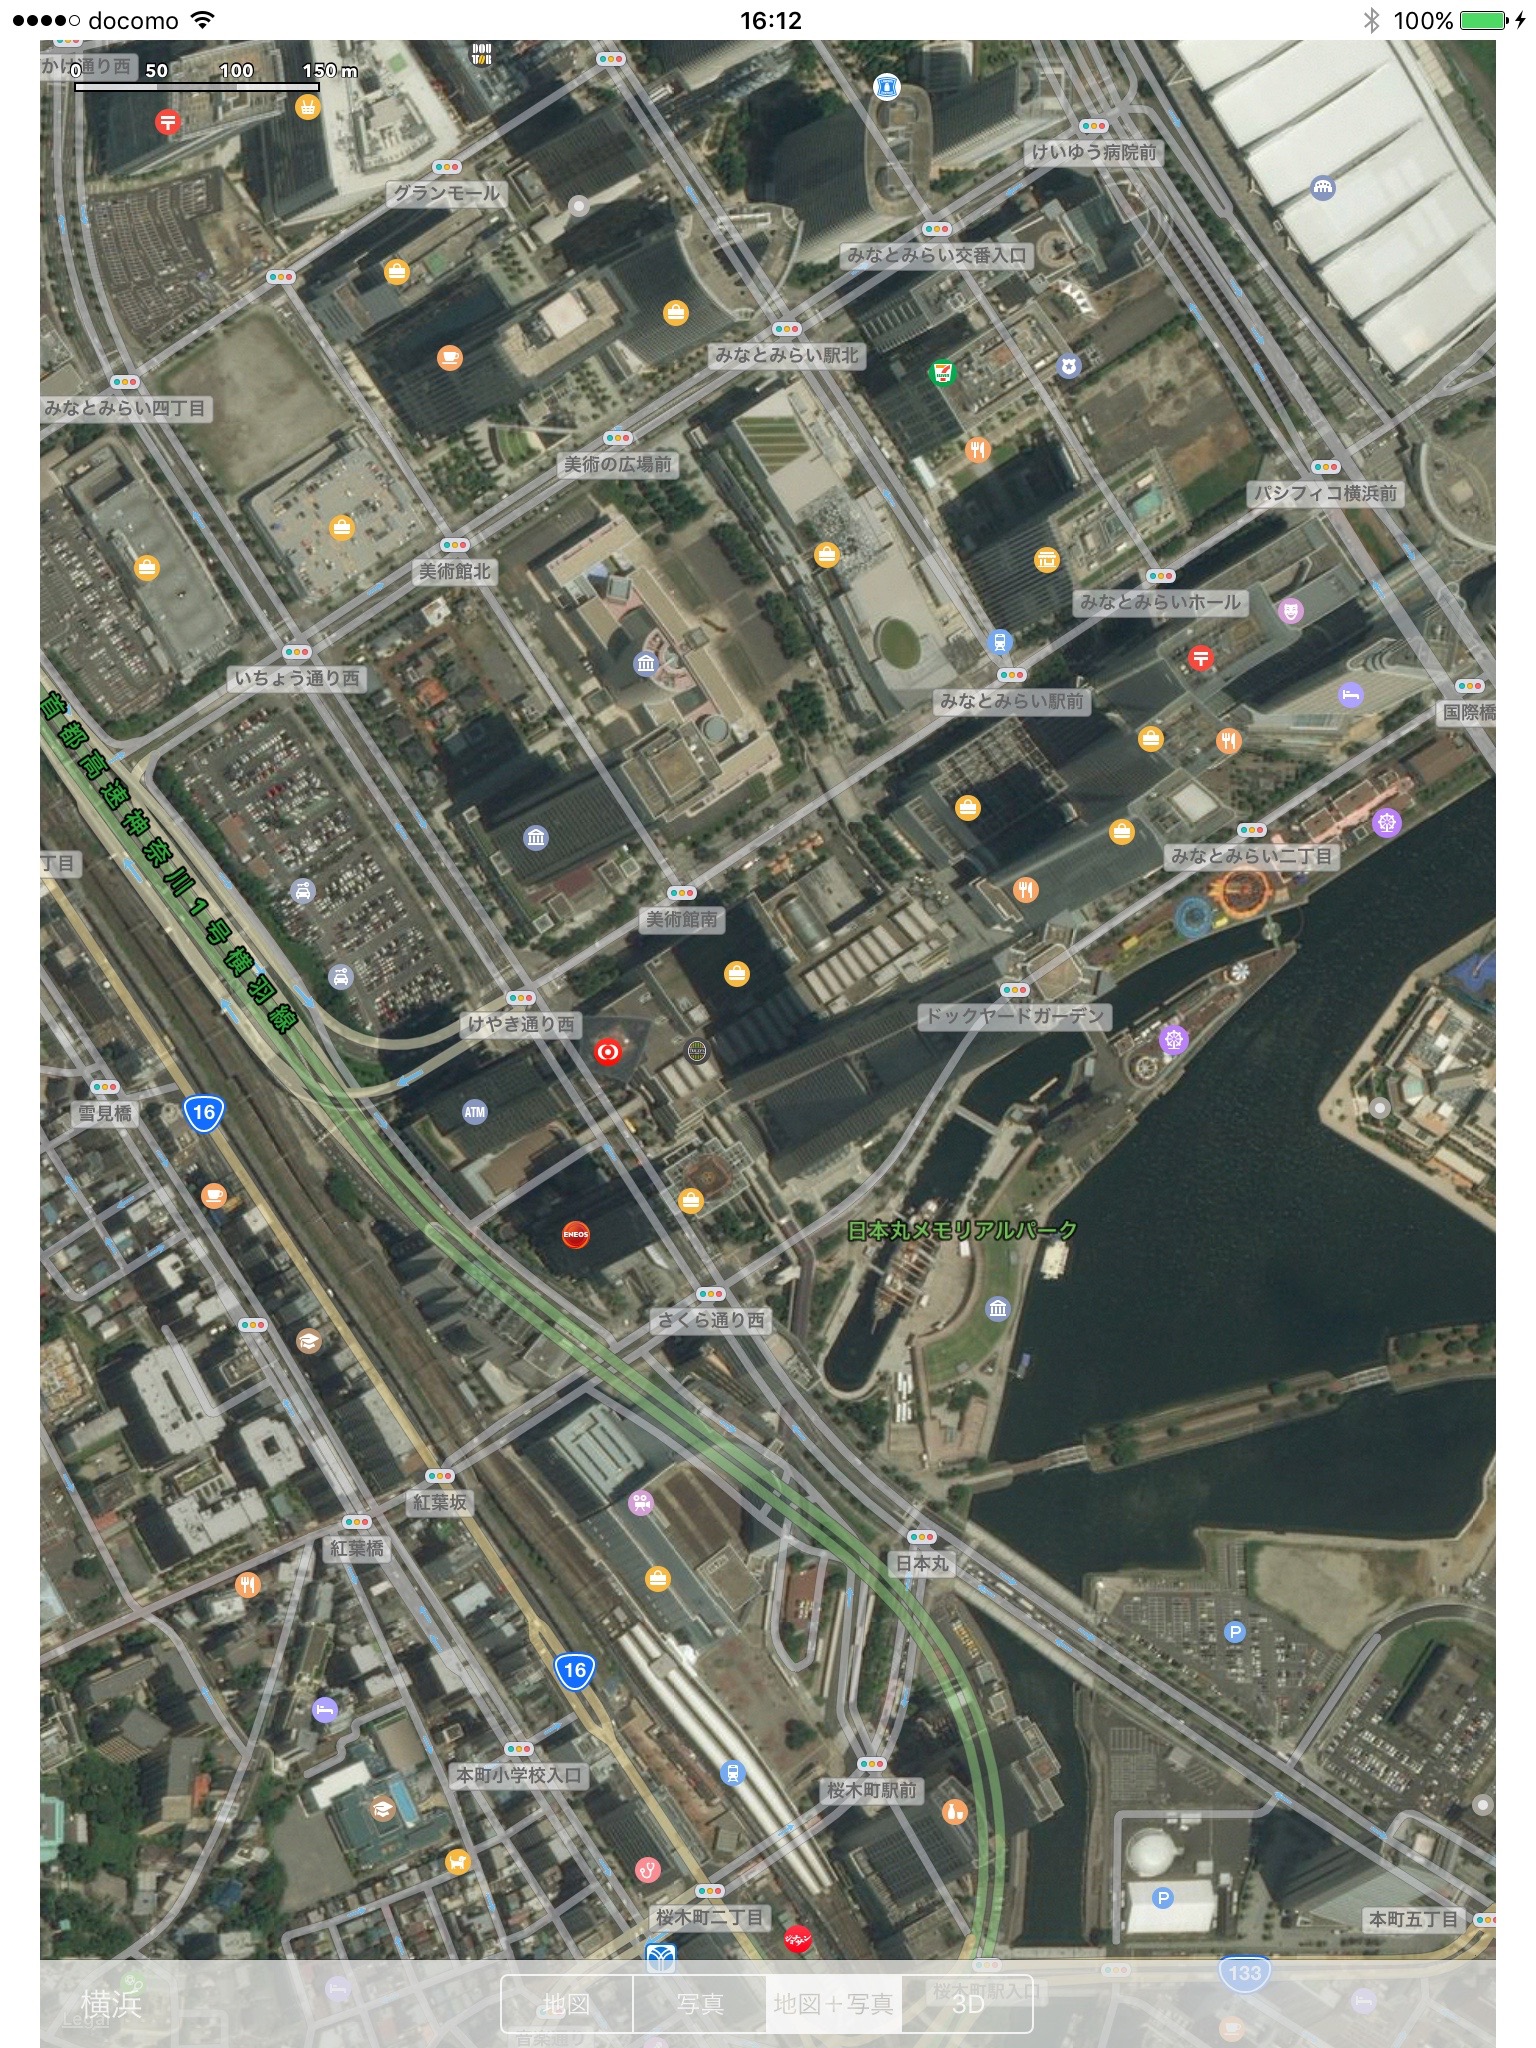
case 2:
myMap.mapType = .Hybrid
toolBar.tintColor = UIColor.whiteColor()
toolBar.alpha = 0.8
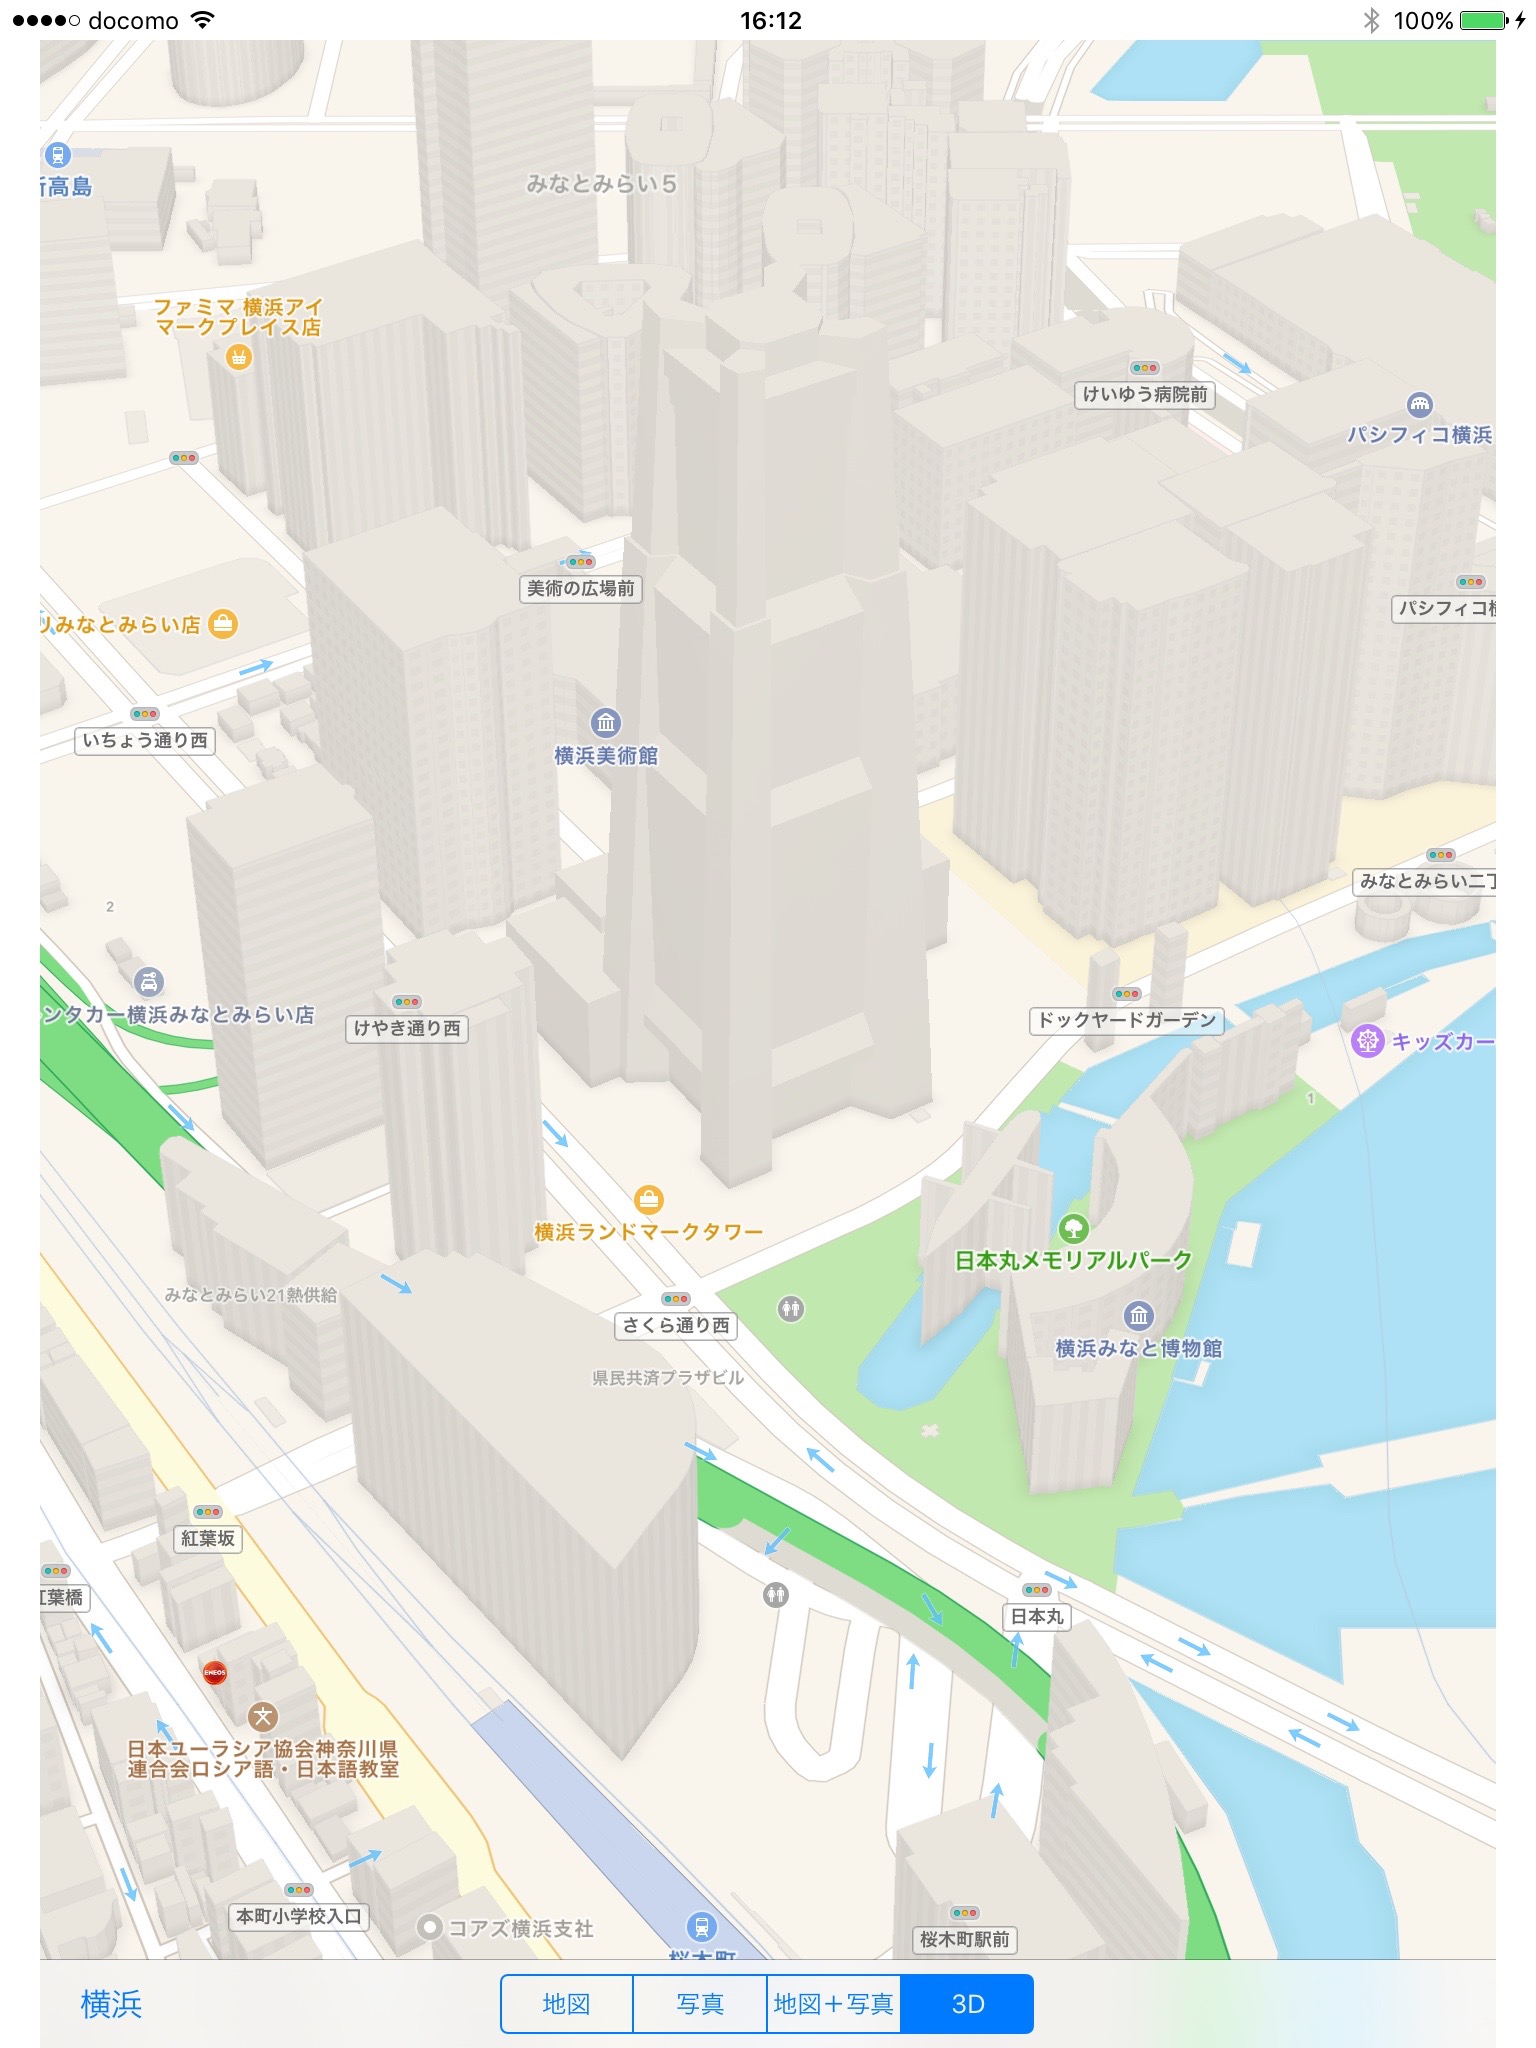
case 3:
myMap.mapType = .Standard
toolBar.tintColor = defaultColor
toolBar.alpha = 1.0
myMap.camera.pitch = 70
myMap.camera.altitude = 1000
default:
break
}
}
override func viewDidLoad() {
super.viewDidLoad()
defaultColor = toolBar.tintColor
myMap.showsScale = true
}
override func didReceiveMemoryWarning() {
super.didReceiveMemoryWarning()
}
}
|
 と表示されて、しばらく待つと
左上の実行デバイスに
接続したiOSデバイスの名前が表示される。
これを選択して実行する。
と表示されて、しばらく待つと
左上の実行デバイスに
接続したiOSデバイスの名前が表示される。
これを選択して実行する。