iOSプログラミング with Swift 3


2016.06.22: created by
2017.04.26: revised by

Swiftで別の画面に移動する (プログラムで)

Storyboard上で UIViewController のインスタンスに storyboard id を設定しておきます。 その storyboard id で指定して UIViewController のインスタンスを生成し(instantiateViewControllerWithIdentifier)、 現在のUIViewController画面の前に表示します(presentViewController)。

現在一番前に表示されている UIViewController のインスタンスを消すには dismissViewControllerAnimated(completion:)を使います。


  1. Xcode を起動して "Create a new Xcode project" で "Single View Application" として新しいプロジェクトを開きます。 ここではプロジェクト名を SwiftMoveView としています。


  2. ViewController の新しいサブクラスを作ります。
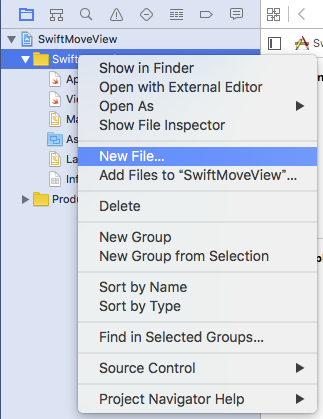
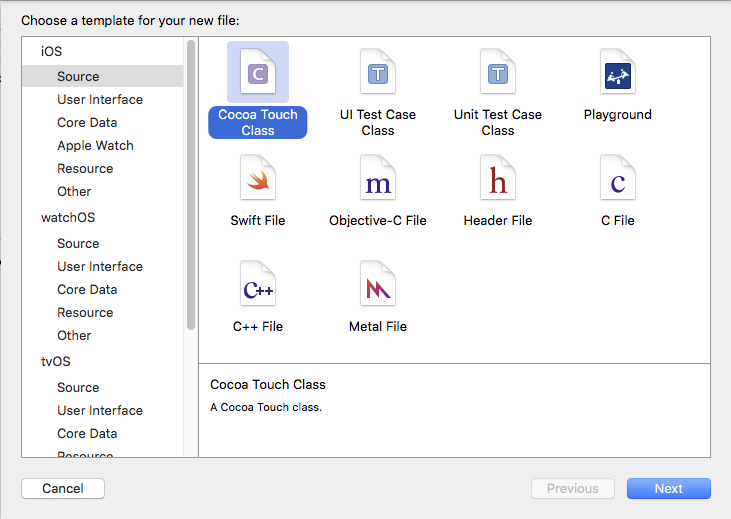
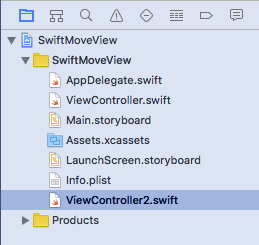
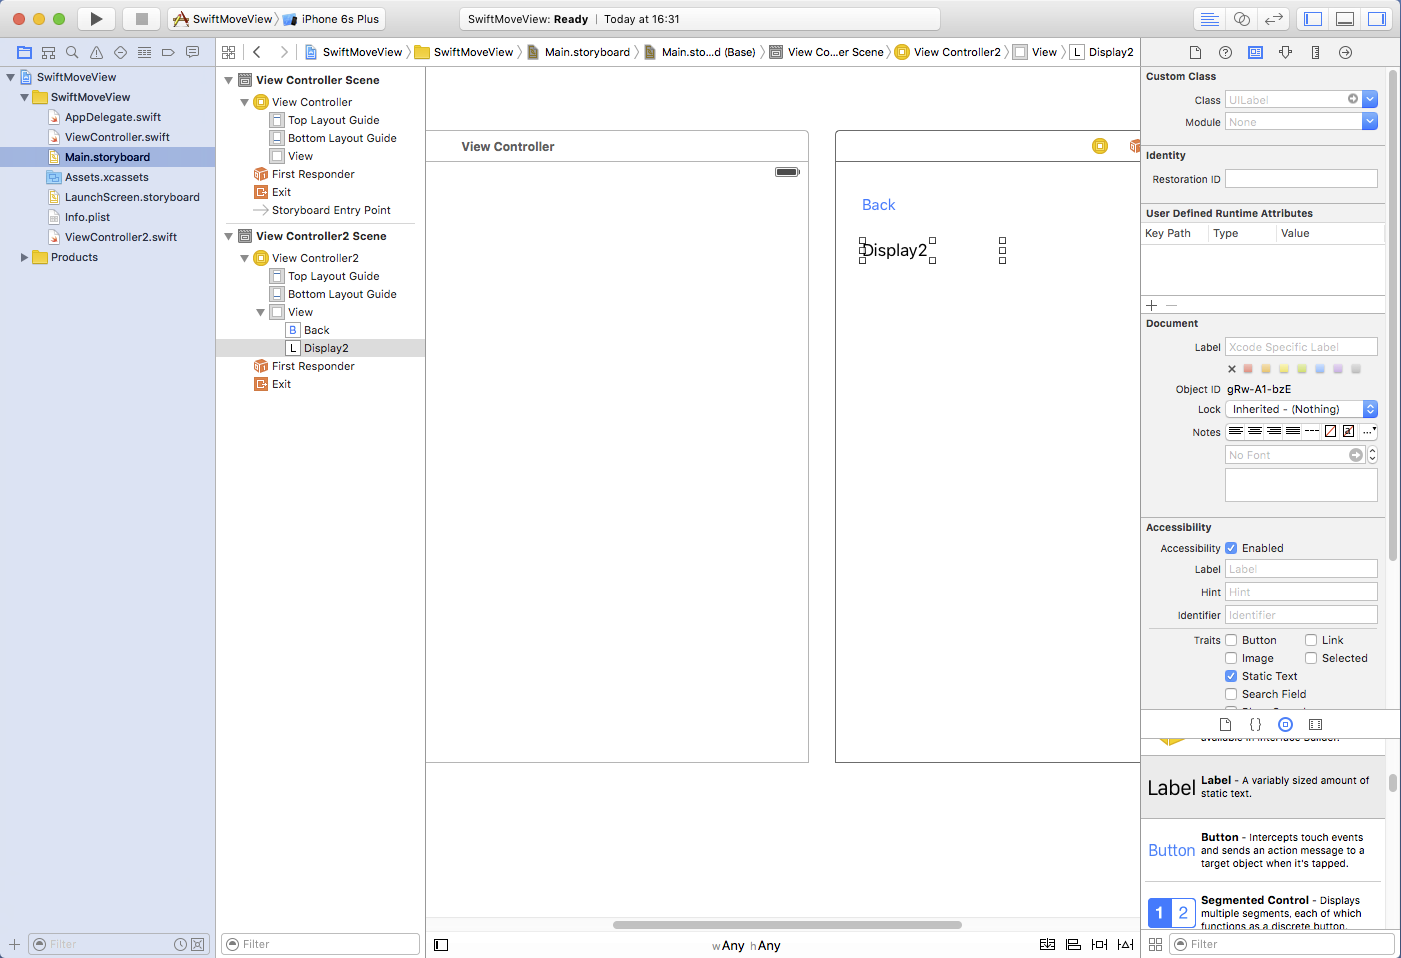
  3. project navigator のプロジェクト名の上でマウスを右ドラッグして "New File..." を選択します。 iOS の Source で Cocoa Touch Class を選んで Next をクリックします。 Class: には "ViewController2", Subclass of: には "UIViewController" Language: には "Swift" を選びます(クラス名は自由に選んで構いません)。 ViewController2.swift がプロジェクトに追加されます。


  4. Main.storyboard上の ViewController の右隣に、ウィンドウ右下の "Object library" から "View Controller" をドラッグして配置します。 さらに、新しいView Controller が選択されている状態でウィドウ右上の identity inspector 
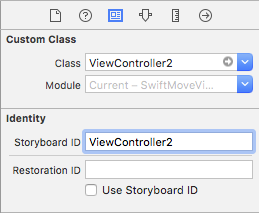
からCustom cluss: に今作成した ViewController2 を設定します。 また、Identity の Storyboard IDに ViewController2 と名前をつけます(この名前は自由につけて構いません)。


  5. Storyboard上の右側の新しい ViewController 上に Button とLabel を配置し、 Buttonの表示を "Back" に、Labelの表示を "Display2" にします。


  6. Storyboard上の右側の新しい ViewController 上に配置した "Back" Button を、 ViewController2.swift 中に Action (Touch Up Inside) で tapBack関数にリンクします。


  7. Main.storyboard上の左側の古い ViewController の中に、Button と Label を配置し、 Button の表示を "Go" に、Label の表示を "Display2" に変更します。


  8. Main.storyboard 上の左側の古い ViewController 上に配置した "Go" Button を、 ViewController.swift 中に Action (Touch Up Inside) で tapGo 関数にリンクします。


  9. ViewController.swift を変更します。
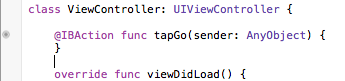
  10. ViewController.swiftに追加するコード(赤字部分)
    import UIKit
    
    class ViewController: UIViewController {
    
        @IBAction func tapGo(_ sender: AnyObject) {
            let storyboard = UIStoryboard(name:"Main",bundle:nil)
            let controller = storyboard.instantiateViewController(withIdentifier: "ViewController2")
            self.present(controller, animated: true, completion: nil)
        }
        
        override func viewDidLoad() {
            super.viewDidLoad()
        }
    
        override func didReceiveMemoryWarning() {
            super.didReceiveMemoryWarning()
        }
    
    }
    
    
  11. ViewController2.swift を変更します。
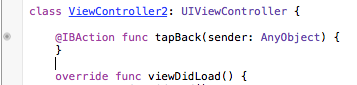
  12. ViewController2.swiftに追加するコード(赤字部分)
    import UIKit
    
    class ViewController2: UIViewController {
    
        @IBAction func tapBack(_ sender: AnyObject) {
            dismiss(animated: true, completion: nil)
        }
        
        override func viewDidLoad() {
            super.viewDidLoad()
        }
    
        override func didReceiveMemoryWarning() {
            super.didReceiveMemoryWarning()
         }
    
    }
  13. プログラムを実行する。 まず最初の画面 "Display1" が表示されるが、 この状態で"Go" ボタンをタップすると新しい画面 "Display2" に切り替わる(下から出てくる)。 新しい画面"Display2"上の"Back" ボタンをタップすると、手前にあった画面が下に消えて元の画面が表示される。
  14. -->
  15. サンプルのプロジェクトはこちら。(Xcode 8.3.2版)


http://nw.tsuda.ac.jp