


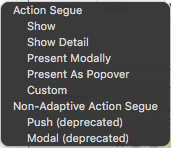
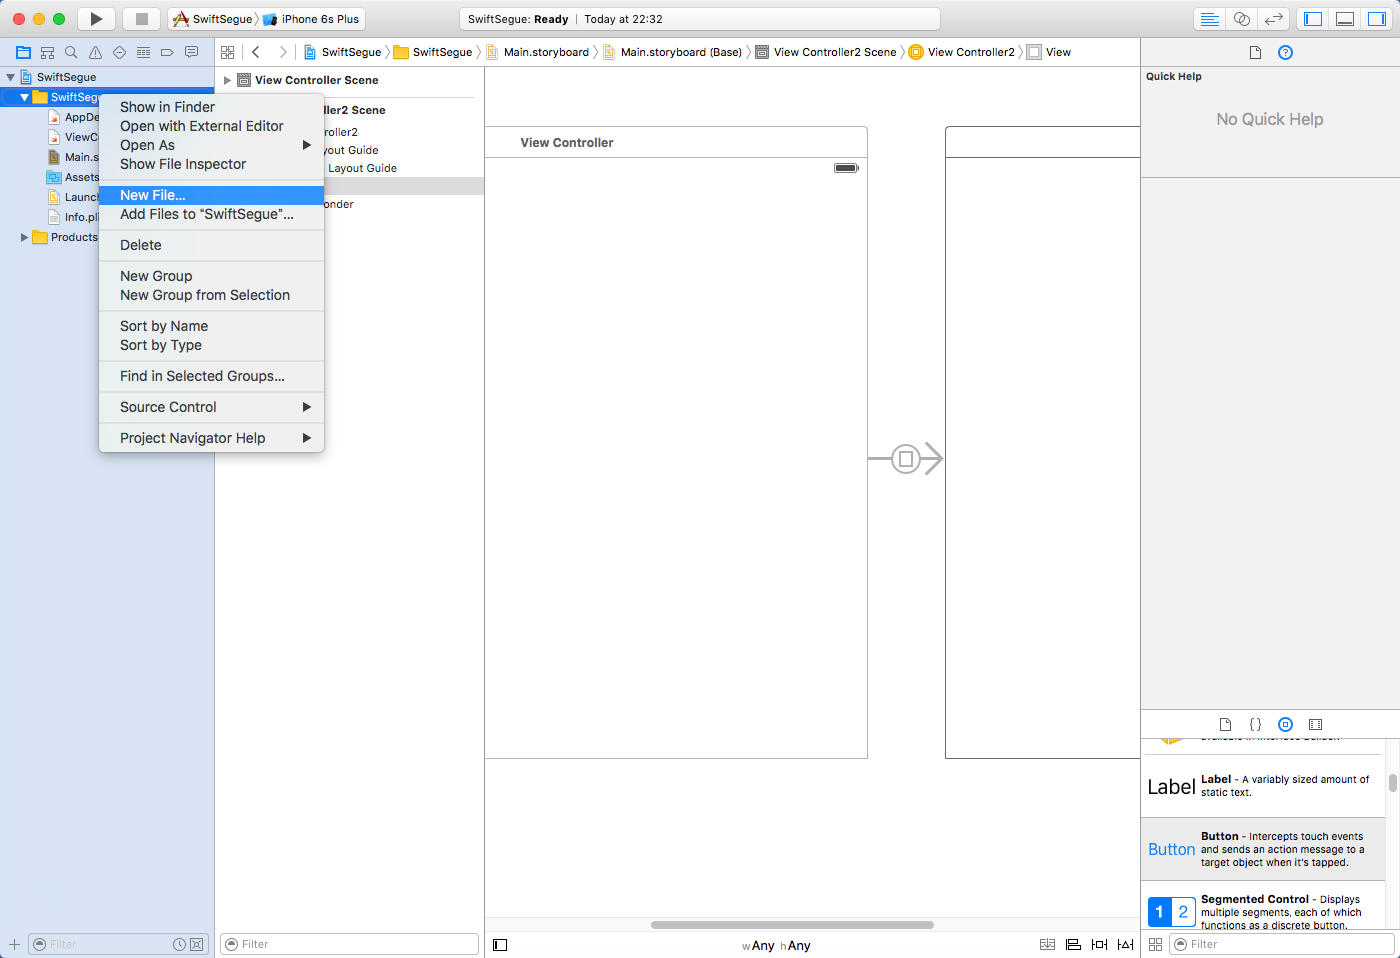
Action Segue から Present Modally を選択します。
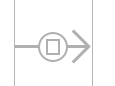
元のView Controller から新しい View Controller に向けて Segue を表す矢印が表示されて、 画面が遷移できることを表します。
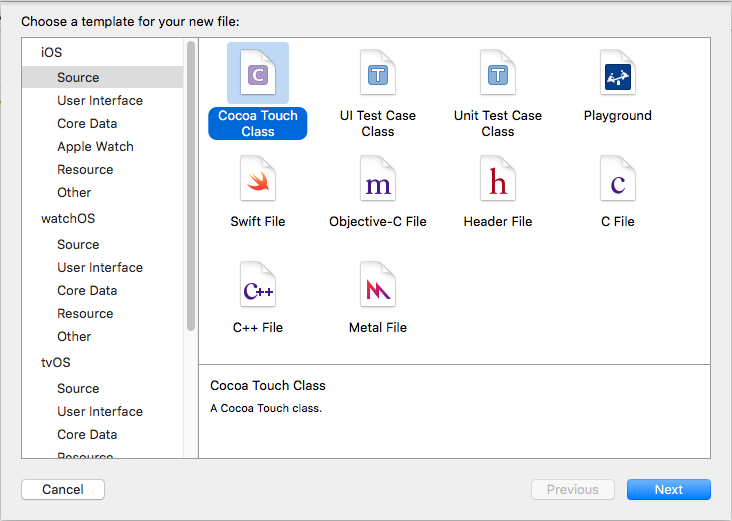
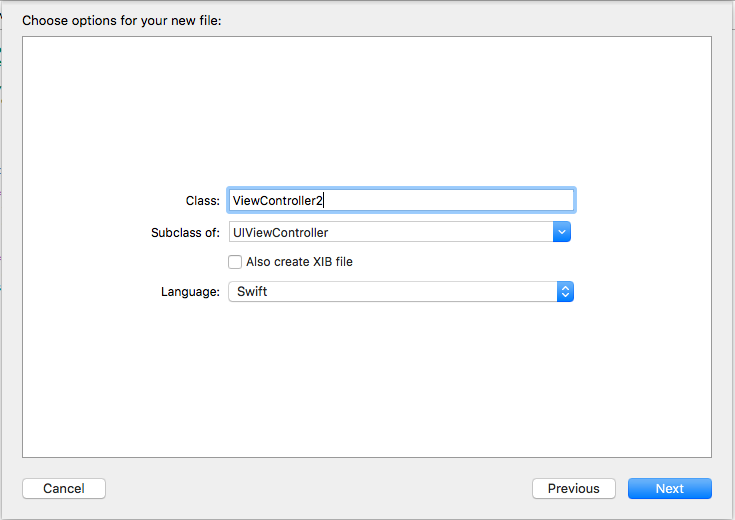
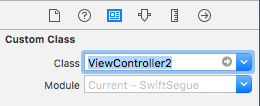
 を選んで、Custom Class の Class を先ほど作成した ViewController2 を選択する。


 をクリックし、さらに Main.storyboard上で右の新しい View Controller を選択して、
右側のウィンドウに ViewController2.swift が表示されている状態にします。
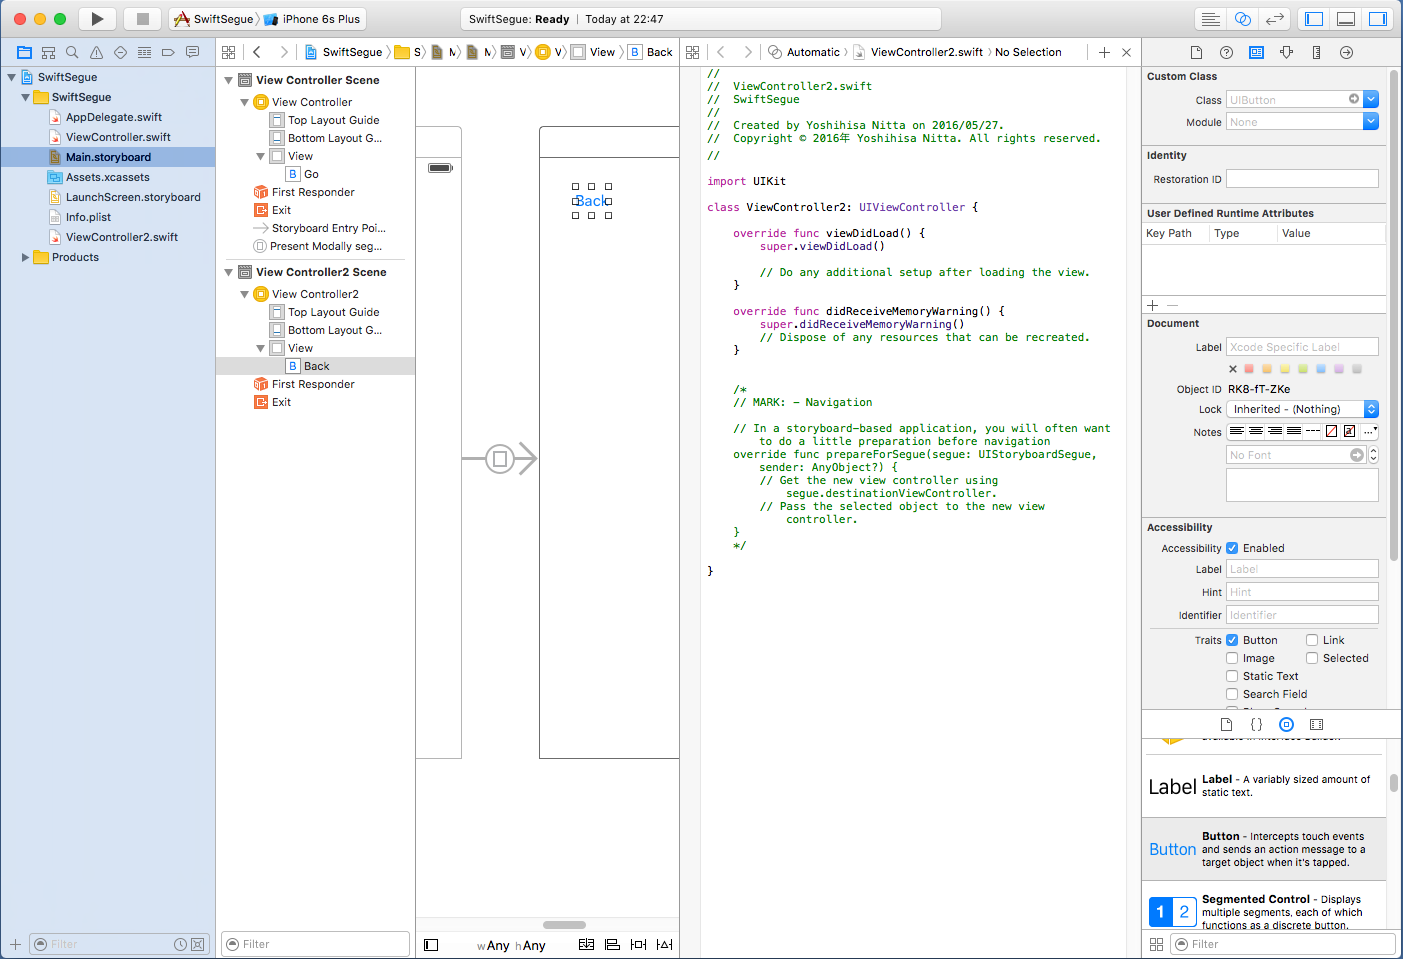
をクリックし、さらに Main.storyboard上で右の新しい View Controller を選択して、
右側のウィンドウに ViewController2.swift が表示されている状態にします。
class ViewController2: UIViewController {
の下の行まで持っていきます。
ConnectionはAction, Name は tapBack として Connect をクリックしましょう。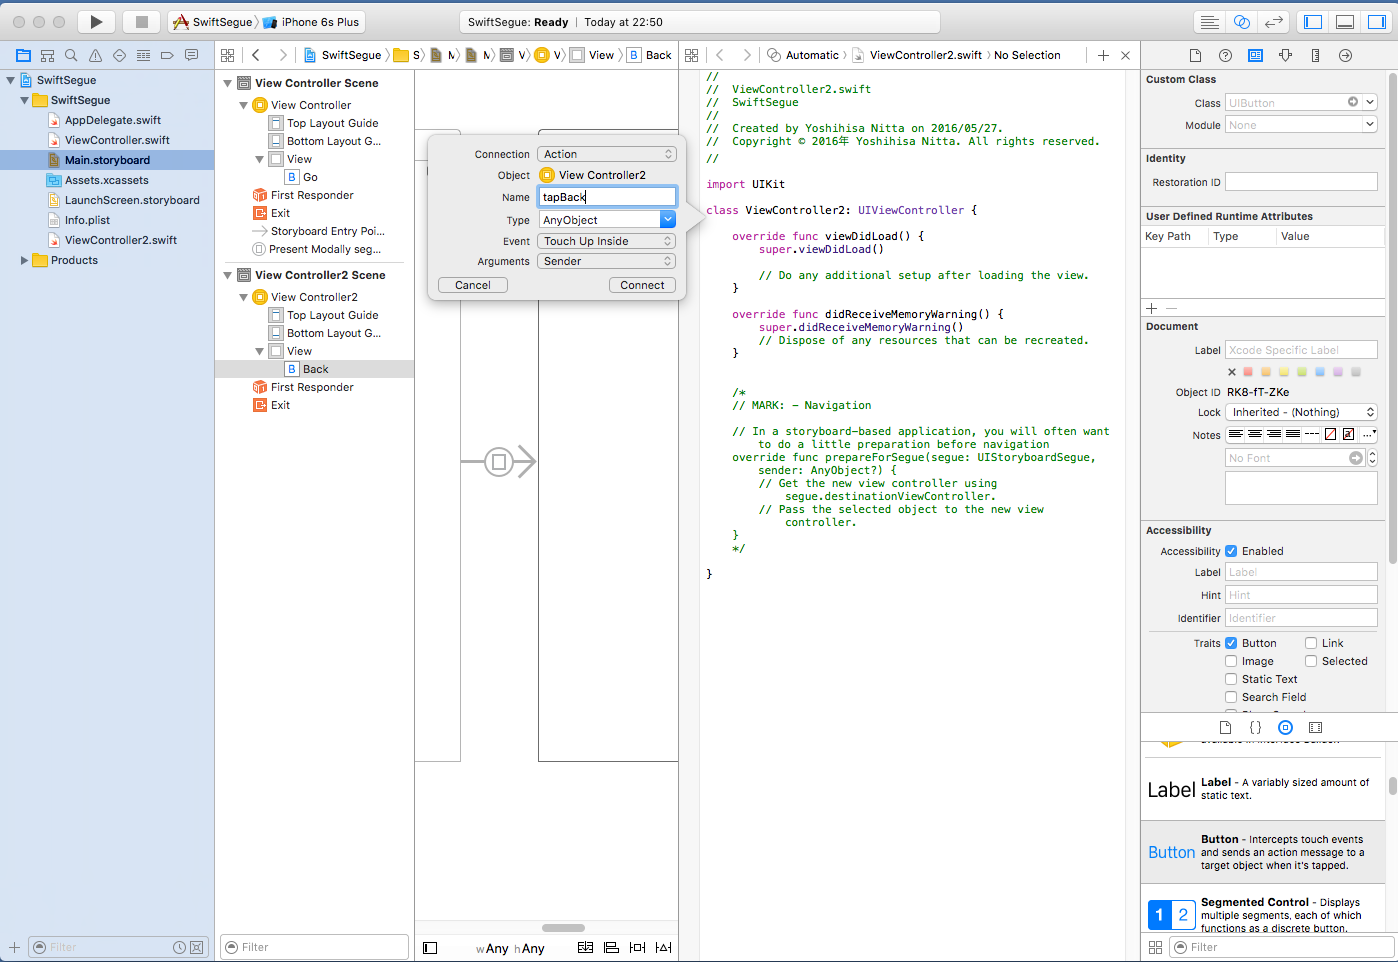
@IBAction func tapBack(sender: AnyObject) {
}
という2行が追加されます。

- 現在一番上にあるViewを取り除いて、その直下にあるViewを表示するコードを書き加えます。
| ViewController2.swiftに追加するコード(赤字部分) |
import UIKit

class ViewController2: UIViewController {
    @IBAction func tapBack(sender: AnyObject) {
        dismissViewControllerAnimated(true, completion: nil)
    }

    override func viewDidLoad() {
        super.viewDidLoad()
    }

    override func didReceiveMemoryWarning() {
        super.didReceiveMemoryWarning()
    }

}
|

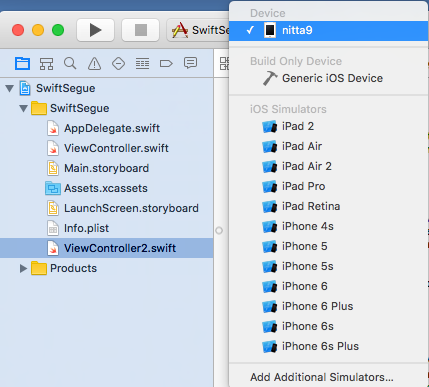
と表示されて、しばらく待つと 左上の実行デバイスに 接続したiOSデバイスの名前が表示される。 これを選択して実行する。