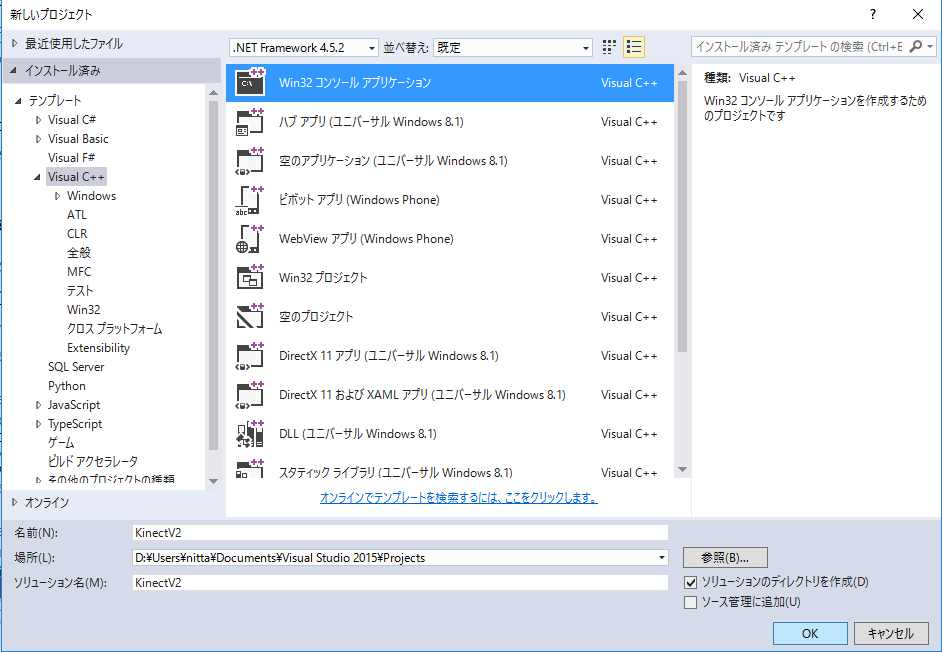
It is assumed that the following softwares are installed. If the installation path is different, please read as appropriate.
|
When you use Visual Studio Professional/Community 2017, "Desktop Development with C++" ->"Windows 8.1 SDK and UCRT SDK" option must be installed. |
| Executable file path | D:\opencv\bin | <-- Add this path to the Path of the environment variable. |
| Include file path | D:\opencv\include | |
| Library path | D:\opencv\lib |
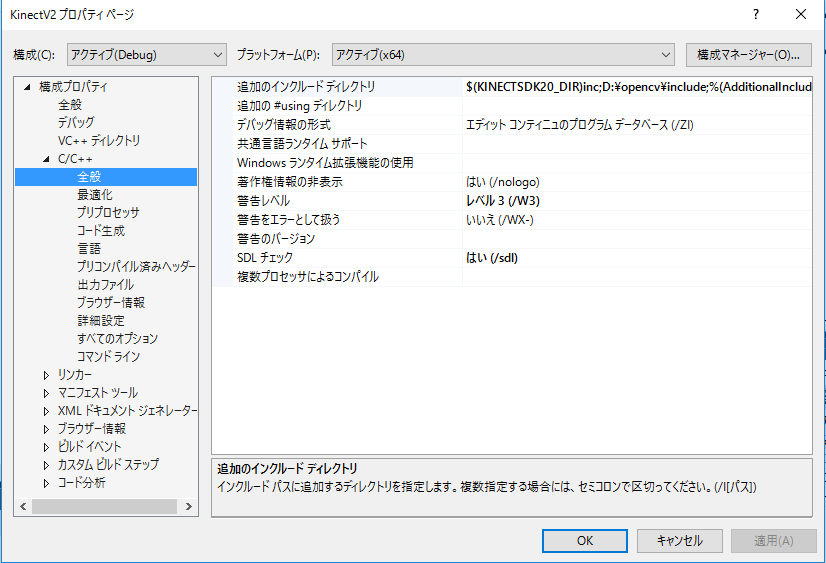
| Include file path | $(KINECTSDK20_DIR)inc | |
| Library path | $(KINECTSDK20_DIR)Lib\x64 |
When you declare a variable of NtKinect class in your program, Kinect V2 will be initialized and become available.
    #include "NtKinect.h"
    ...
    NtKinect kinect;     // variable declaration
Various sensors of Kinect V2 are initialized when first used. For example, an RGB camera is initialized when the setRGB() function is called for the first time.
kinect.setRGB(); // Getting an RGB image. The first call initializeds the RGB camera.
Kinect V2 can acquire RGB camera image with resolution of 1920 x 1080. Since OpenCV uses BGR or BGRA format for color pixels, NtKinect also adopts the BGRA format.
| type of return value | function name | description |
|---|---|---|
| void | setRGB() | Get the RGB image and set it to the public member variable rgbImage. |
| type | variable name | description |
|---|---|---|
| cv::Mat | rgbImage | Image of RGB camera. The resolution is 1920 x 1080 and GBRA format. The coordinates of the image are the positions in the ColorSpace coordinate system.
        cv::Vec4b pixel = rgbImage.at<cv::Vec4b>(y,x);
            pixel[0] // Blue
            pixel[1] // Green
            pixel[2] // Red
            pixel[3] // Alpha
|
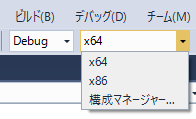
Near the center of the menu bar at the top of the Visual Studio window, there is a panel for specifying compile options. Change this to "x64".

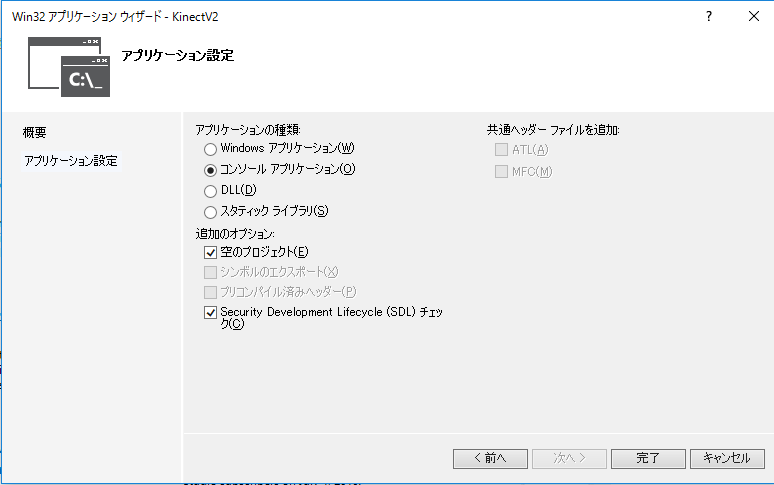
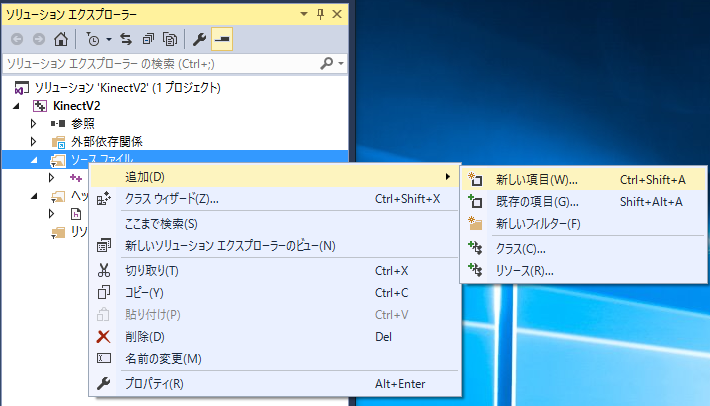
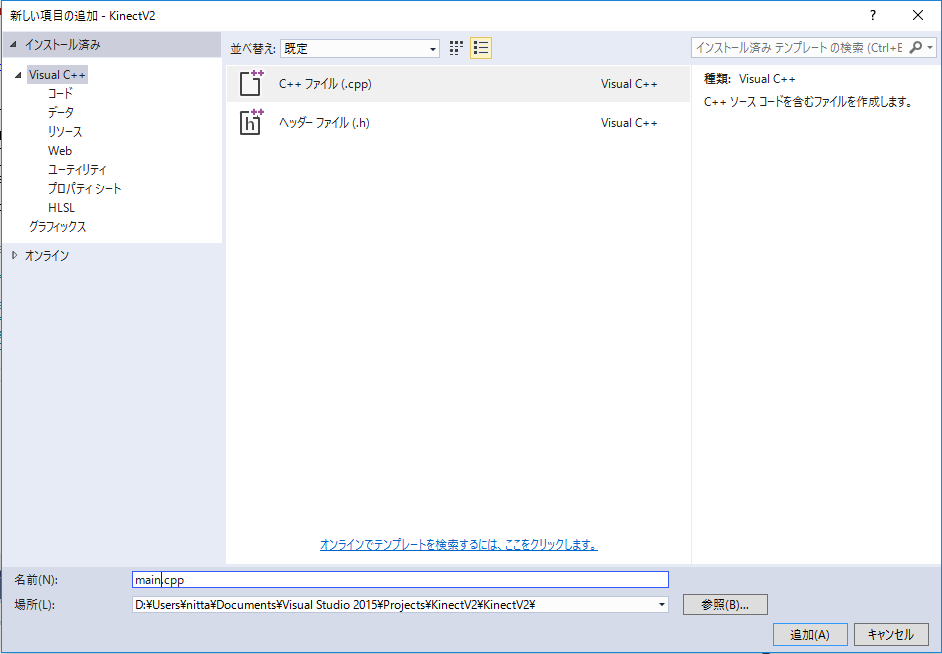
If at least one C++ source file does not exist in the project, "C/C++" item can not be selected in project properties. Therefore, first add "main.cpp" here.
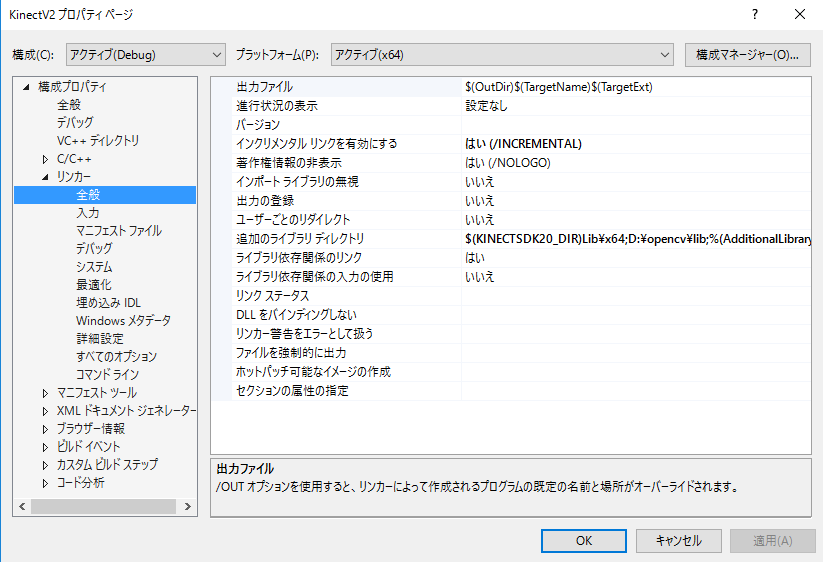
  $(KINECTSDK20_DIR)inc
  D:\opencv\include
  $(KINECTSDK20_DIR)Lib/x64
  D:\opencv\lib
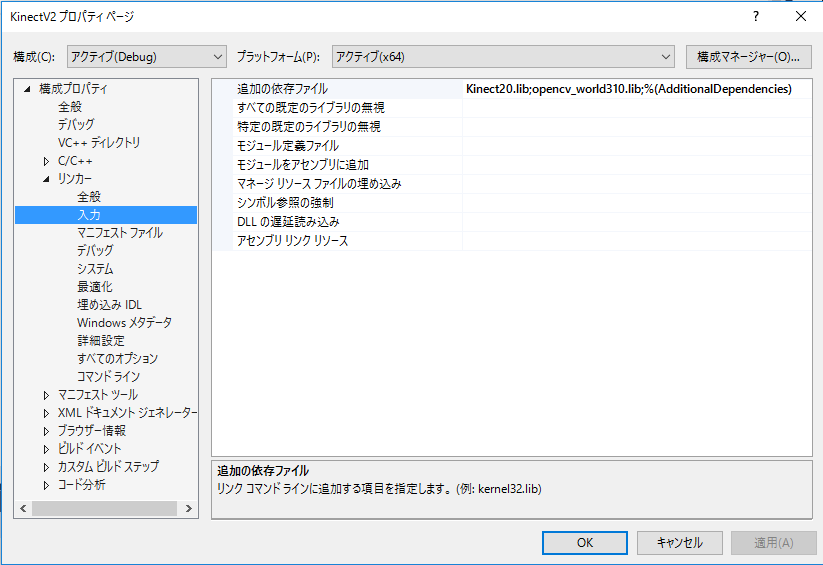
  Kinect20.lib
  opencv_world310.lib
Please download "NtKinect.h" from the above link. The location of the file is the folder where the source file such as "main.cpp" is placed. In this example, it is "KinectV2/KinectV2/NtKinect.h".
If you get an error "Cannot include NtKinect.h" at compile time, delete the "NtKinect.h" once. Then, right click "Header file" of "Solution Explorer", and select "Add" "New item" "VisualC++ header file (.h)" from th menu and specify "NtKinect.h" for "Name". Please copy the contents of the downloaded file to the newly created one.
You can easily use various functions of Kinect V2 by rewriting the red letter part.
| main.cpp |
The function whose name is preceded by "cv::" belongs to OpenCV.
| type of return value | OpenCV function name | descriptions | manual |
| void | imshow(cost string& winname, const Mat& image ) | display image in the window named winname. | link |
| int | waitKey(int delay =0) | Wait key input for delay milliseconds. 0 means to wait infinitely. | link |

Since the above zip file may not include the latest "NtKinect.h", Download the latest version from here and replace old one with it.