UIViewController をスーパクラスに持つ ViewController2 の新しいインスタンスを生成し、 インスタンス内の変数に値を設定します。 単なる UIViewController クラスのインスタンスでは passedString 変数を持っていないので、 ここではViewController2 クラスにキャストしなければいけないことに注意しましょう。
この段階では遷移先のUIViewControllerではUIView をスーパークラスに持つインスタンスはまだ用意されていないので、 アクセスしても nil であることに注意しましょう。代入などしてはいけません(下の例では実行時エラーになる例をコメントにしてあります)。 下の例では、passedString というString型の変数に代入しています。
| ViewController.swiftに追加するコード(マゼンダ色の文字の部分) |
import UIKit
class ViewController: UIViewController {
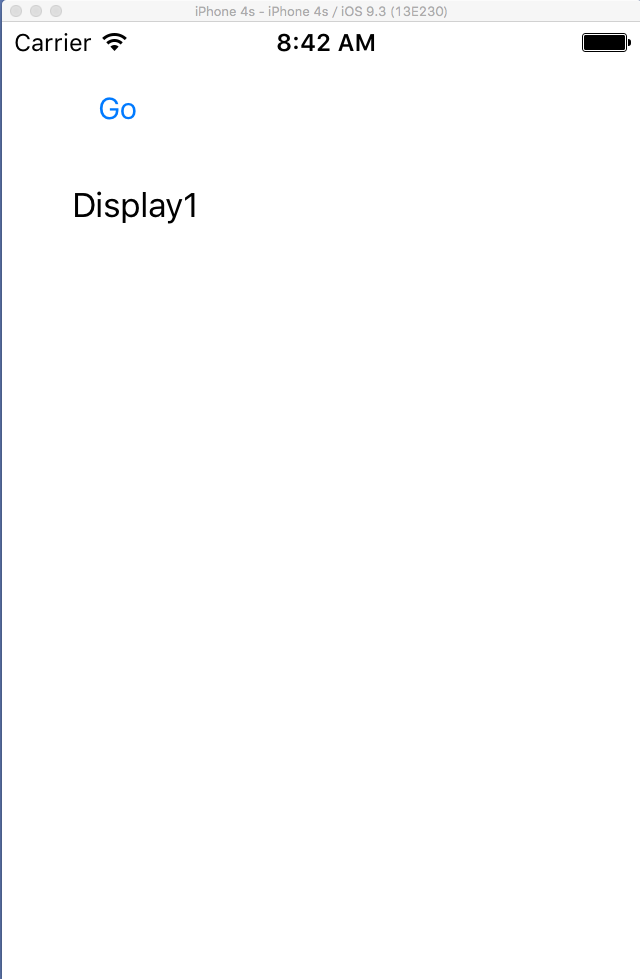
@IBAction func tapGo(_ sender: AnyObject) {
let controller = self.storyboard?.instantiateViewController(withIdentifier: "ViewController2") as! ViewController2
controller.passedString = "passed String"
controller.myLabel.text = "passed String" // error
self.present(controller, animated: true, completion: nil)
}
override func viewDidLoad() {
super.viewDidLoad()
}
override func didReceiveMemoryWarning() {
super.didReceiveMemoryWarning()
}
}
|
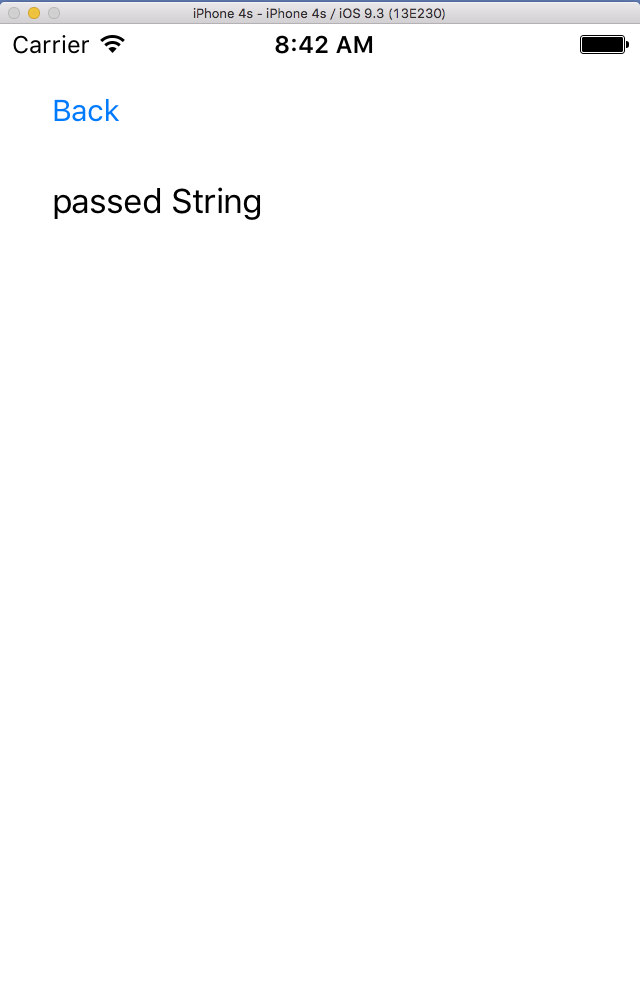
passedString変数がnil以外に外から設定されていれば、viewDidLoad関数の中で myLabel.text の値を変更します。
| ViewController2.swiftに追加するコード(マゼンダ色の文字の部分) |
import UIKit
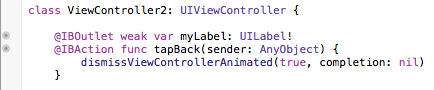
class ViewController2: UIViewController {
var passedString: String!
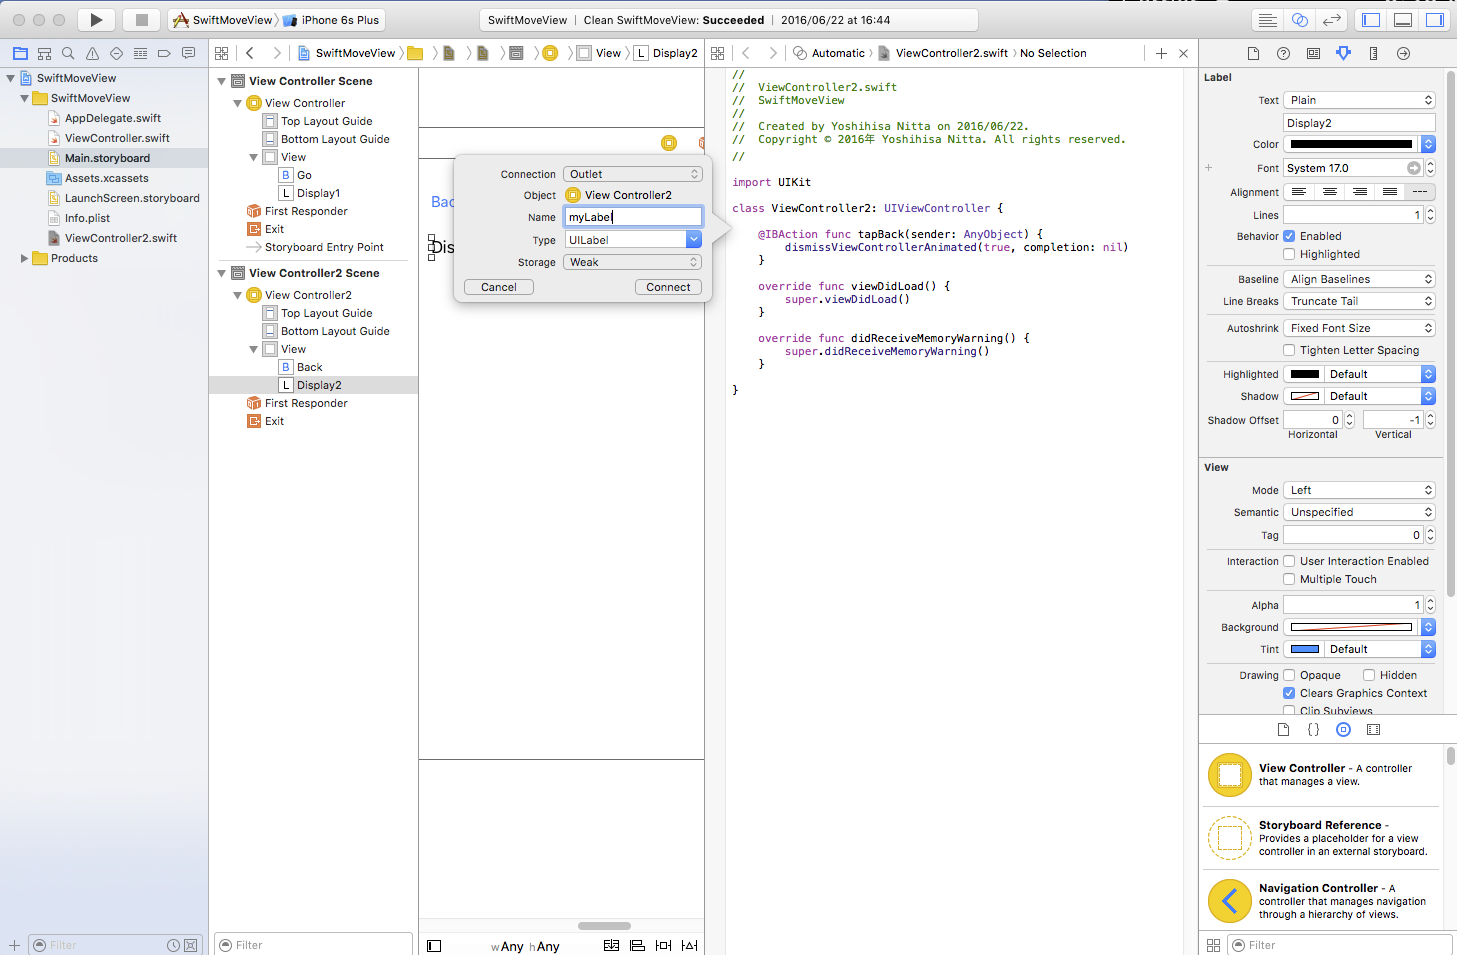
@IBOutlet weak var myLabel: UILabel!
@IBAction func tapBack(_ sender: AnyObject) {
dismiss(animated: true, completion: nil)
}
override func viewDidLoad() {
super.viewDidLoad()
if passedString != nil {
myLabel.text = passedString
}
}
override func didReceiveMemoryWarning() {
super.didReceiveMemoryWarning()
}
}
|
| --> |
|