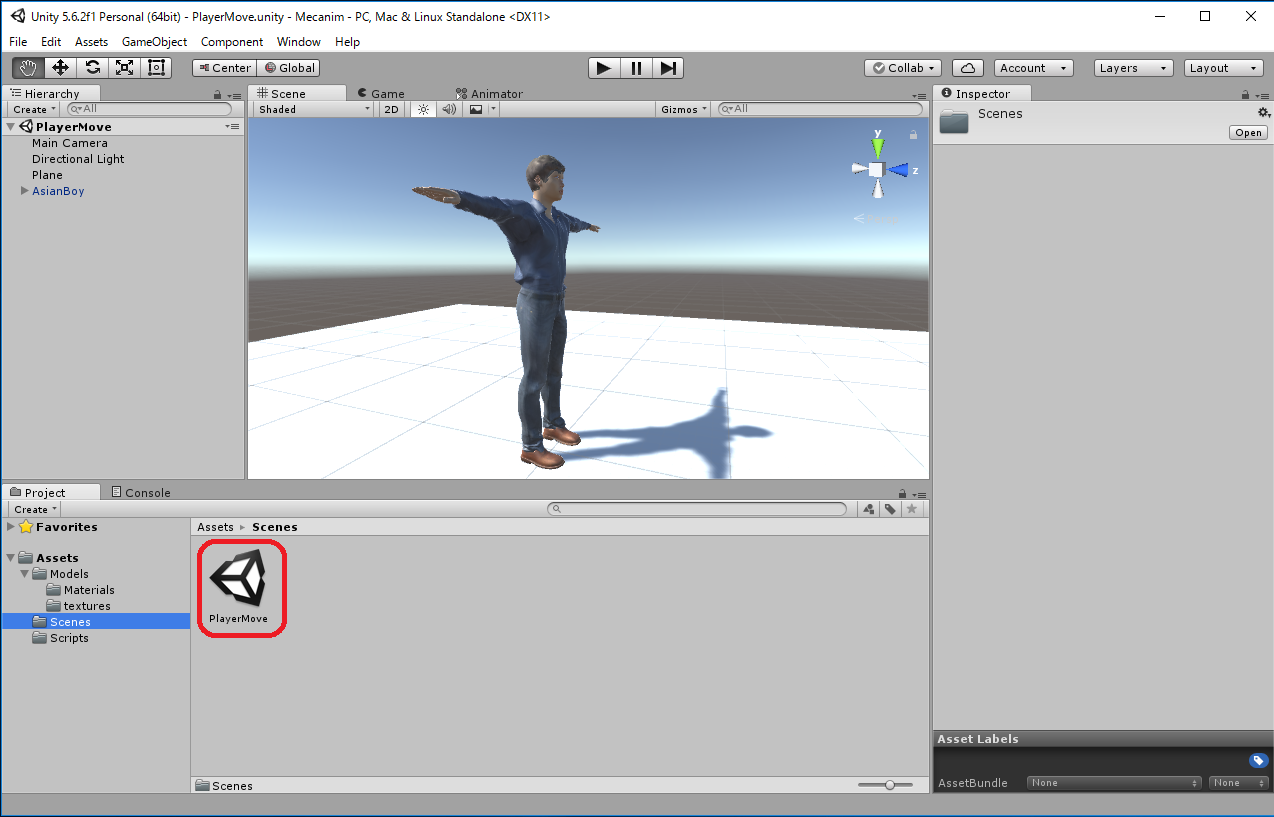
Start a new project named "Mecanim" of "3D" type.
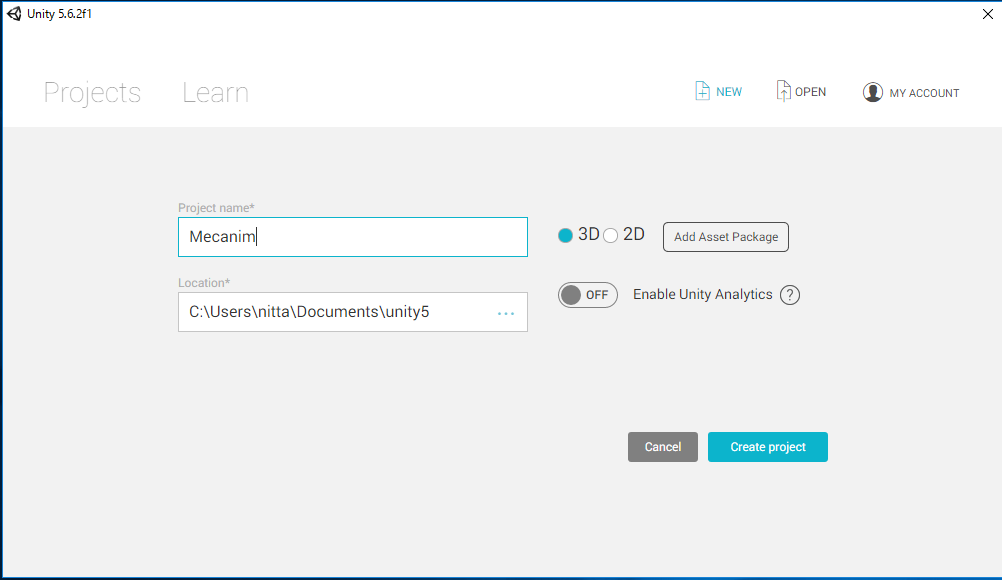
- Create a folder named "Models" in the Asset.
Assets -> Create -> Folder -> rename as "Models"

[Notice] The above operation may be done from the menu,
Assets -> Import New Asset... -> AsianBody.fbx, but at this time the texture required for AsianBoy.fbx will not be imported automatically and the model will be completely white. In this case, you have to import hte texture correspond to the white material generated in "Assets/Models/Materials/" manually.

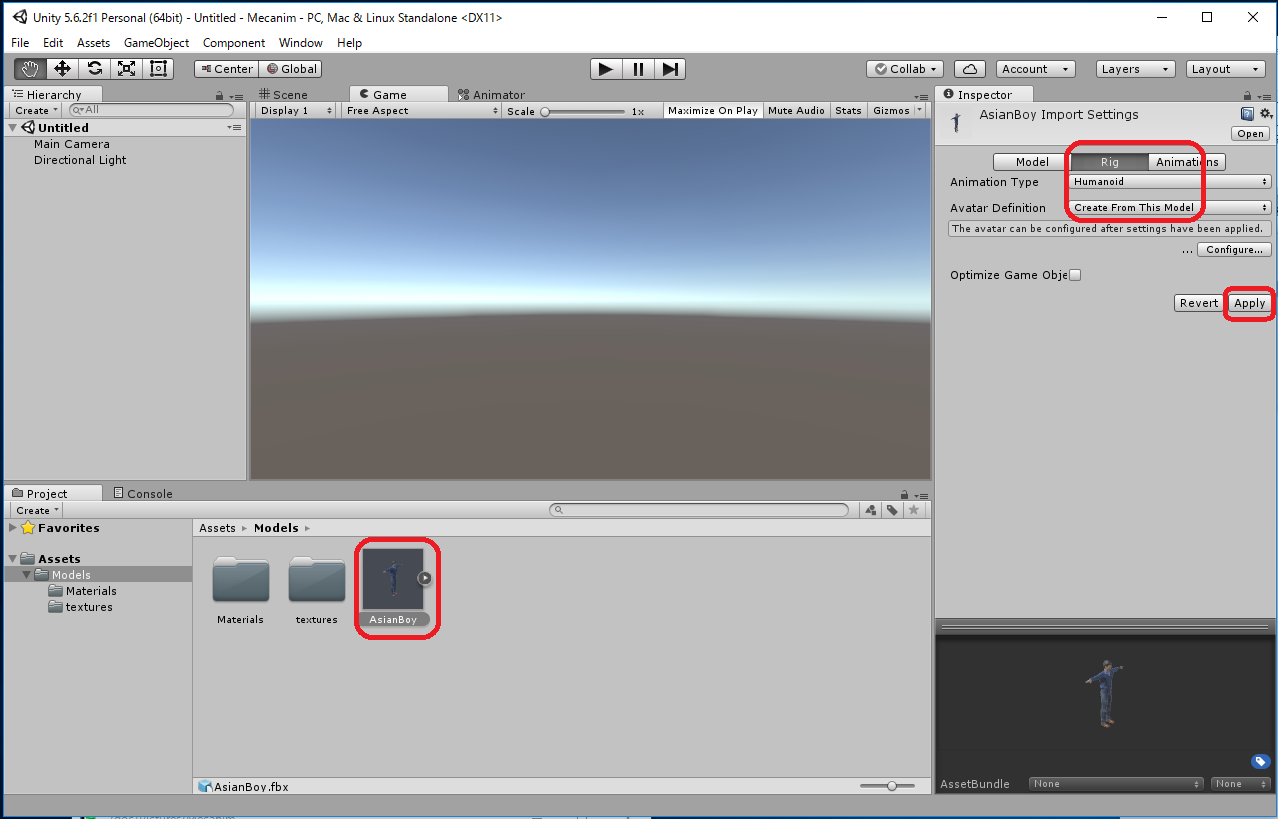
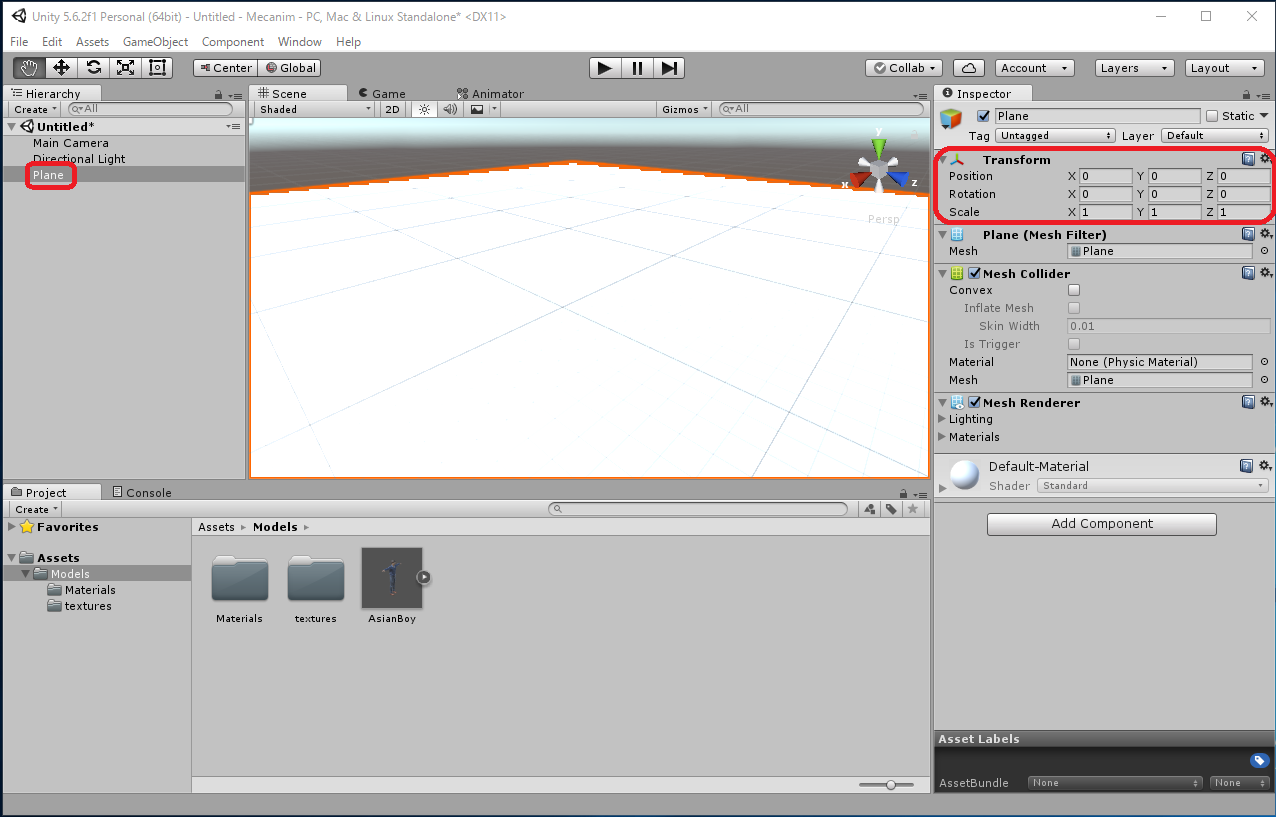
 of Transform in the Inspector window
to set Position (x,y,z)=(0,0,0).
GameObject -> 3D Object -> Plane
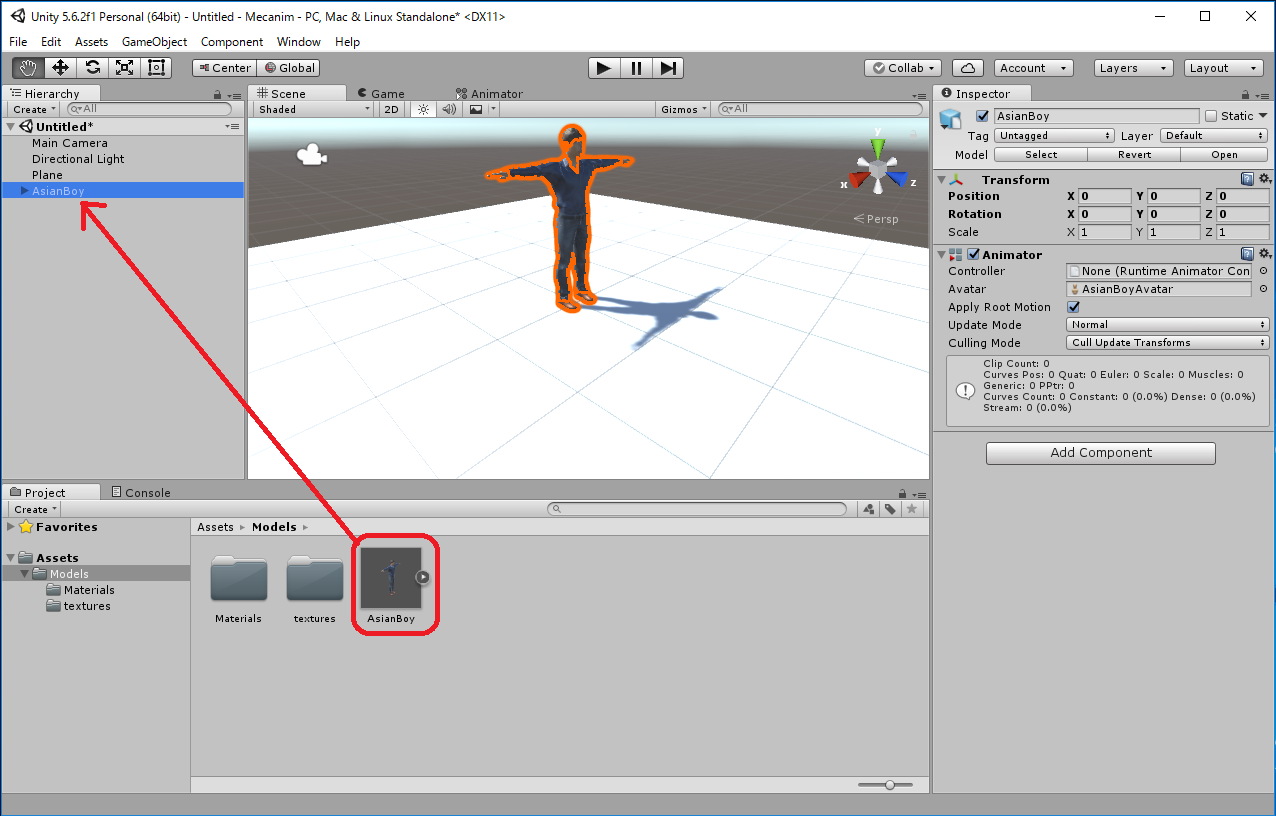
- Drag "fAsianBoy" from "Assets/Models" of the Project window into Hierarchy window.
- Choose "Reset" from the Settings
 of Transform in the Inspector window,
set Position (x,y,z)=(0,0,0).
 - Click "Add Componenct" button in the Inspector window, and add "Physics/CharacterController" component.
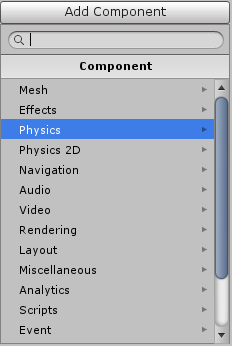
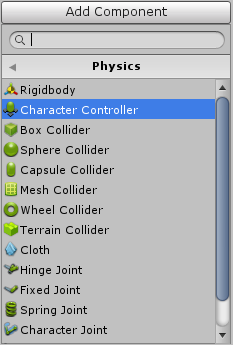
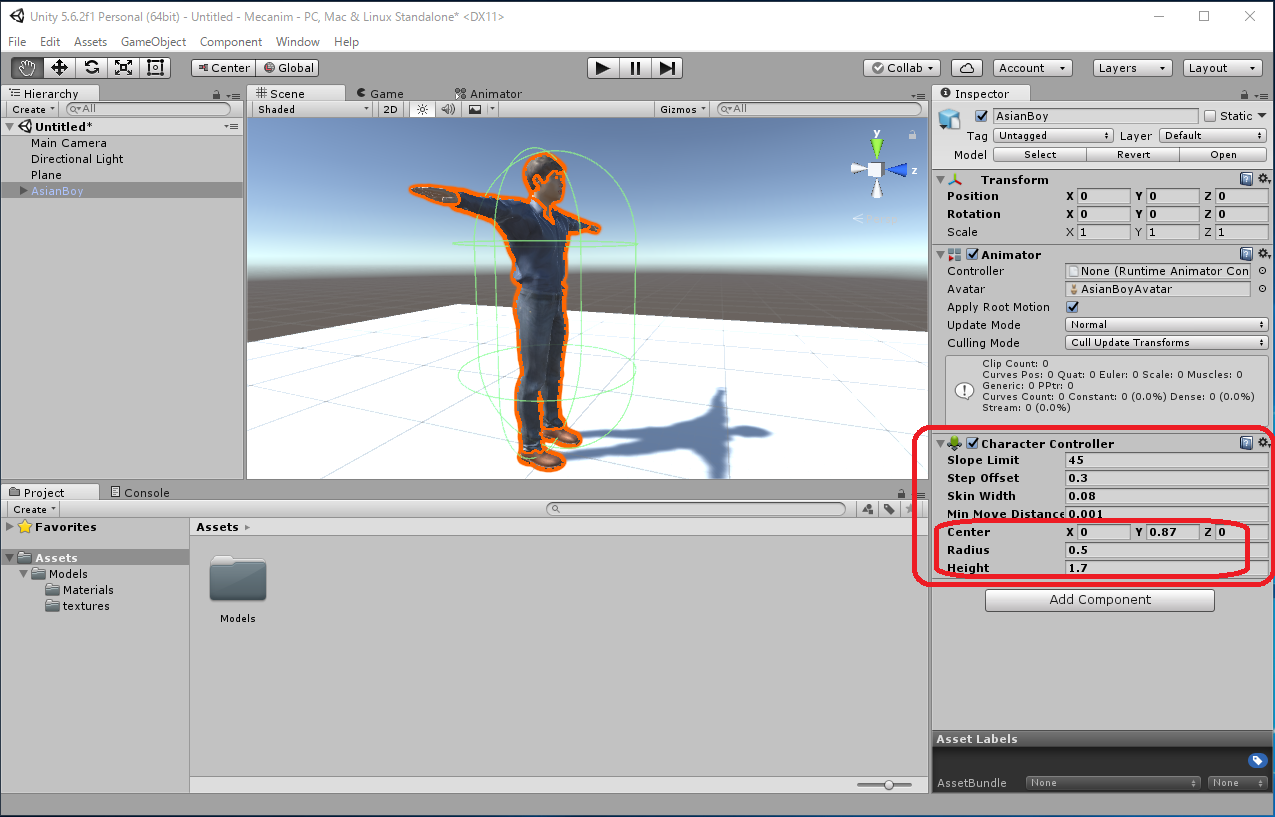
While viewing the Scene window, if you select "AsianBoy" in the Hierarchy, the CharacterController's Capsel Collider will be shown with a green solid line. Change "Center" and "Height" values to match humanoid character. In this example, Center(x,y,z) = (0, 0, 87.0), Height = 1.7.
- Create a "Scripts" folder in the Assets of Project window.
Right click in the "Assets" -> Create -> Folder -> Scripts -> rename to "Scripts"

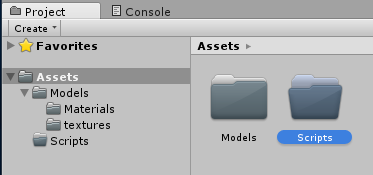
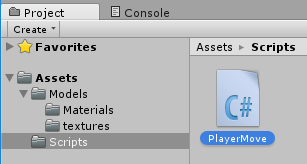
Right click in the "Assets/Scripts" -> Create -> C# Script -> rename to "PlayerMove"

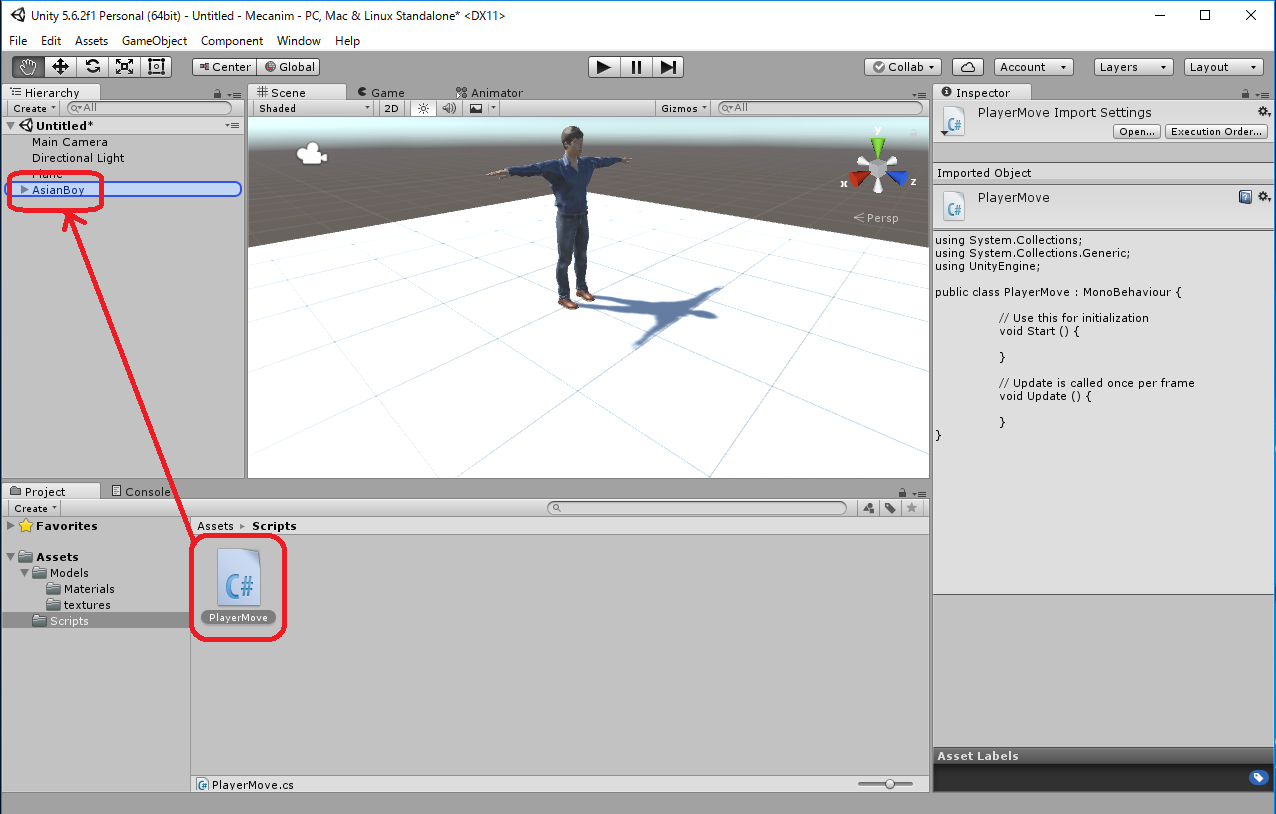
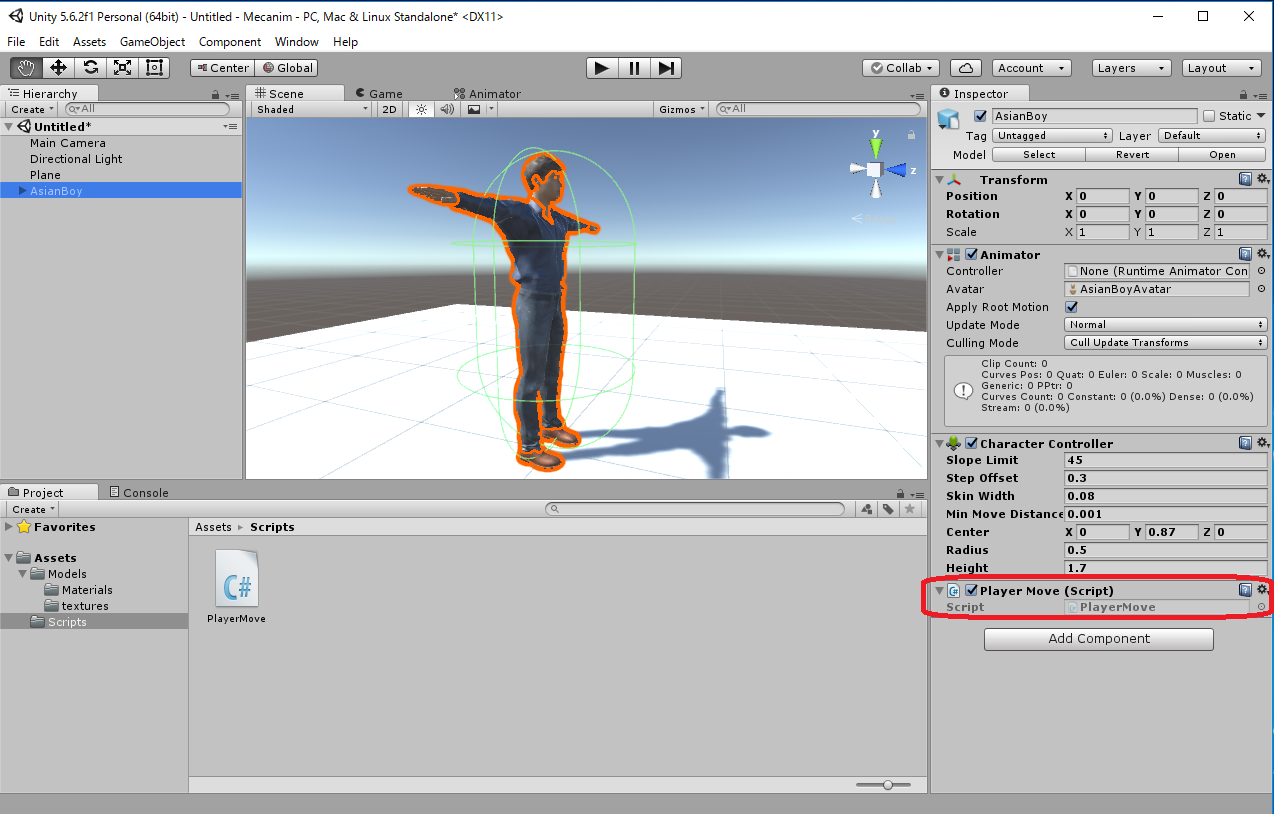
| PlayerMove.cs |
using System.Collections;
using System.Collections.Generic;
using UnityEngine;

public class PlayerMove : MonoBehaviour {
    public float velocity = 1.3f;
    private CharacterController charController;
    void Start () {
	charController = gameObject.GetComponent<CharacterController>();
    }
    void Update () {
	float h = Input.GetAxis("Horizontal");
	float v = Input.GetAxis("Vertical");
	Vector3 moveDirection = new Vector3(h, 0, v);
	charController.Move(velocity * Time.deltaTime * moveDirection);
    }
}
|
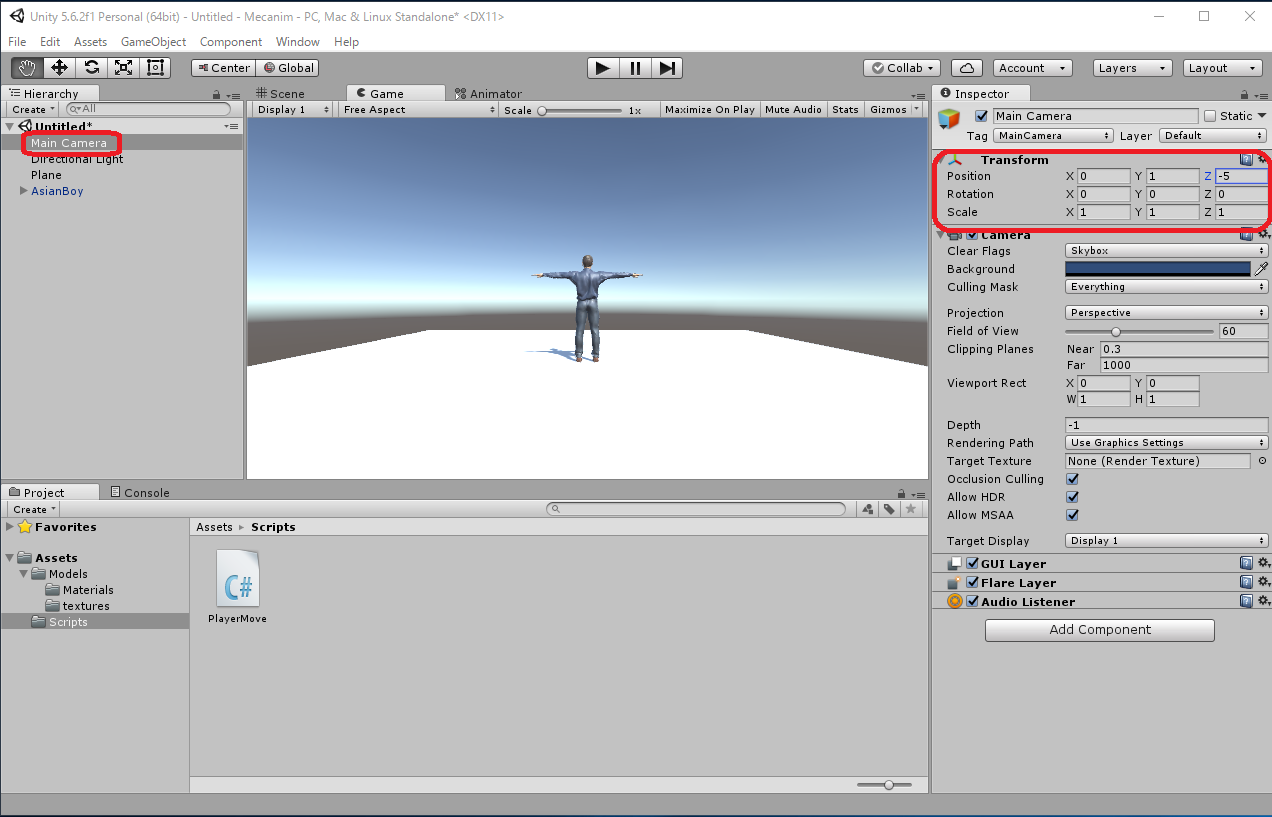
Ground is a XZ-Plain whose size is 10x10 centered on the origin. Also, "AsianBoy" is at the origin. Let's set Transform Position (x, y, z) = (0, 1, -5) which is the end of Plane becase the Main Camera is too far away.
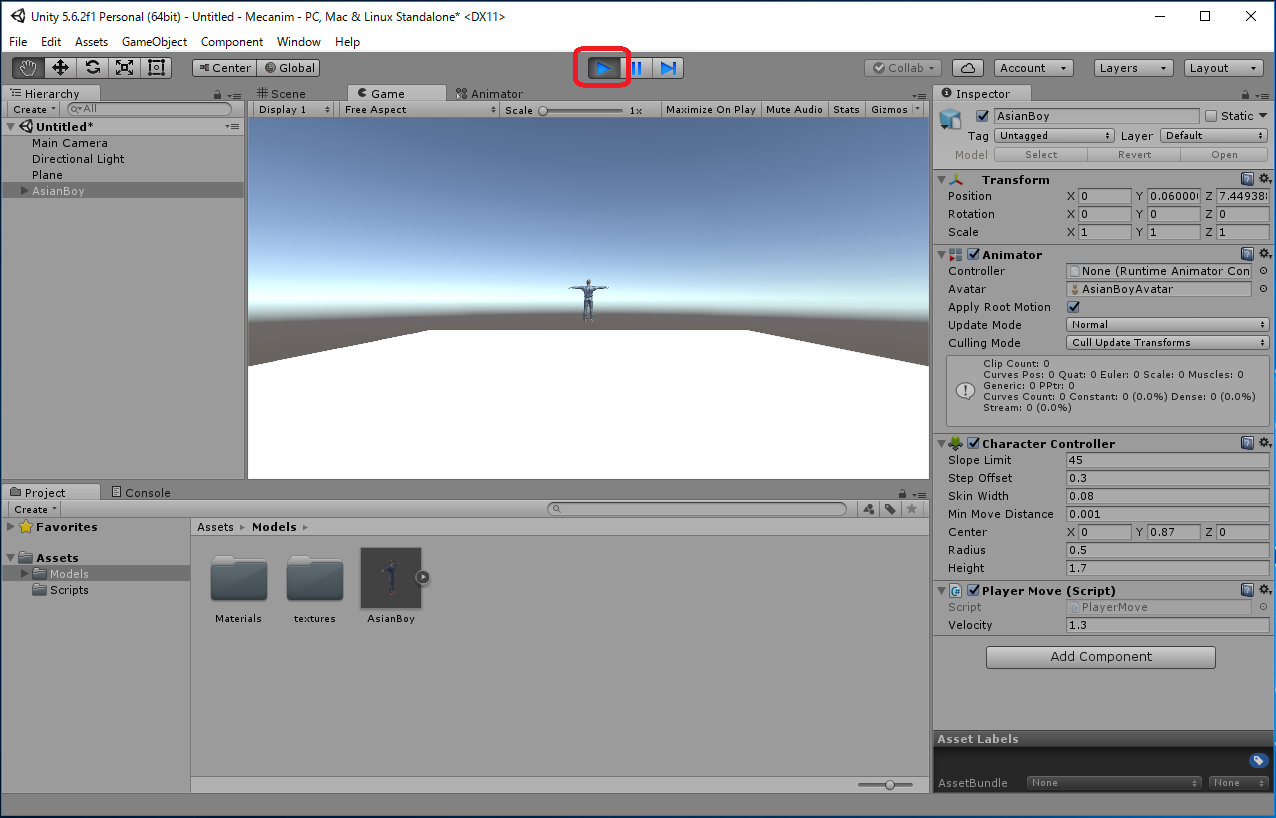
 to execute.
"AsianBoy" moves with the keyboard arrow keys (↑, ↓, ←, →) or the 'w', a', 's', and 'd' keys. But it has floated in the air.
When moving the Player, consider acceleration due to gravity. It is one line to which red character part was added. With AsianBoy moving across the edge of the Plane, it now falls.
| PlayerMove.cs |
using System.Collections;
using System.Collections.Generic;
using UnityEngine;

public class PlayerMove : MonoBehaviour {
    public float velocity = 1.3f;
    private CharacterController charController;
    void Start () {
	charController = gameObject.GetComponent<CharacterController>();
    }
    void Update () {
	float h = Input.GetAxis("Horizontal");
	float v = Input.GetAxis("Vertical");
	Vector3 moveDirection = new Vector3(h, 0, v);
	moveDirection.y += Physics.gravity.y;
	charController.Move(velocity * Time.deltaTime * moveDirection);
    }
}
|
Make it possible to move by keyboard operation only when the foot is touching the ground.
| PlayerMove.cs |
using System.Collections;
using System.Collections.Generic;
using UnityEngine;

public class PlayerMove : MonoBehaviour {
    public float velocity = 1.3f;
    private CharacterController charController;
    void Start () {
	charController = gameObject.GetComponent<CharacterController>();
    }
    void Update () {
	float h = Input.GetAxis("Horizontal");
	float v = Input.GetAxis("Vertical");
	Vector3 moveDirection =  new Vector3(0, 0, 0);;
	if (charController.isGrounded) {
	    moveDirection = new Vector3(h, 0, v);
	}
	moveDirection.y += Physics.gravity.y;
	charController.Move(velocity * Time.deltaTime * moveDirection);
    }
}
|
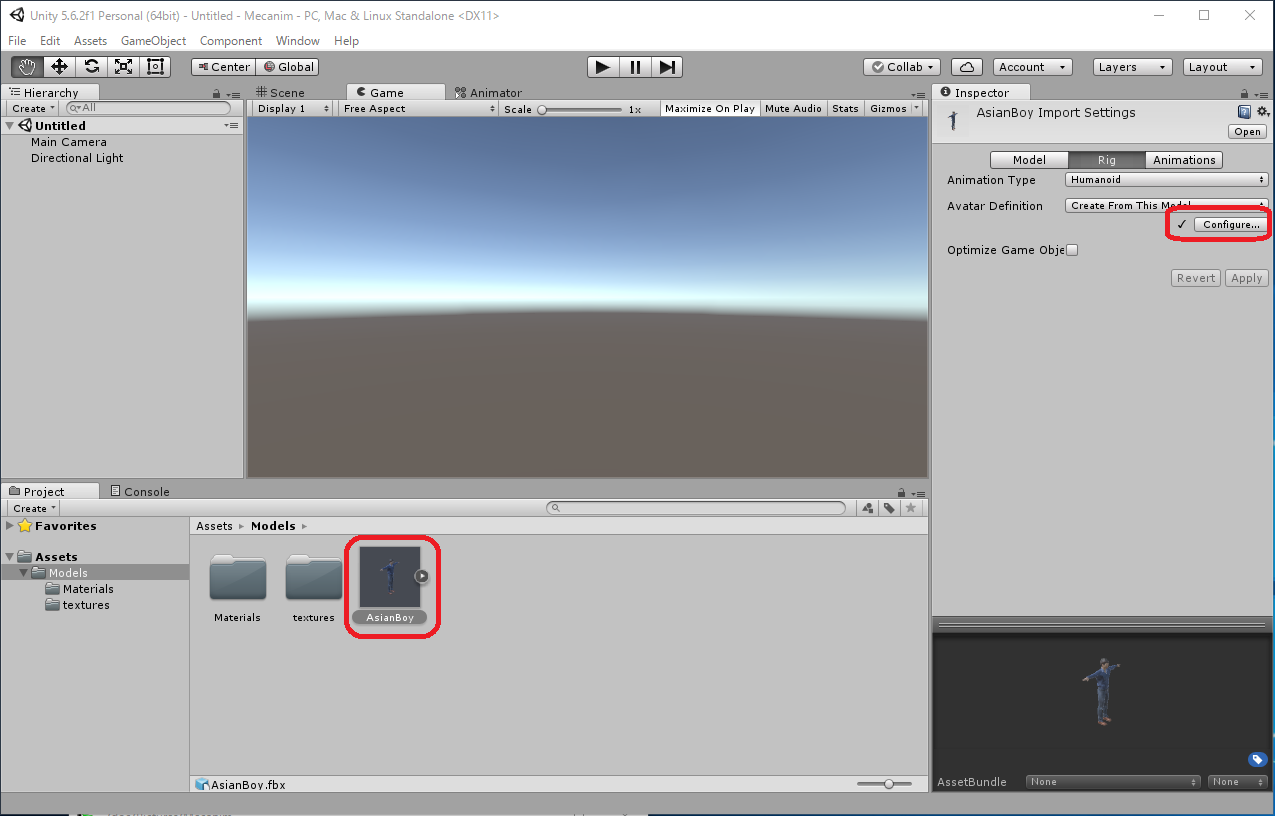
- Right click in the Project window, create the folder in which Scene will be saved.
- Save the Scene as "Assets/Scenes/PlayerMove.unity".

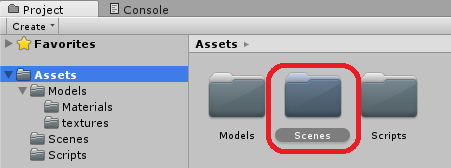
File -> Save Scene as ... -> PlayerMove
