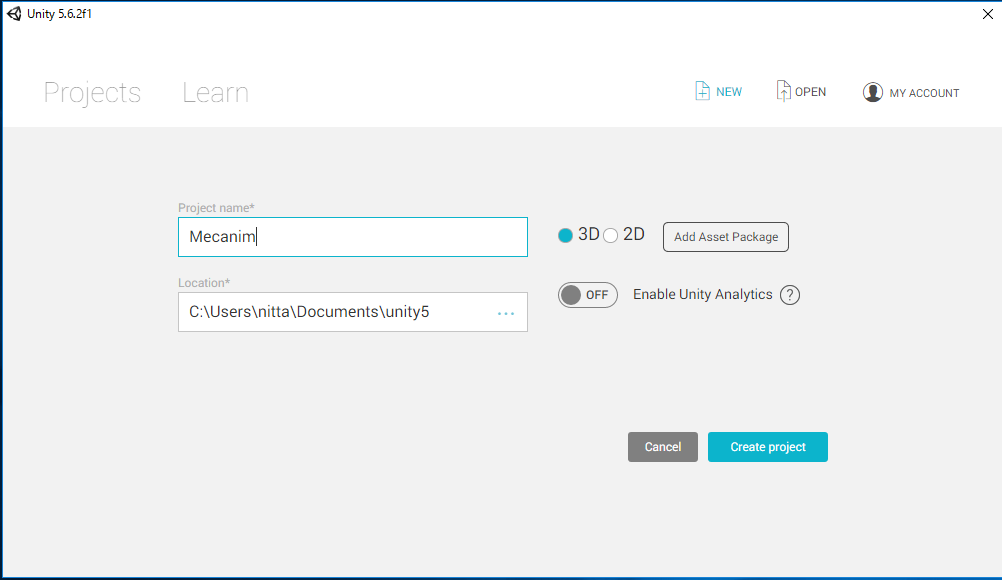
自分で作成した人型モデルを、Unityに取り込んで動かす簡単な方法を説明します。
"Mecanim" という "3D" 形式のプロジェクトを NEW しています。
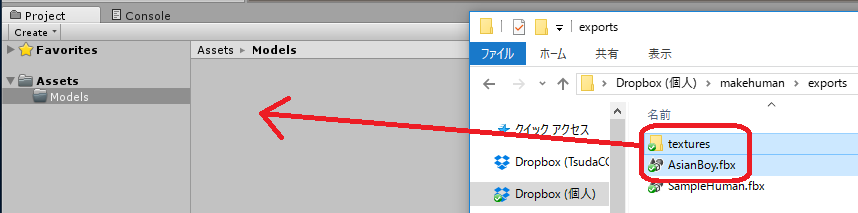
[注意]上の操作は
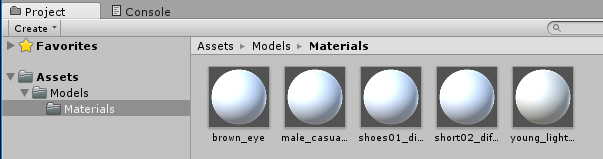
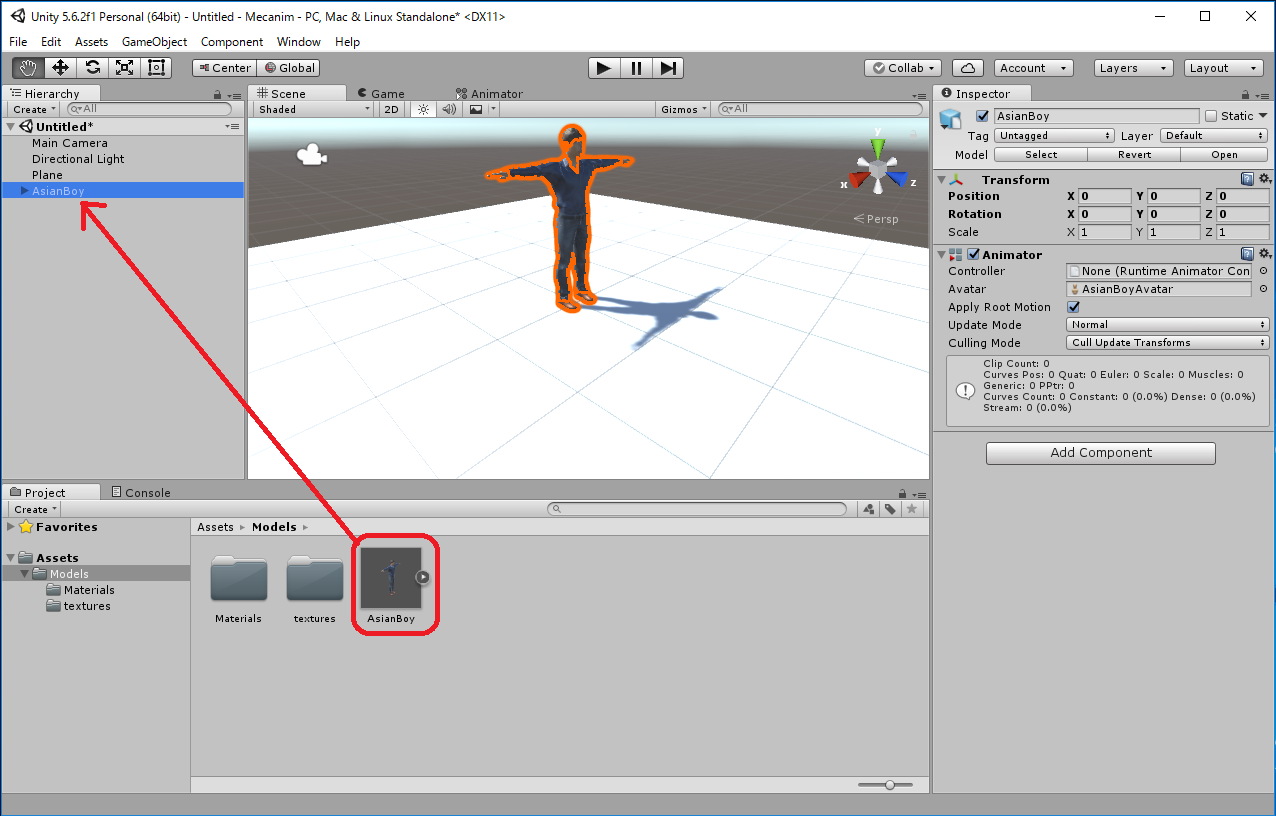
Assets -> Import New Asset... -> AsianBody.fbxから行なってもよいのですが、これだとAsianBoy.fbx に必要なtextureが 自動ではimportされず、モデルが真っ白になってしまいます。 この場合は Assets/Models/Materials/に生成された白いMaterialに対応する Textureを手動でimportしなくてはいけません。


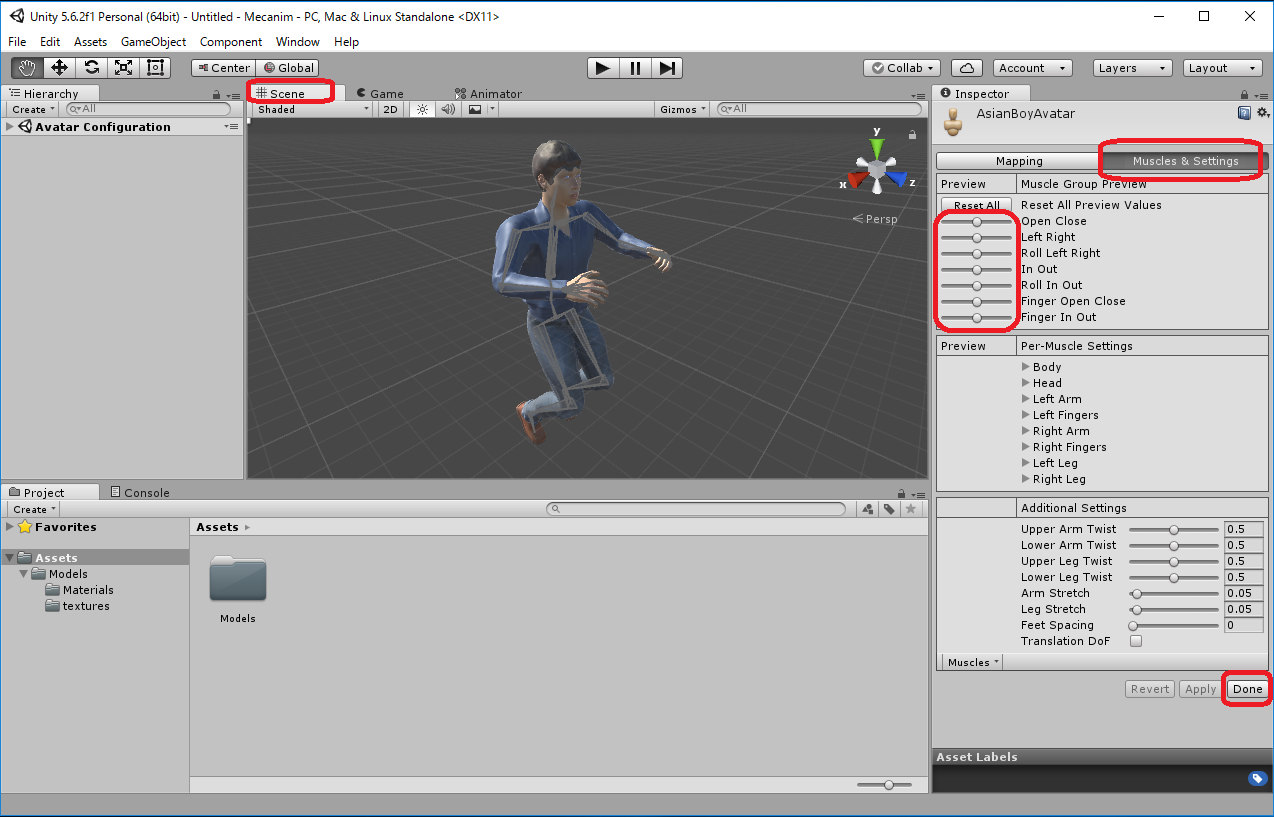
 からResetを選んで、Position (x,y,z)=(0,0,0)にします。
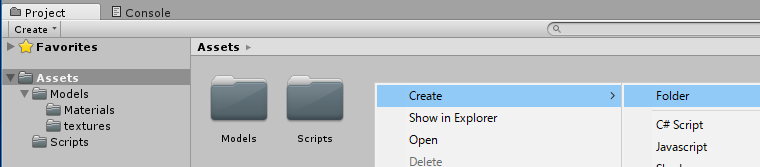
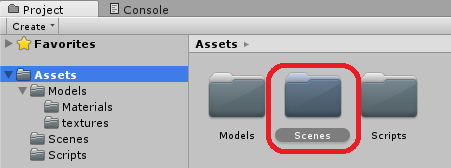
GameObject -> 3D Object -> Plane

 から Resetを選択して、Position (x,y,z)=(0,0,0)とします。

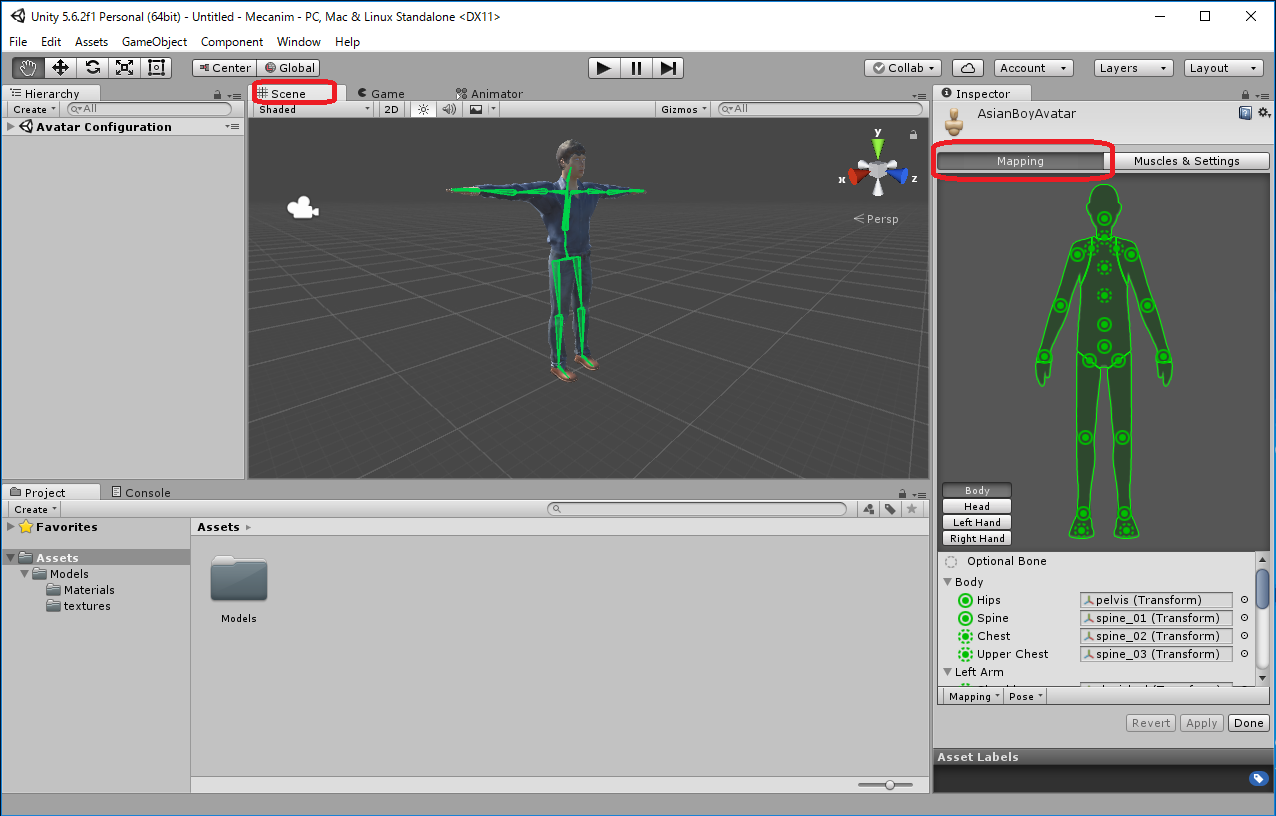
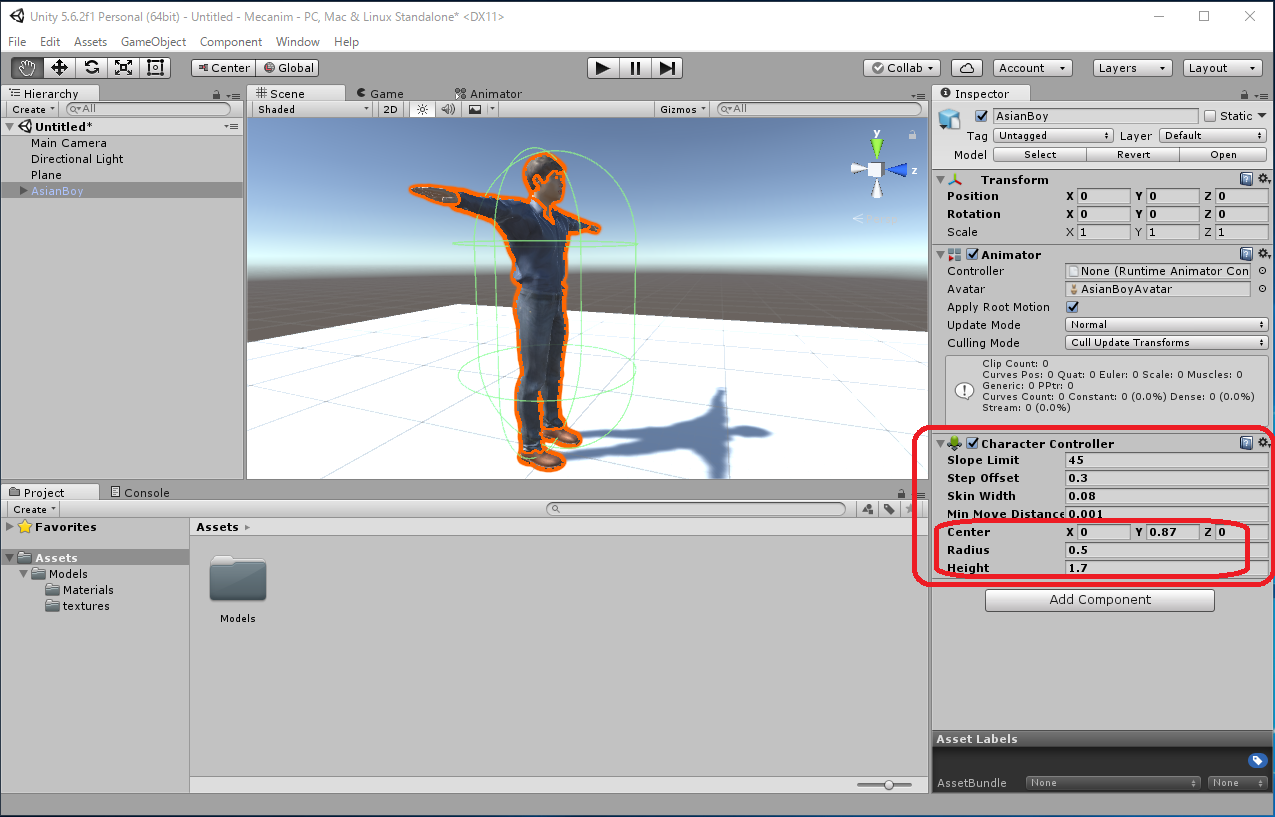
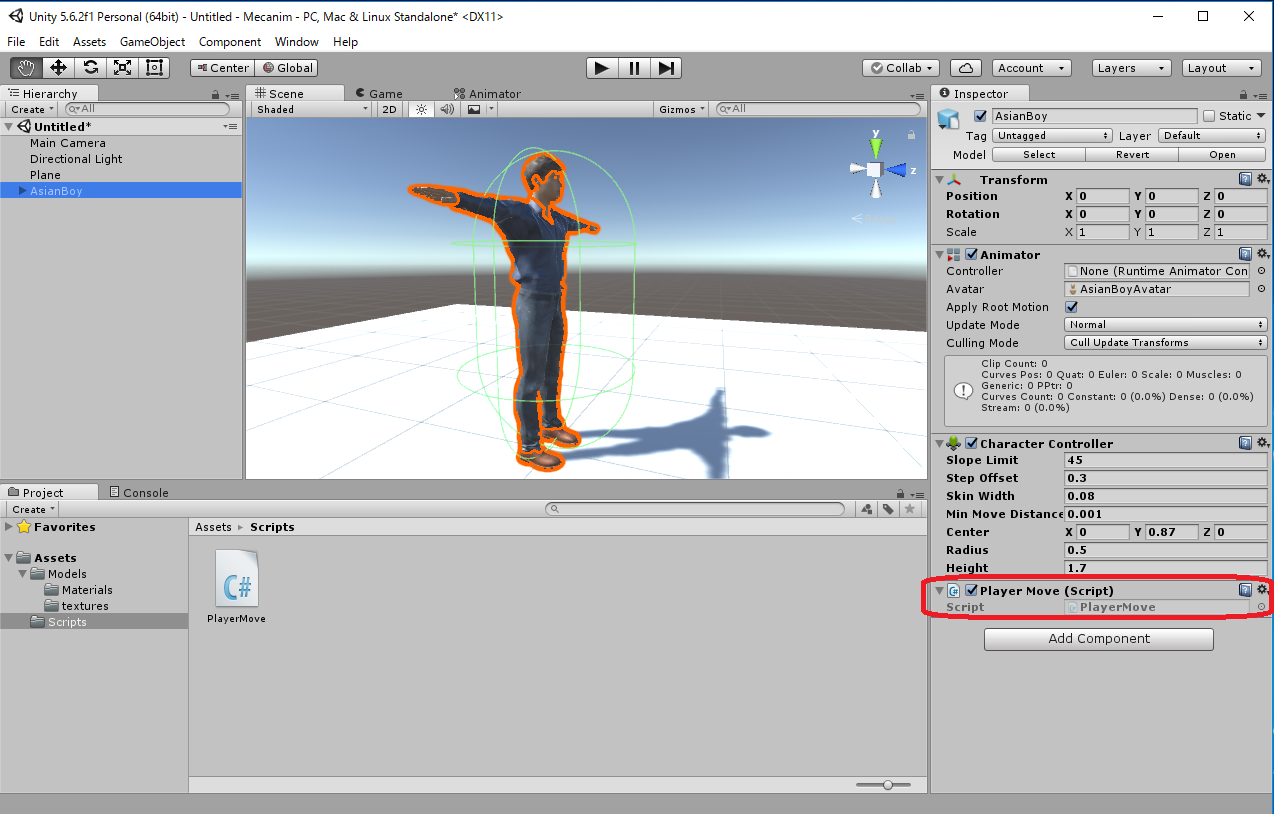
Sceneウィンドウを表示している状態で、Hierarchy 内で AsianBoy を選択すると、 CharacterController の Capsel Collider が緑色の実線で表示されます。 人型キャラクタと合致するように Center と Height の値を変更します。 ここでは Center (x,y,z)=(0,0.87,0), Height = 1.7 としました。
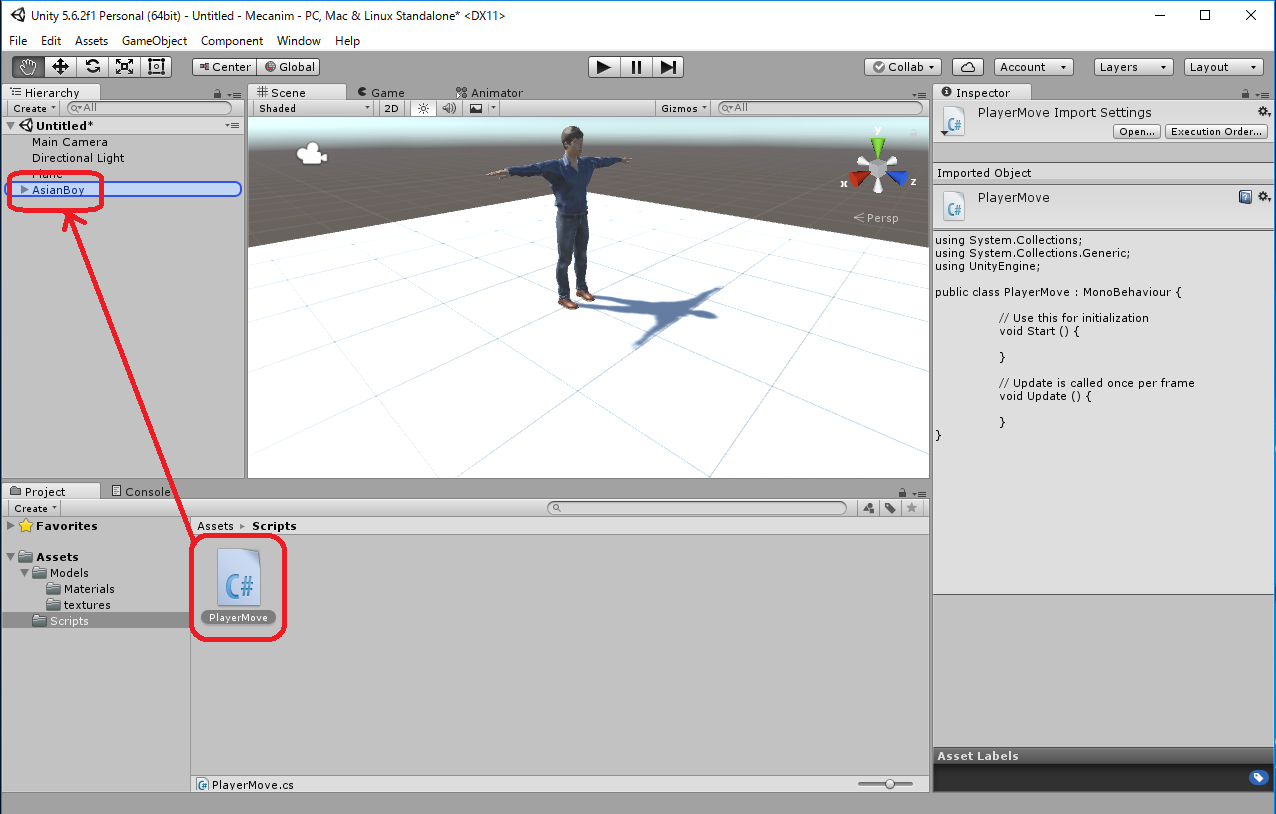
| PlayerMove.cs |
using System.Collections;
using System.Collections.Generic;
using UnityEngine;

public class PlayerMove : MonoBehaviour {
    public float velocity = 1.3f;
    private CharacterController charController;
    void Start () {
	charController = gameObject.GetComponent<CharacterController>();
    }
    void Update () {
	float h = Input.GetAxis("Horizontal");
	float v = Input.GetAxis("Vertical");
	Vector3 moveDirection = new Vector3(h, 0, v);
	charController.Move(velocity * Time.deltaTime * moveDirection);
    }
}
|
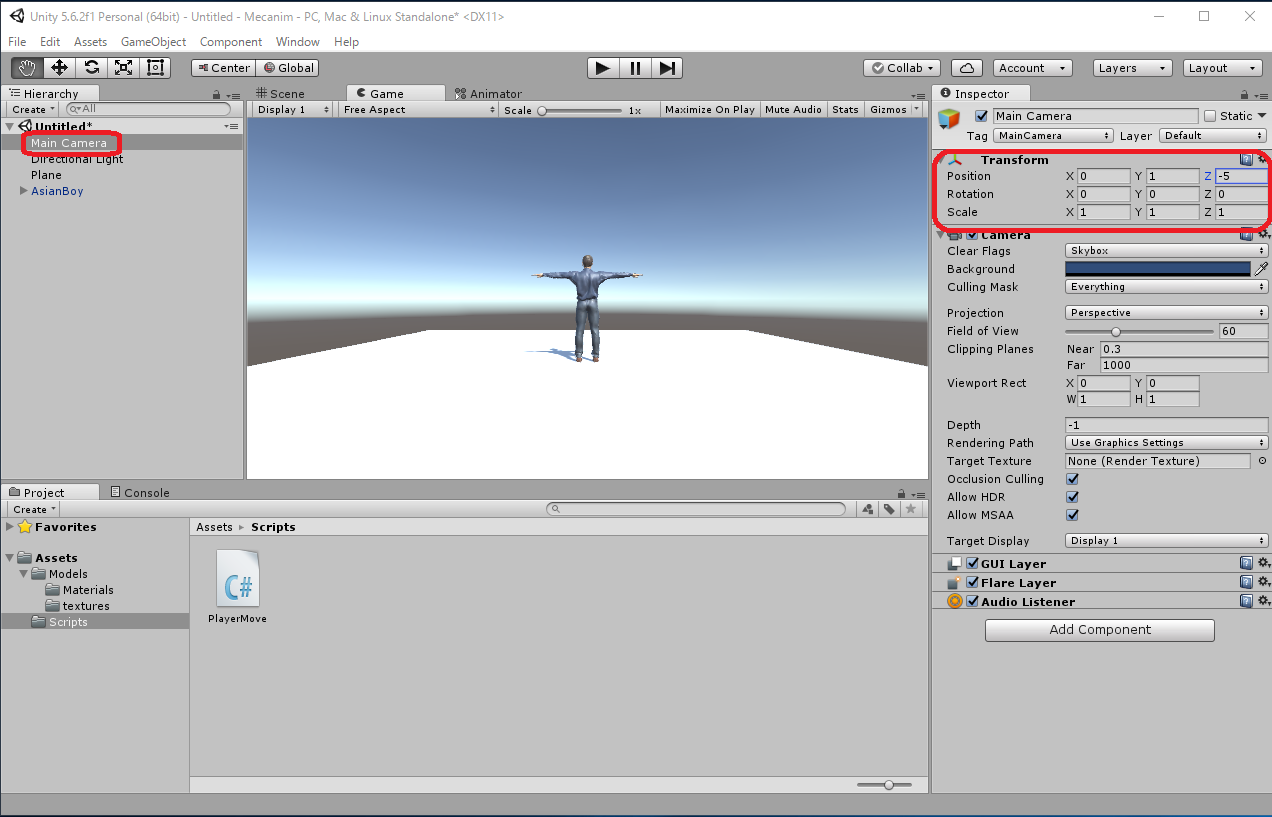
Plane はxz平面上の平面で、原点を中心として 10x10 の大きさです。 また、AsianBoyは原点にいます。 Main Camera が少し離れ過ぎているので Plane の端である Transform Position (x,y,z)=(0,1,-5)に設定しましょう。
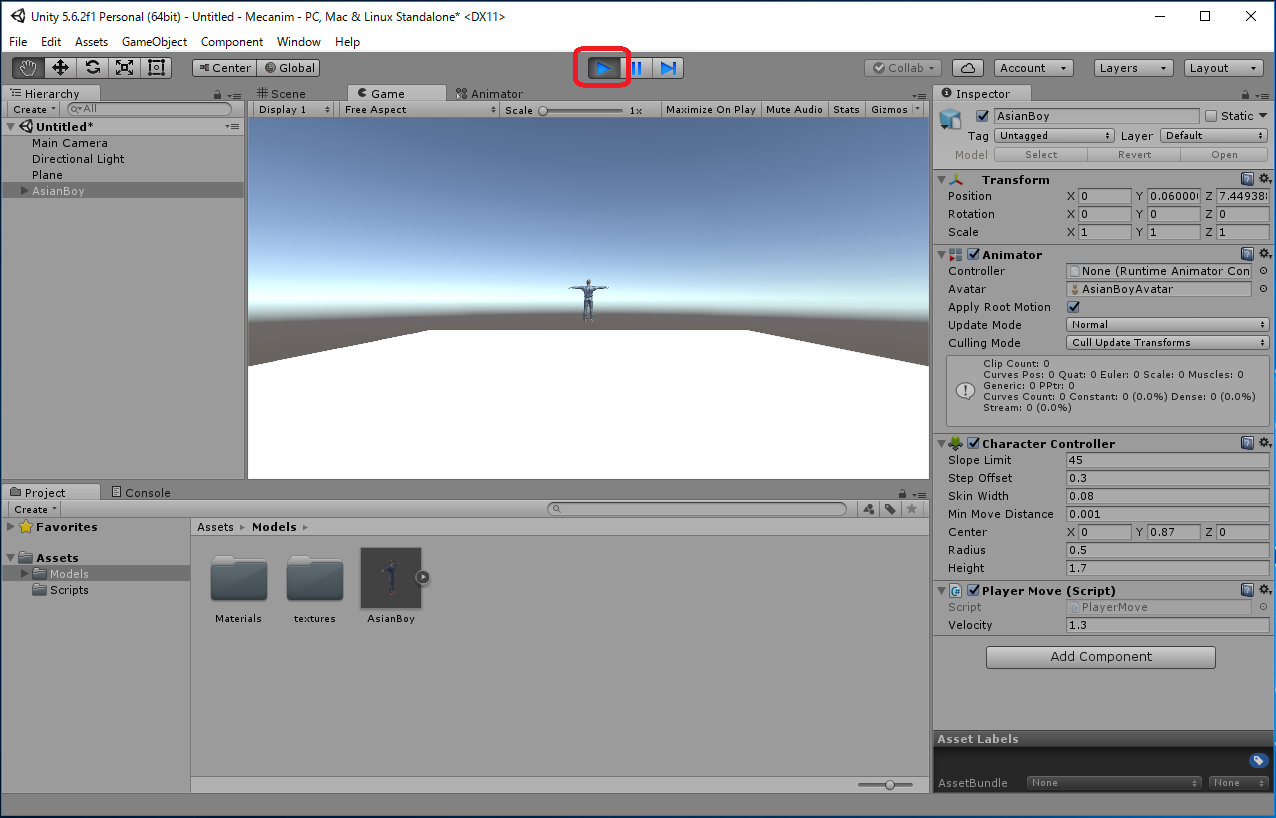
 をクリックして実行してみます。
キーボードの矢印キー(↑, ↓, ←, →)または 'w, 'a', 's', 'd' キーで AsianBoy が移動します。でも空中に浮いてしまっています。
Playerを動かす時に、重力による加速度を考慮するようにします。 赤い文字の部分が追加された1行です。 これで AsianBoy が Plane の端を越えて移動すると、落下するようになりました。
| PlayerMove.cs |
using System.Collections;
using System.Collections.Generic;
using UnityEngine;

public class PlayerMove : MonoBehaviour {
    public float velocity = 1.3f;
    private CharacterController charController;
    void Start () {
	charController = gameObject.GetComponent<CharacterController>();
    }
    void Update () {
	float h = Input.GetAxis("Horizontal");
	float v = Input.GetAxis("Vertical");
	Vector3 moveDirection = new Vector3(h, 0, v);
	moveDirection.y += Physics.gravity.y;
	charController.Move(velocity * Time.deltaTime * moveDirection);
    }
}
|
足が地面に接地しているときだけ、キーボード操作で移動できるようにします。
| PlayerMove.cs |
using System.Collections;
using System.Collections.Generic;
using UnityEngine;

public class PlayerMove : MonoBehaviour {
    public float velocity = 1.3f;
    private CharacterController charController;
    void Start () {
	charController = gameObject.GetComponent<CharacterController>();
    }
    void Update () {
	float h = Input.GetAxis("Horizontal");
	float v = Input.GetAxis("Vertical");
	Vector3 moveDirection =  new Vector3(0, 0, 0);;
	if (charController.isGrounded) {
	    moveDirection = new Vector3(h, 0, v);
	}
	moveDirection.y += Physics.gravity.y;
	charController.Move(velocity * Time.deltaTime * moveDirection);
    }
}
|
File -> Save Scene as ... -> PlayerMove
